Euro-Office comes to your desktop with the Nextcloud Office Desktop app
The Euro-Office desktop app is here. Learn about the app’s features, how to install it, and how to co-edit files with your team through Nextcloud Hub.
Read More

Explore what’s new in the release blog!
Read moreRunning your own Nextcloud gives you full control over your files, calendars, chats, and documents, but setting up a server stack by hand can be intimidating. With Nextcloud All-in-One (AIO), you can start a single Docker container and a browser-based interface handles the rest, from domain checks and certificates to optional add-ons, backups, and updates.
In this guide, we walk you through every step of installing Nextcloud AIO on a Windows 11 PC, from installing Docker Desktop to logging in to your new Nextcloud instance and setting up backups. If you’re on Linux, check out our Nextcloud AIO guide for Linux instead.
Table of contents
Nextcloud All-in-One is a Docker-based project that allows you to install just one container that does the heavy lifting of creating and managing all containers needed for a complete Nextcloud installation. It provides easy deployment and maintenance of Nextcloud’s features, a user-friendly interface, stress-free updates, and a straightforward approach for getting everything to work out of the box.
Nextcloud AIO includes:
Nextcloud AIO is free for up to 100 users. If you need more, Nextcloud Enterprise has you covered.
Before you start, make sure your setup meets the following requirements:
Please note that this guide is for a setup without a web server or reverse proxy (like Apache, nginx, etc.) already in place. If you want to run Nextcloud AIO behind a web server or reverse proxy, check the corresponding documentation page.
💡 The steps in this guide also work on Windows 10 version 22H2. However, Windows 10 has reached the end of its support, and Docker only supports Windows versions that Microsoft still services, so future Docker Desktop releases might no longer run on it.
On Windows, you run Nextcloud AIO with Docker Desktop, which uses the Windows Subsystem for Linux (WSL 2) in the background.
Download Docker Desktop for Windows and run the installer. When asked about the configuration, keep the option to use WSL 2 enabled.

When the installation has finished, click on “Close and restart” to restart your PC.

After the restart, open Docker Desktop and accept the Docker Subscription Service Agreement. You can skip the sign-in and the welcome survey.

⚠️ If Docker Desktop tells you that WSL needs to be updated, open the Command Prompt and run:
wsl --updateThen restart Docker Desktop.
You should now see the Docker Desktop home screen.

Since Nextcloud AIO should keep running after you restart your PC, open the Docker Desktop settings and, under General, enable Start Docker Desktop when you log in.

If you need IPv6 support, follow the instructions for how to enable IPv6 for Docker.
Nextcloud AIO uses a special container, the mastercontainer, to create and manage all the other containers in your Nextcloud setup.
Open the Command Prompt (search for “cmd” in the Start menu), then start the mastercontainer with this command:
docker run ^
--init ^
--sig-proxy=false ^
--name nextcloud-aio-mastercontainer ^
--restart always ^
--publish 80:80 ^
--publish 8080:8080 ^
--publish 8443:8443 ^
--volume nextcloud_aio_mastercontainer:/mnt/docker-aio-config ^
--volume //var/run/docker.sock:/var/run/docker.sock:ro ^
--env NEXTCLOUD_DATADIR="/run/desktop/mnt/host/c/ncdata" ^
ghcr.io/nextcloud-releases/all-in-one:latest
⚠️ Use the Command Prompt, not PowerShell. The
^at the end of each line tells the Command Prompt that the command continues on the next line, and PowerShell doesn’t understand it.
The NEXTCLOUD_DATADIR line tells Nextcloud AIO to store your files in a folder on your Windows drive instead of inside Docker, so you can easily access them from Windows. In this example, /run/desktop/mnt/host/c/ncdata stands for C:\ncdata. To use a different folder, keep the /run/desktop/mnt/host/ part and append the drive letter and path, e.g., /run/desktop/mnt/host/d/nextcloud for D:\nextcloud.
A few things to keep in mind about this command:
nextcloud-aio-mastercontainer) or the volume name (nextcloud_aio_mastercontainer). Updates of the mastercontainer and the built-in backups depend on them.--publish 8081:8080.Once the mastercontainer is running, open the Nextcloud AIO interface in your browser at https://localhost:8080.
⚠️ Always use
localhostor an IP address, not a domain, when you access port 8080. Otherwise, HSTS might block access to the interface later.
Port 8080 uses a self-signed certificate, so you need to accept the certificate warning in your browser. Then you should see a screen showing your Nextcloud AIO passphrase.

Copy the passphrase and store it somewhere safe, like a password manager. You’ll need it every time you log in to the Nextcloud AIO interface.
Click on “Open Nextcloud AIO login” and paste your passphrase.

You should now see the Nextcloud AIO interface.

⚠️ Once your Nextcloud is up and running, logging in to the Nextcloud AIO interface directly with the passphrase is blocked for security reasons. To get back in, log in to Nextcloud as an admin, go to Administration settings → Overview (
https://your-domain.com/settings/admin/overview), and click the button at the top to open the Nextcloud AIO login. You can then log in with your passphrase as usual.
Next, you need to tell Nextcloud AIO which domain to use for your Nextcloud. You can either use your own domain or let Nextcloud AIO register a free one for you.
Type in your domain. Nextcloud AIO checks whether the domain points to your PC and whether the required ports are reachable, and the interface helps you figure out what to fix if they aren’t.
For the check to pass, set up the DNS record (or DDNS) for your domain so that it points to your public IP address, and forward the following ports in your router to your Windows PC:
443/TCP for Nextcloud itself (required)443/UDP if you want to enable HTTP/3 (optional)3478/TCP and 3478/UDP for the Talk TURN server (only required if you enable Nextcloud Talk)If you don’t have a domain yet, or you just want to try out Nextcloud AIO, you can get a free domain right from the Nextcloud AIO interface. Nextcloud AIO uses deSEC, a Berlin-based, non-profit DNS hosting service, to register a subdomain under dedyn.io and handle the technical setup for you: it creates the DNS records, makes sure the domain points to your PC, and requests the SSL certificate. Since the certificate is obtained via the DNS challenge, you don’t need to forward any ports until you want to make your instance publicly accessible.
On the start screen, expand the section “Don’t have a domain? Get a free one from deSEC”.
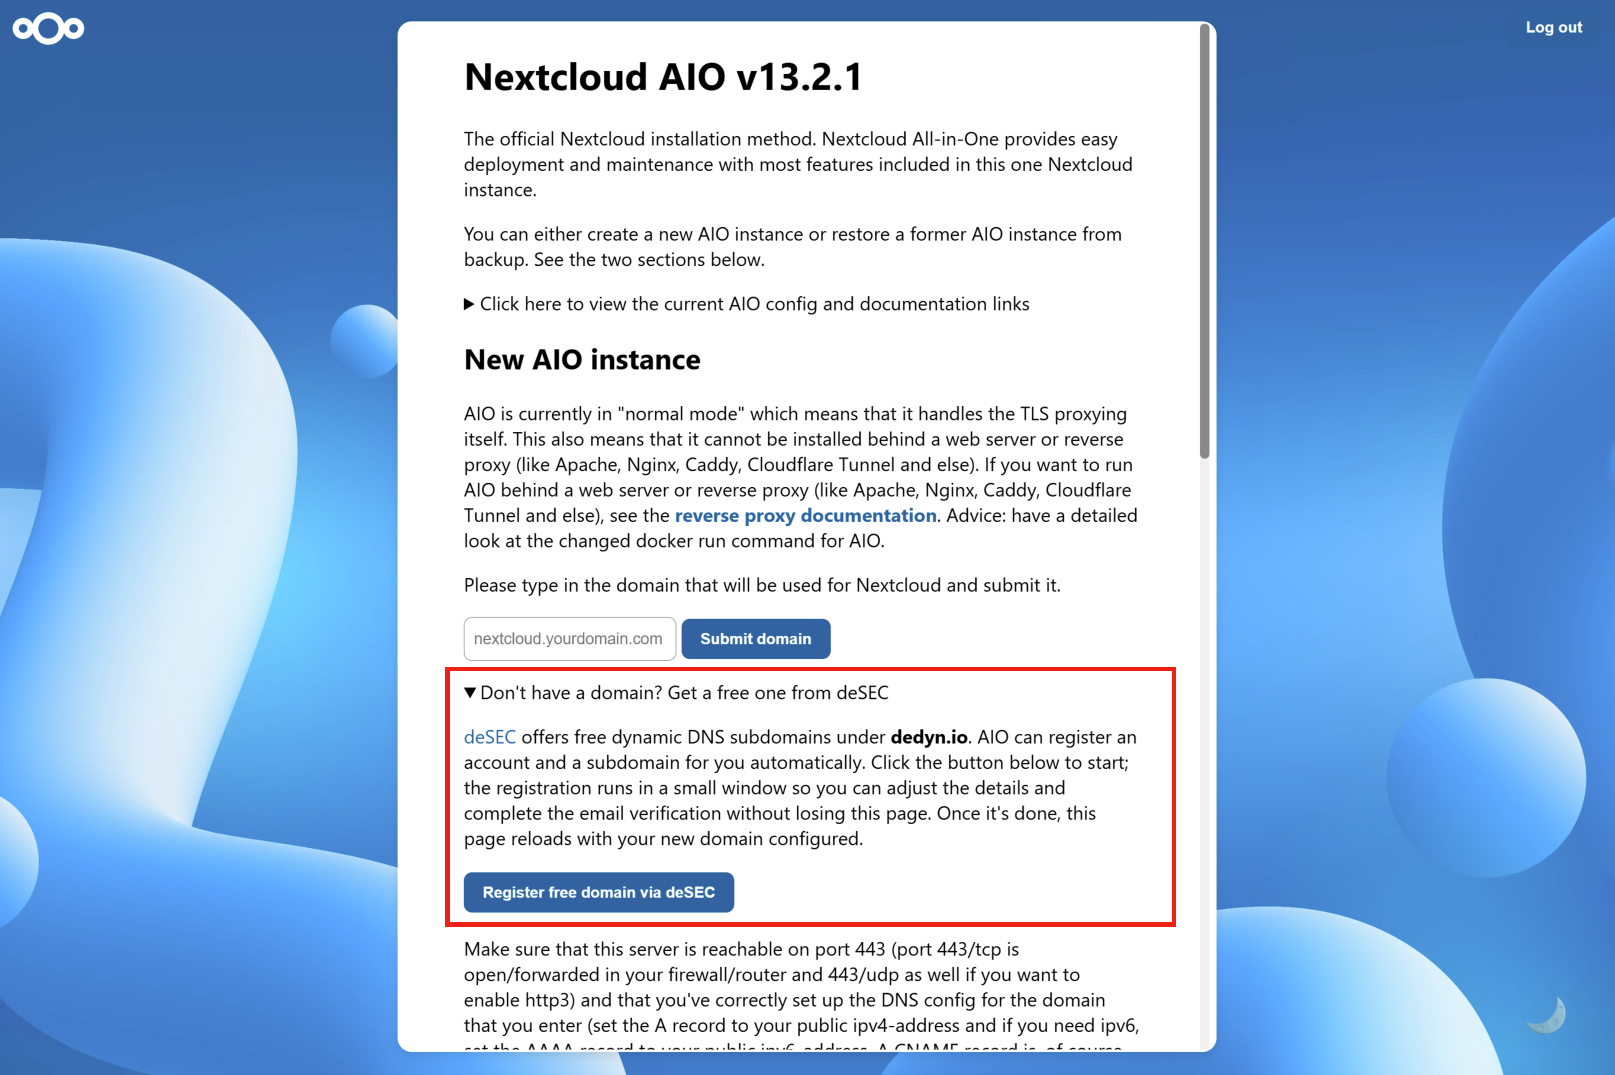
Create a new deSEC account with your email address, or enter your credentials if you already have one. Optionally, choose the subdomain you’d like (the part before .dedyn.io). If you leave it blank, Nextcloud AIO picks a random one.
Then click Register free domain via deSEC.
As soon as your deSEC account is activated and the domain is registered, Nextcloud AIO sets it as your Nextcloud domain and keeps its DNS record up to date whenever your public IP address changes. It also sets up the Caddy community container as a reverse proxy and the dnsmasq container, which lets devices on your local network reach Nextcloud via the domain. For that last part, you need to make one change in your router; see the dnsmasq documentation for details.
Nextcloud AIO then downloads and starts the required containers automatically.
Once your domain passes the check, you can continue to the next screen. Here, you can choose the optional add-ons you want and set your time zone. Then click on “Start containers” to download and start them.

You should now see a spinner while Nextcloud AIO downloads the containers. Depending on your internet speed, this usually takes around 10 minutes or more.

When all containers are downloaded, you will see this screen showing the containers still starting. During this time, Nextcloud AIO runs the initial Nextcloud installation for you.

When everything is done, the admin credentials will be displayed.

You can now open your new Nextcloud instance and log in with the credentials. That’s it! Your Nextcloud is up and running.
Before you start moving your data into Nextcloud, take a few minutes to set up backups. Nextcloud AIO comes with a built-in backup solution based on BorgBackup. Backups are incremental, compressed, and encrypted, so only the first one takes a while.
On Windows, the easiest way to store backups on one of your drives is a Docker volume that points to a folder on that drive. Ideally, use a different drive than the one your Nextcloud data is on. To create the volume, run the following command in the Command Prompt:
docker volume create ^
--driver local ^
--name nextcloud_aio_backupdir ^
-o device="/host_mnt/e/your/backup/path" ^
-o type="none" ^
-o o="bind"
In this example, the backups are stored in E:\your\backup\path. To use a different folder, adjust /host_mnt/e/your/backup/path accordingly. Note that this path starts with /host_mnt/, not /run/desktop/mnt/host/ like the data folder in Step 2.
Then:
nextcloud_aio_backupdir as the backup location.Nextcloud AIO shows you an encryption key for your backups. Store this key in a safe place. Without it, you won’t be able to restore your instance from a backup.
After the first backup is done, you can enable daily backups. With daily backups enabled, you can also turn on automatic updates for all containers, Nextcloud, and its apps.
Note that files you connect to Nextcloud via the external storage app are not included in Nextcloud AIO’s backups.
When updates are available, Nextcloud AIO notifies all Nextcloud admins, and the Nextcloud AIO interface shows them below the containers section. To install them, create a backup first, then click on Stop containers and Start and update containers.
If you’ve enabled daily backups with automatic updates, Nextcloud AIO does all of this for you.
If you run into problems during the installation, these sections of the Nextcloud AIO documentation cover the most common issues:
docker volume rm nextcloud_aio_backupdir and docker volume rm nextcloud_aio_nextcloud_datadir. If you used a data folder on your drive, delete it as well.sudo docker. Since sudo isn’t available on Windows, simply remove sudo and run the rest of the command.For everything else, check out the Nextcloud AIO FAQ or ask the community in the Nextcloud forum.
With Nextcloud AIO, a few commands and some clicks in the browser are all it takes to run your own Nextcloud on Windows 11, with backups and updates handled for you.
Once your instance is running, you can easily add even more features, like Fail2ban or Pi-hole. Learn how in our guide to Nextcloud AIO community containers.
The Euro-Office desktop app is here. Learn about the app’s features, how to install it, and how to co-edit files with your team through Nextcloud Hub.
Read More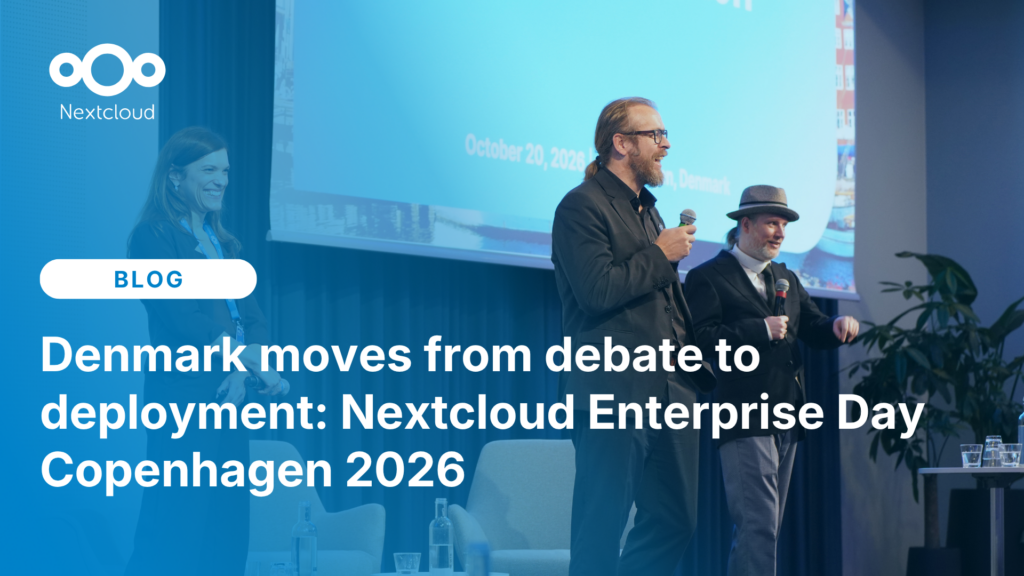
At the second Nextcloud Enterprise Day Copenhagen, municipalities, universities and other public organisations discussed how they can reduce their dependency on US Big Tech. Read our recap of the event.
Read More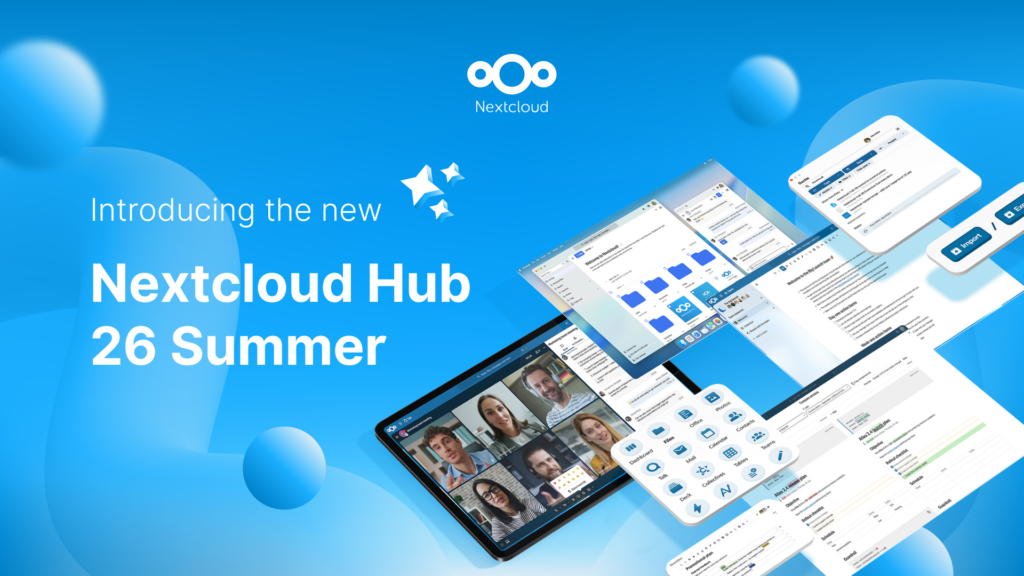
Created in a joint effort of our team, community, and partners, Nextcloud Hub 26 Summer learns from real people using our tools every day. Create your team's own space with Nextcloud Teams, organize your memories in new Nextcloud Photos, and enjoy the updates you asked for across all apps. Read on for a full rundown of our latest release!
Read More
We are introducing the Nextcloud ISV Partner Program to support independent app developers through the Nextcloud app store. Read more in this article and get in touch with our team if you want to join the program.
Read More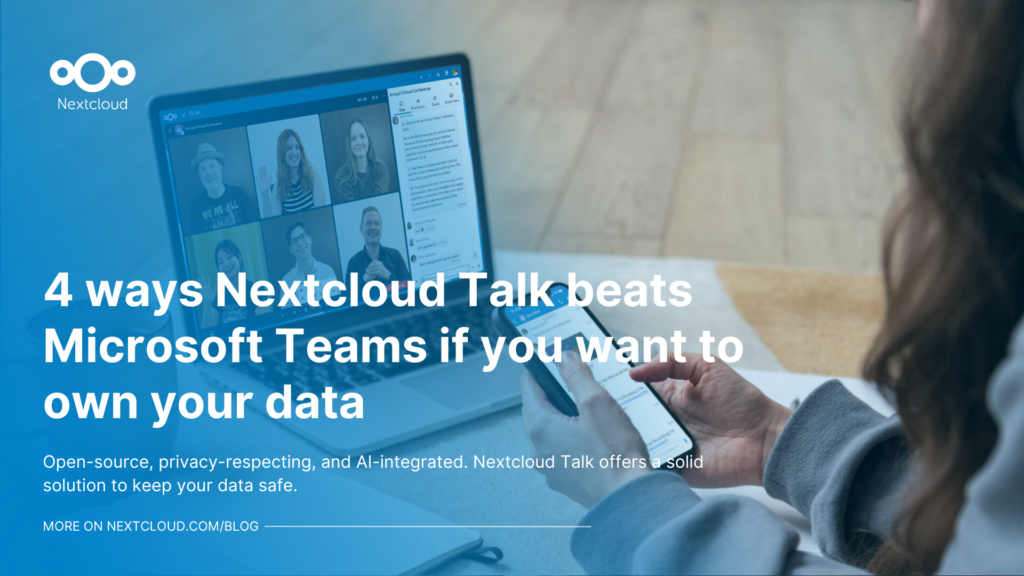
We explore challenges Nextcloud Talk solves that Microsoft Teams can't, uncovering a stronger alternative for organizations that that prioritize digital sovereignty, compliance, and control.
Read More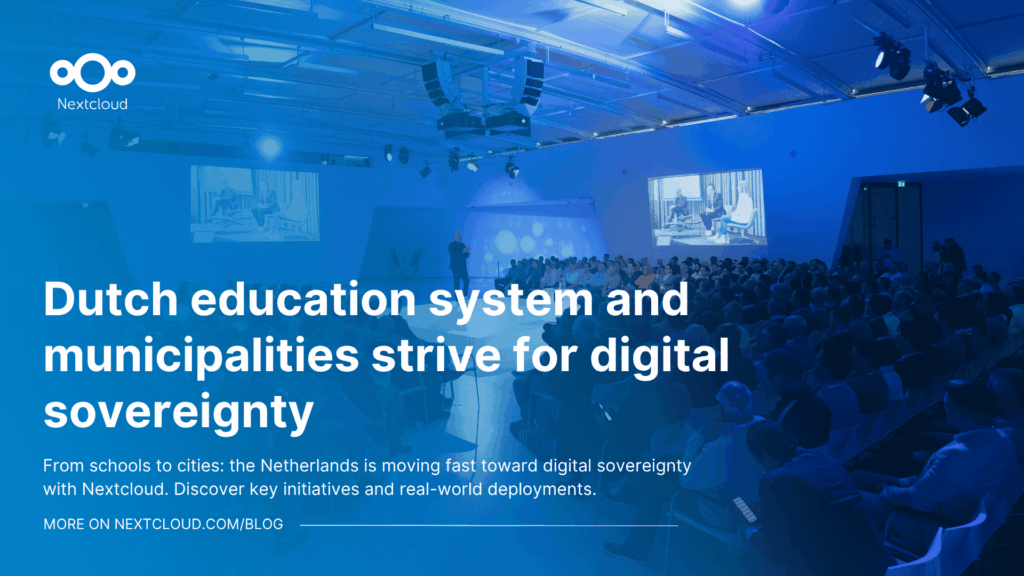
Following two successful Nextcloud Enterprise Days in The Hague in 2025, we brought the event to Utrecht this year, where a massive 750 registrations brought a big crowd to the Jaarbeurs venue. The kickoff in the morning pre-announced the launch of the book “Sovereignty! But how?“ by well-known Dutch IT security journalist and author Brenno […]
Read More
Looking for a sovereign Microsoft Office alternative? Learn how Nextcloud puts you back in control of your data and online collaboration.
Read More
Nextcloud has published its first Digital Sovereignty Index (DSI) to showcase the status of digital sovereign infrastructure.
Read More
Discover the Microsoft 365 alternative by Nextcloud and IONOS: the Nextcloud Workspace office suite, launching in the course of 2025.
Read More
Nextcloud becomes the first cloud software platform to earn the Blauer Engel ecolabel, proving that digitally sovereign and green IT is possible.
Read More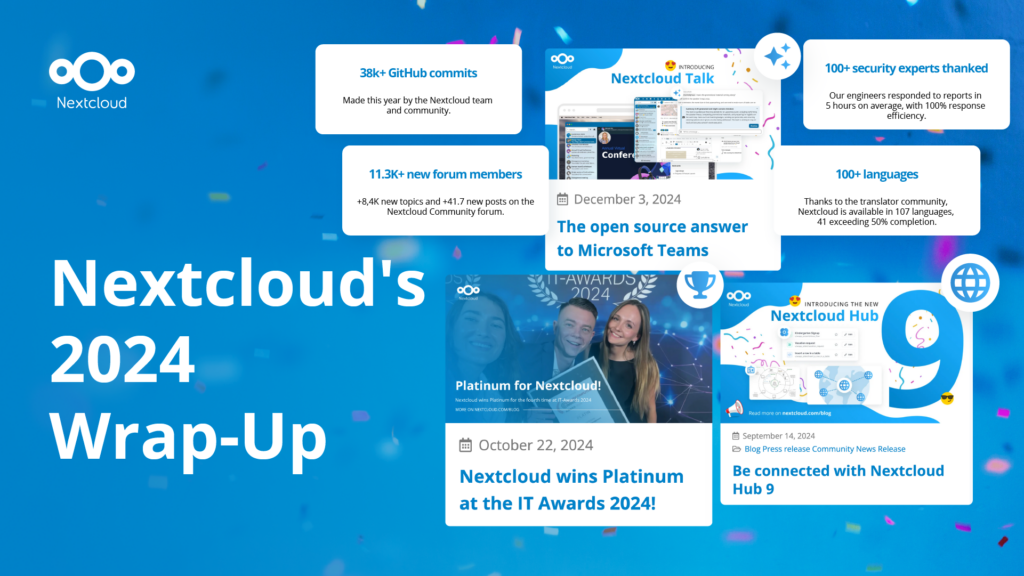
In the Nextcloud 2024 wrap-up, we want to take a moment to celebrate this year's achievements. Join us as we continue to reimagine what’s possible - shaping a world where open source, privacy and connection come together and drive progress for the greater good.
Read More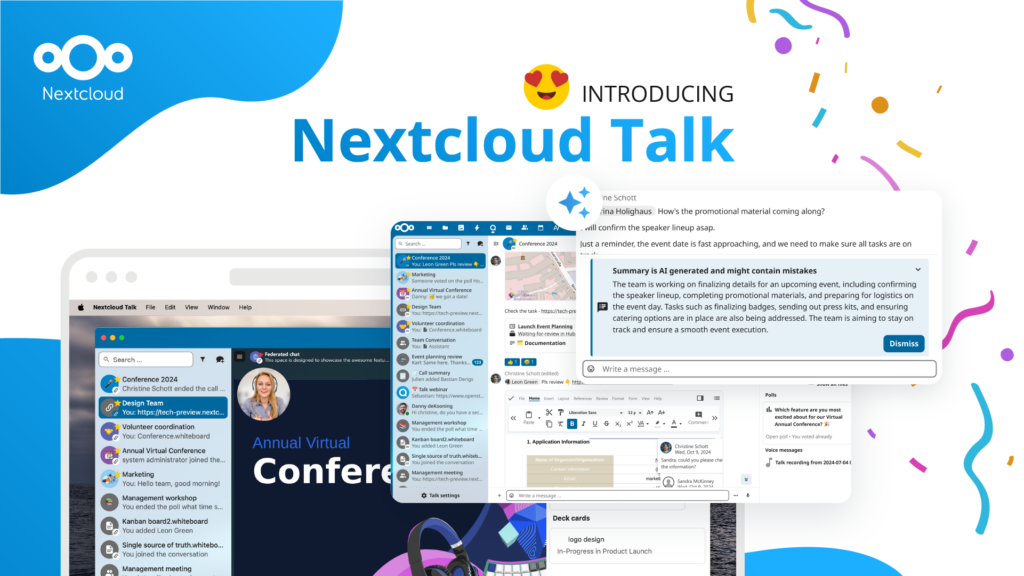
Organisations, small and large, need a way to ensure the resiliency and digital sovereignty of their operations – an open-source, privacy-respecting alternative to Teams. And today, we present that solution - Nextcloud Talk.
Read More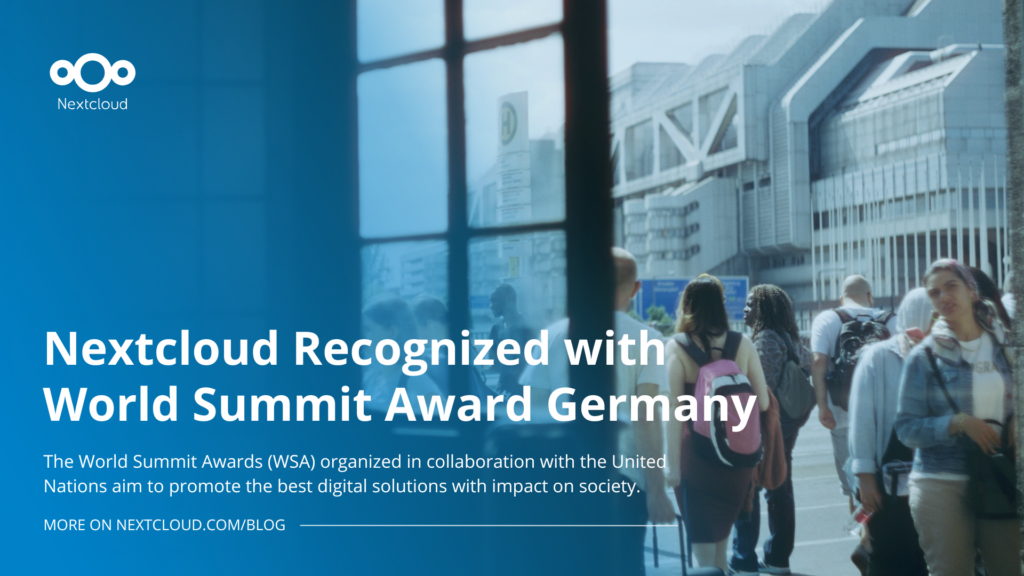
Nextcloud has been recognized with the World Summit Award Germany that selects and promotes local digital innovation improving society, aiming to contribute to the United Nations' agenda of sustainable development goals.
Read More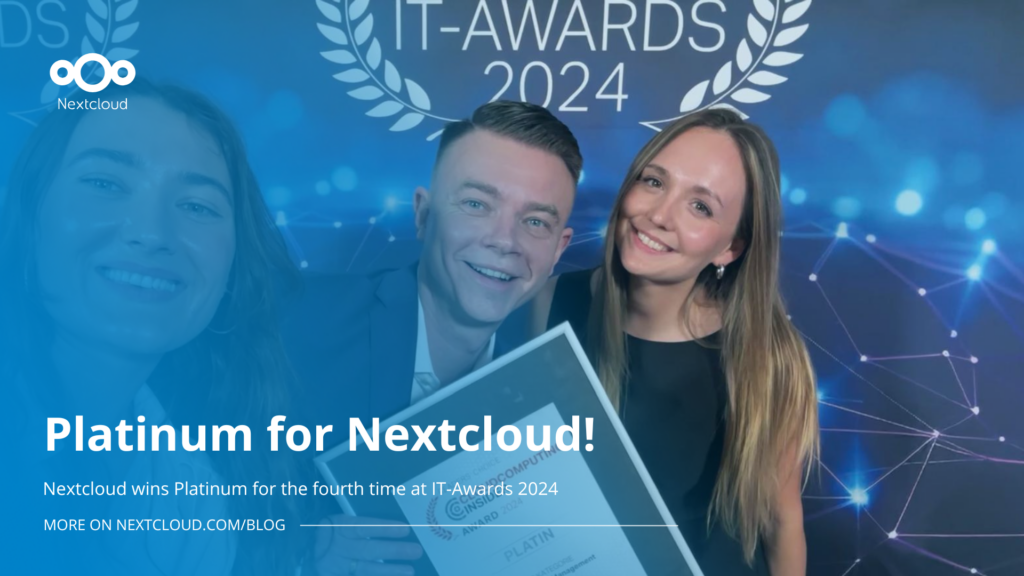
Nextcloud has been awarded Platinum at the IT Awards 2024. Today, we celebrate this win together!
Read More
DIE ZEIT, a prominent German outlet, interviewed Nextcloud’s founder Frank Karlitschek for an article on Microsoft’s anti-competitive behaviour on the European office software market. Read for a recap of the article and the key takeaways.
Read More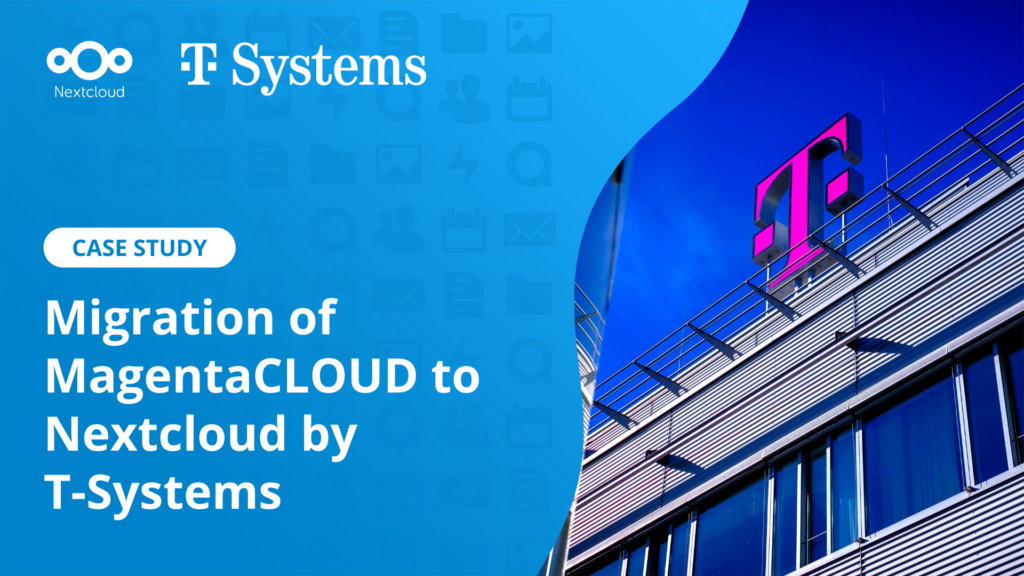
MagentaCLOUD’s migration to Nextcloud in 2021 resulted in a fully equipped Online Storage with an integrated online office suite that further improves the user experience, flexibility and security for customers.
Read More
We bring you a major update to the Nextcloud AI Assistant, plus the news we work with several big hosting providers like IONOS and OVHcloud to bring AI-as-a-Service options to you!
Read More
Bechtle and Nextcloud announce today a complete managed collaboration platform for the public sector that requires no tender and can be deployed immediately.
Read More
Discover how to make the switch from ownCloud to Nextcloud. Our quick guide provides insights into the migration process, helping you make the transition smoothly.
Read More
Today, US-based file sync & share vendor Kiteworks announced their acquisition of ownCloud and Dracoon. Kiteworks points out that their customers now have access to their file-sharing application. It is to be expected they will not maintain 3 similar products, but customers will have to migrate to the US firms’ platform or look for another […]
Read More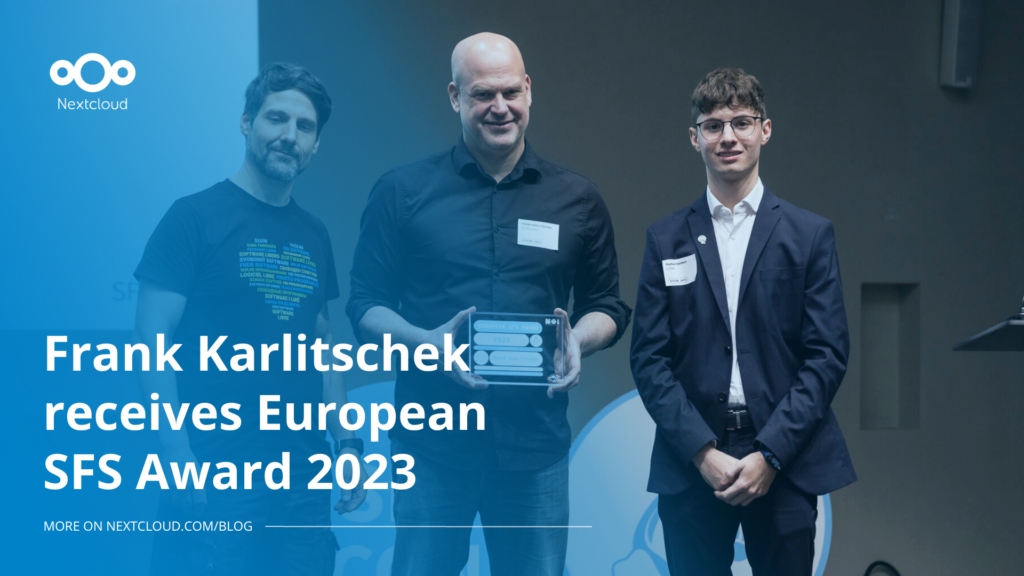
Nextcloud founder and CEO Frank Karlitschek earns the honorary SFS Award at the 20th annual SFSCON taking place in South Tyrol, Italy.
Read More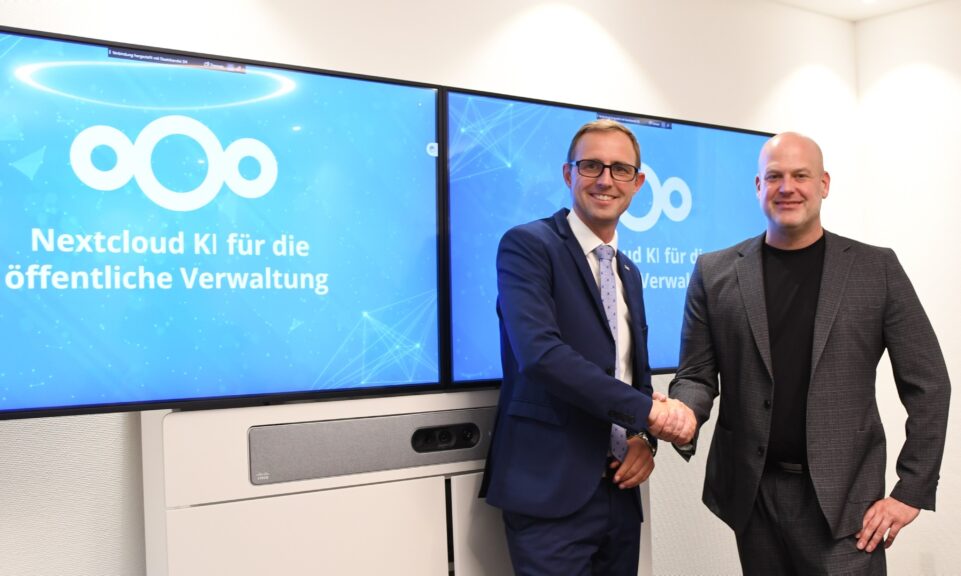
As part of Schleswig-Holstein's state digitization strategy, the state chancellery has announced they will work with Nextcloud to develop AI for working with government documents. This comes just after we announced the first private AI assistant last weekend with Hub 6. The German state already uses Nextcloud and their AI strategy aligns with our work on ethical, local AI technologies.
Read More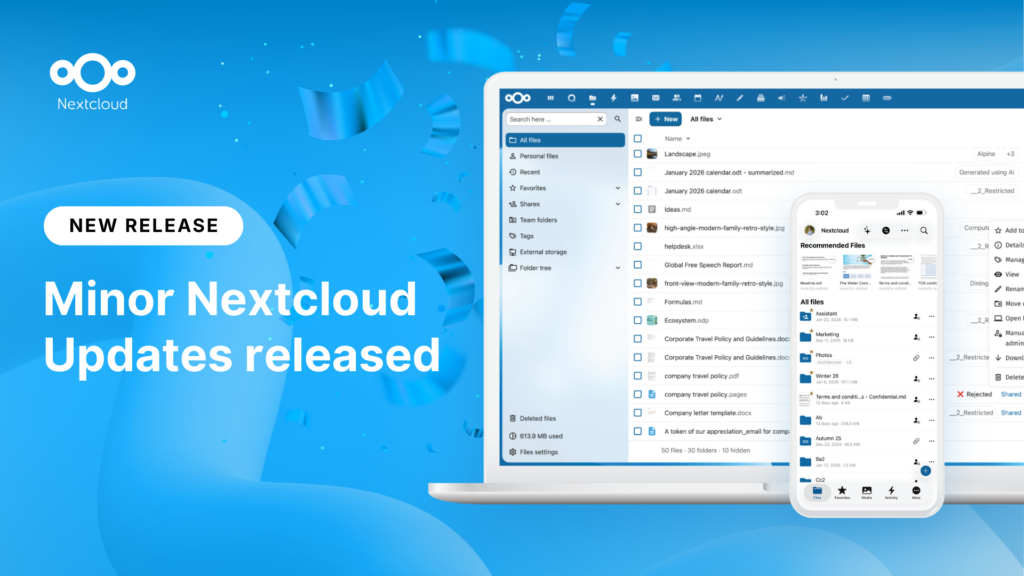
New maintenance updates are available for Nextcloud Hub. Read more in this post or access the full changelog on our website. Keep your server up-to-date!
Read More
Switch, the foundation of the Swiss universities, moved 39,500 students, teachers and researchers at 65 organizations to Nextcloud over a single weekend. That was 585 TB of data in 32 hours. As criticism of Big Tech licensing in education grows, Switzerland joins a growing list of universities choosing digital sovereignty. Their migration also shows that switching is a manageable process, not an impossible challenge.
Read More