Nextcloud All-in-One is a Docker-based project that allows you to install just one container that does the heavy lifting of creating and managing all containers needed for a complete Nextcloud installation. It provides easy deployment and maintenance of Nextcloud’s features, a user-friendly interface, stress-free updates, and a straightforward approach for getting everything to work out of the box.
With using Nextcloud All-in-One compared to the other installation methods, I found the performance is substantially better, especially on an office server.
Brandon Hopkins
Founder at TechHut Media
Read on for a clear and easy-to-follow step-by-step guide for how to set up Nextcloud AIO for a Linux PC.
Guide for AIO on Linux
The following instructions are valid for a Linux PC (e.g., with Ubuntu 22.04 LTS) with at least 4GB of RAM and two cores.
You will need to obtain a public domain and be able to open ports for the guide to work properly. Make sure that you are not behind CGNAT.
Please note that the instructions are for a setup without a web server or reverse proxy (like Apache, nginx, etc.) already being in place. If you want to run it behind a web server or reverse proxy, check the corresponding documentation page.
Install Docker
Install Docker on your Linux system by following the instructions in the Docker documentation. The easiest way is to install it with the convenience script:
3. Now, open the terminal and start AIO with this command:
# For Linux and without a web server or reverse proxy (like Apache or nginx) already in place:
sudo docker run \
--sig-proxy=false \
--name nextcloud-aio-mastercontainer \
--restart always \
--publish 80:80 \
--publish 8080:8080 \
--publish 8443:8443 \
--volume nextcloud_aio_mastercontainer:/mnt/docker-aio-config \
--volume /var/run/docker.sock:/var/run/docker.sock:ro \
ghcr.io/nextcloud-releases/all-in-one:latest
4. Next, you can open the AIO interface on https://localhost:8080 or https://the.servers.ip.address:8080.
Why you should use an IP address
It’s important to always use an IP address if you access this port, and not a domain. Otherwise, you risk that HSTS might block access to it later.
You need to accept the self-signed certificate. Then you should see this:
Alternatively, if ports 80 and 8443 should be opened in your firewall/router and a domain is configured to point to your server, you can reach the AIO interface with a valid certificate using https://your-domain.com:8443.
5. Click on “Open Nextcloud AIO login” and paste your password:
6. Then, you should see the AIO interface:
7. Next, type in your public domain that you’ve got before following this guide. The interface should help you figure out the exact steps. (Set up DDNS for your domain to point to your public IP, port-forward at least ports 443/tcp, 3478/udp, and 3478/tcp to your Linux machine.)
8. After you’ve set it up correctly, it should allow you to pass to the next step, where you can configure the wanted optional add-ons and the timezone, and click on “Start containers” to download and start them.
9. At this point, you should see a spinner that will take a while depending on your internet speed. It should take around 10 minutes or more.
10. When all containers are downloaded, you will see this screen showing the containers still starting, which will do the first installation for you:
11. When everything is done, you should see this screen:
12. You can now open your new Nextcloud instance and log in with your admin credentials.
That’s it! Everything is set and ready for production.
Discover more about Nextcloud All-in-One and its many options
This Nextcloud AIO manual was created by Simon Lindner, Software Engineer at Nextcloud. You can check out our podcast interview with Simon, in which he explains more about his interest in making Nextcloud and open source software accessible to everyone.
Make sure to read our guide on how to set up Community Containers, developed by the Nextcloud community, for your Nextcloud instance. With these useful features, including Caddy, Fail2ban, and Pi-hole, you can enhance your Nextcloud AIO in a couple of clicks.
We are launching the Nextcloud Community Awards to celebrate the people who have made outstanding contributions to our community and ecosystem in three categories. Submit nominations via form in this post. The winners will be announced at the Nextcloud Community Conference 2026.
Today we present Nextcloud Hub 26 Spring, our anniversary release. It gives you even more choice for your tools, a refined UI, stress-free collaboration, and the new platform strategy that enables developers to benefit more from our vast ecosystem. Built together, designed for the future.
Passionate about data privacy and Nextcloud? We invite you speak at the Nextcloud Community Conference to share your experience, knowledge and news with the community!
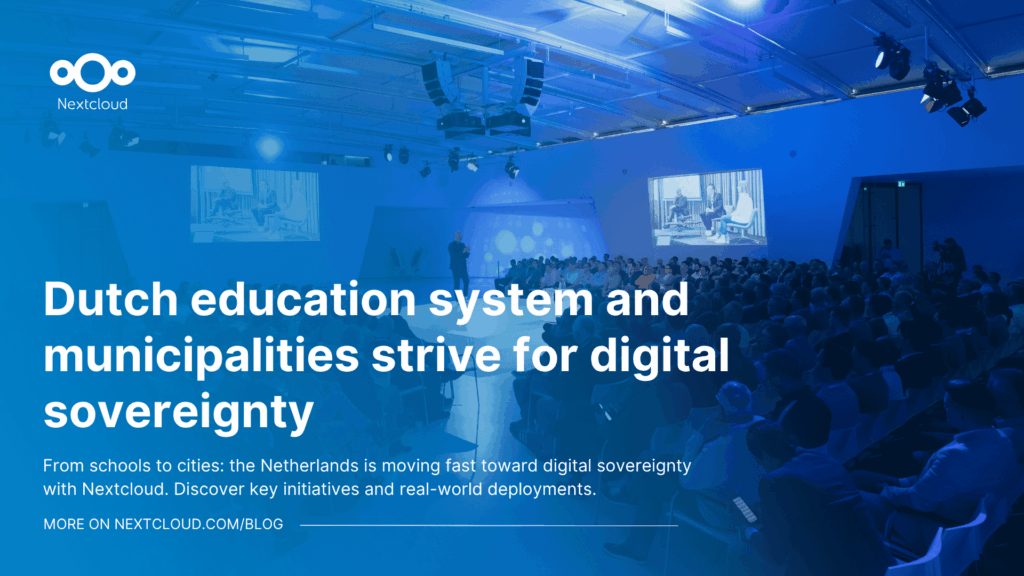
Following two successful Nextcloud Enterprise Days in The Hague in 2025, we brought the event to Utrecht this year, where a massive 750 registrations brought a big crowd to the Jaarbeurs venue. The kickoff in the morning pre-announced the launch of the book “Sovereignty! But how?“ by well-known Dutch IT security journalist and author Brenno […]
Nextcloud Hub 25 Autumn makes it easier to get started with powerful collaboration while fully in control of your data. From global design updates to improved usability and performance, discover our latest release in this blog.
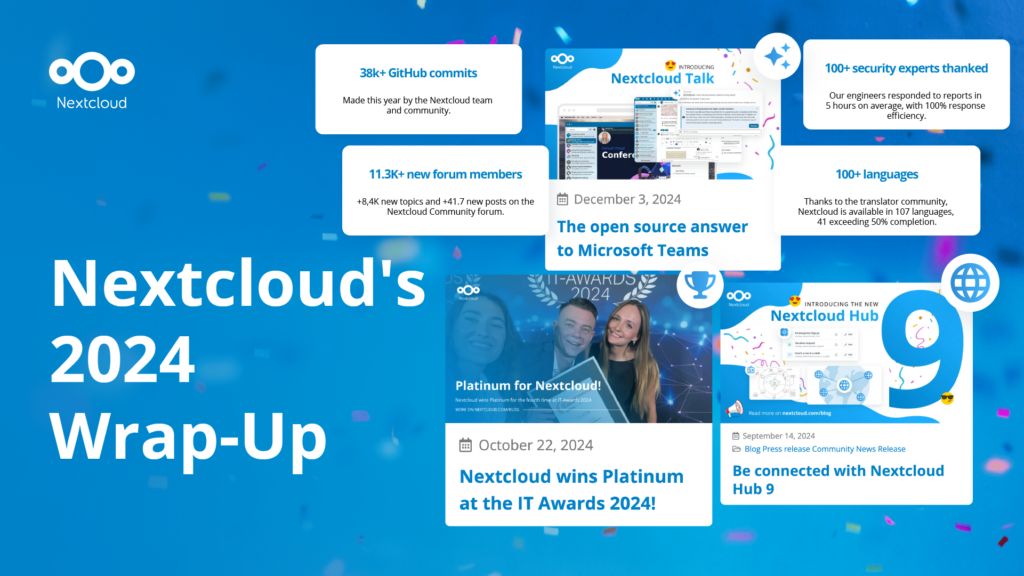
In the Nextcloud 2024 wrap-up, we want to take a moment to celebrate this year's achievements. Join us as we continue to reimagine what’s possible - shaping a world where open source, privacy and connection come together and drive progress for the greater good.
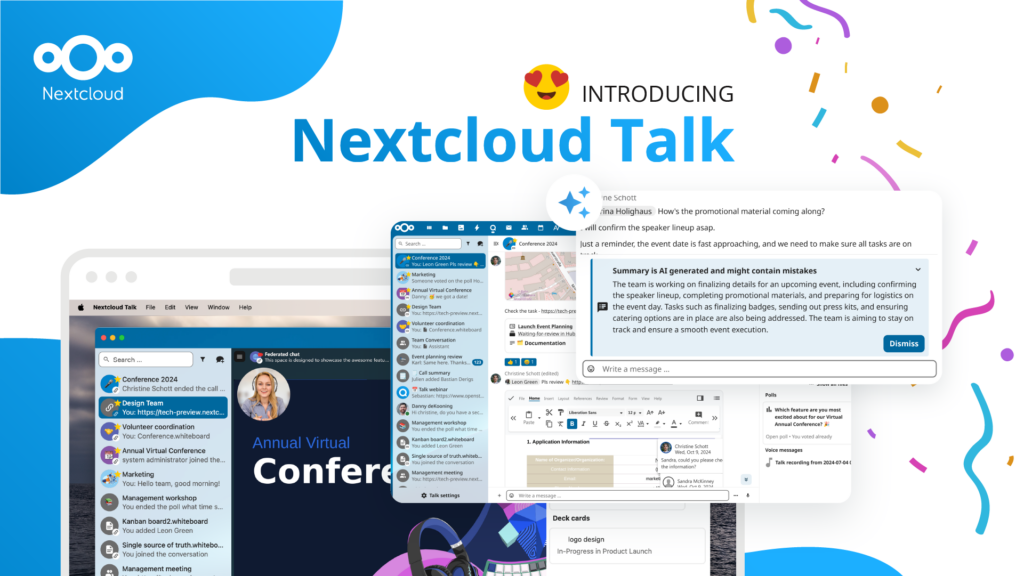
Organisations, small and large, need a way to ensure the resiliency and digital sovereignty of their operations – an open-source, privacy-respecting alternative to Teams. And today, we present that solution - Nextcloud Talk.
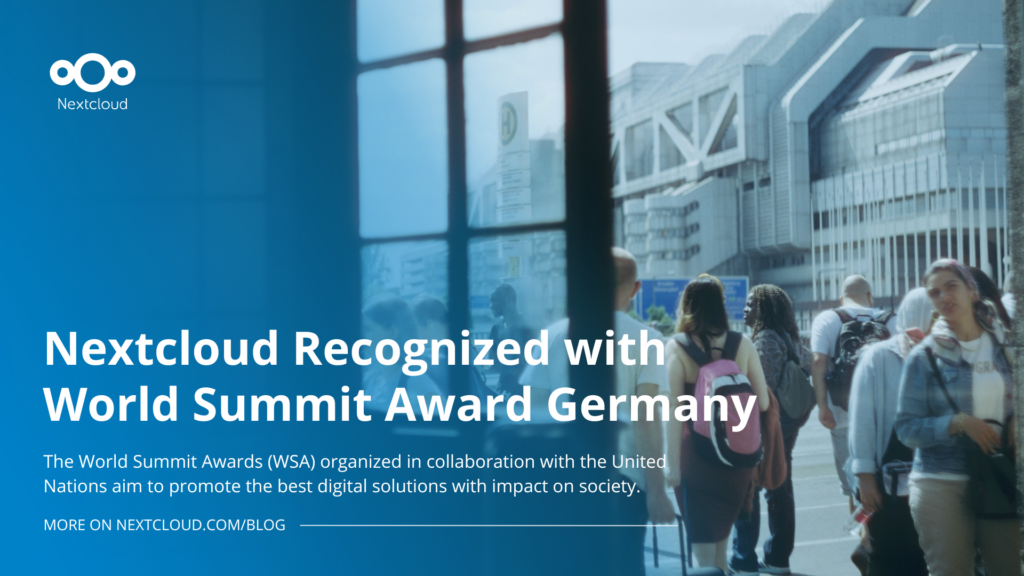
Nextcloud has been recognized with the World Summit Award Germany that selects and promotes local digital innovation improving society, aiming to contribute to the United Nations' agenda of sustainable development goals.
DIE ZEIT, a prominent German outlet, interviewed Nextcloud’s founder Frank Karlitschek for an article on Microsoft’s anti-competitive behaviour on the European office software market. Read for a recap of the article and the key takeaways.
MagentaCLOUD’s migration to Nextcloud in 2021 resulted in a fully equipped Online Storage with an integrated online office suite that further improves the user experience, flexibility and security for customers.
We bring you a major update to the Nextcloud AI Assistant, plus the news we work with several big hosting providers like IONOS and OVHcloud to bring AI-as-a-Service options to you!
Bechtle and Nextcloud announce today a complete managed collaboration platform for the public sector that requires no tender and can be deployed immediately.
Discover how to make the switch from ownCloud to Nextcloud. Our quick guide provides insights into the migration process, helping you make the transition smoothly.
Today, US-based file sync & share vendor Kiteworks announced their acquisition of ownCloud and Dracoon. Kiteworks points out that their customers now have access to their file-sharing application. It is to be expected they will not maintain 3 similar products, but customers will have to migrate to the US firms’ platform or look for another […]
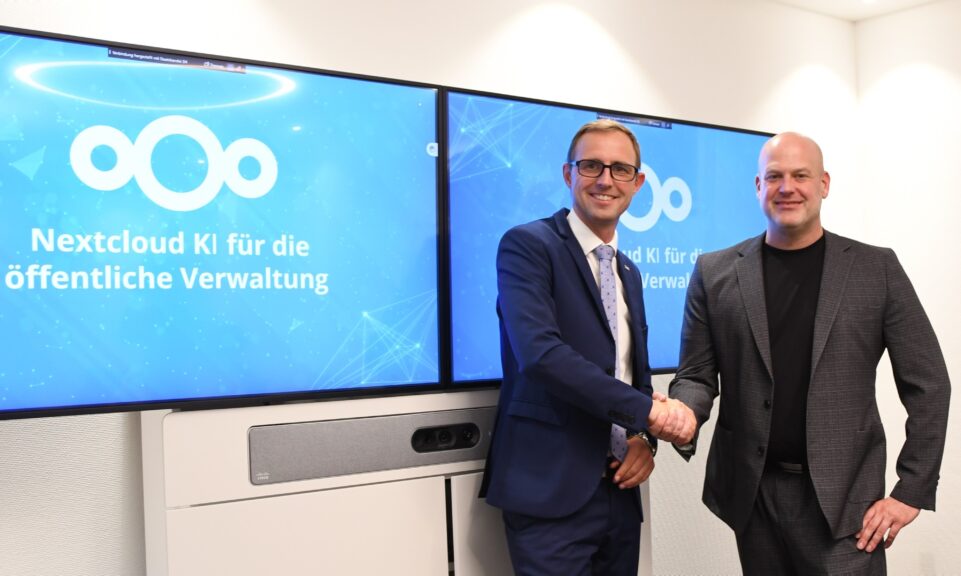
As part of Schleswig-Holstein's state digitization strategy, the state chancellery has announced they will work with Nextcloud to develop AI for working with government documents. This comes just after we announced the first private AI assistant last weekend with Hub 6. The German state already uses Nextcloud and their AI strategy aligns with our work on ethical, local AI technologies.
Starting with Nextcloud AIO v13.3.1, you can register a free, automatically configured domain with DNS records via deSEC to streamline setting up your Nextcloud.
We save some cookies to count visitors and make the site easier to use. This doesn't leave our server and isn't to track you personally!
See our Privacy Policy for more information. Customize
Statistics cookies collect information anonymously and help us understand how our visitors use our website. We use cloud-hosted Matomo
Service:Matomo
Cookies description:
_pk_ses*: Counts the first visit of the user
_pk_id*: Helps not to double count the visits.
mtm_cookie_consent: Remembers that consent for storing and using cookies was given by the user.
Cookies expiry:_pk_ses*: 30 minutes
_pk_id*: 13 months
mtm_cookie_consent: 30 days