

The problems with Big Tech AI data collection: privacy concerns and how to protect your data
AI privacy concerns are growing as Big Tech keeps collecting data. Learn the risks and how privacy-first AI solutions help protect your data.
Read MoreNextcloud All-in-One (AIO) supports “Community Containers” that let you easily add useful functionality to your instance and plug into Nextcloud AIO’s update and backup features. With update 11.0.0, you can manage your Community Containers directly via the Nextcloud AIO interface.
Read this guide to learn what Community Containers are and how to use them in your Nextcloud AIO.
Community Containers for Nextcloud AIO bring numerous useful features developed by the Nextcloud community to your Nextcloud instance.
While these features might not be directly related to your functionality, they can be helpful, for example, for managing your instance and deploying various apps.
The Community Containers can be managed with your instance’s backup and container administration tools: for instance, to update the containers or retrieve update notifications.
Community Containers are maintained by their authors, who make sure the containers are kept secure and up-to-date. However, this makes each container unique, and it’s very important to get familiar with the documentation before running any new container with your instance.
What makes this feature great? Anyone can add new features to their instance and centrally manage them with ease.
Some good examples of Community Containers include:
Before version 11.0.0 of Nextcloud AIO, it was only possible to add and remove the Community Container via an environmental variable for the master container. Now you can add and remove the Community Containers easily via your Nextcloud AIO interface.
It is crucial to read and understand the documentation of each Community Container you want to add to your Nextcloud. Running containers incorrectly might break your instance. What’s more, some containers don’t work on all CPU architectures, and some are not compatible with each other.
1. Log in to the AIO interface. Here’s how to do it easily
2. Update to the latest available AIO version (version 11.X is required), if not already done.
3. Before you make any changes, create a backup copy by using the “Create backup” button in the “Backup and restore” section. In our recent guide, we explained how to perform remote backups for better security and reliability of the backup.
4. Now, the containers should be stopped automatically. Keep them stopped for now.
5. Scroll down to the last section in the AIO interface and click on “Show/Hide available Community Containers“.
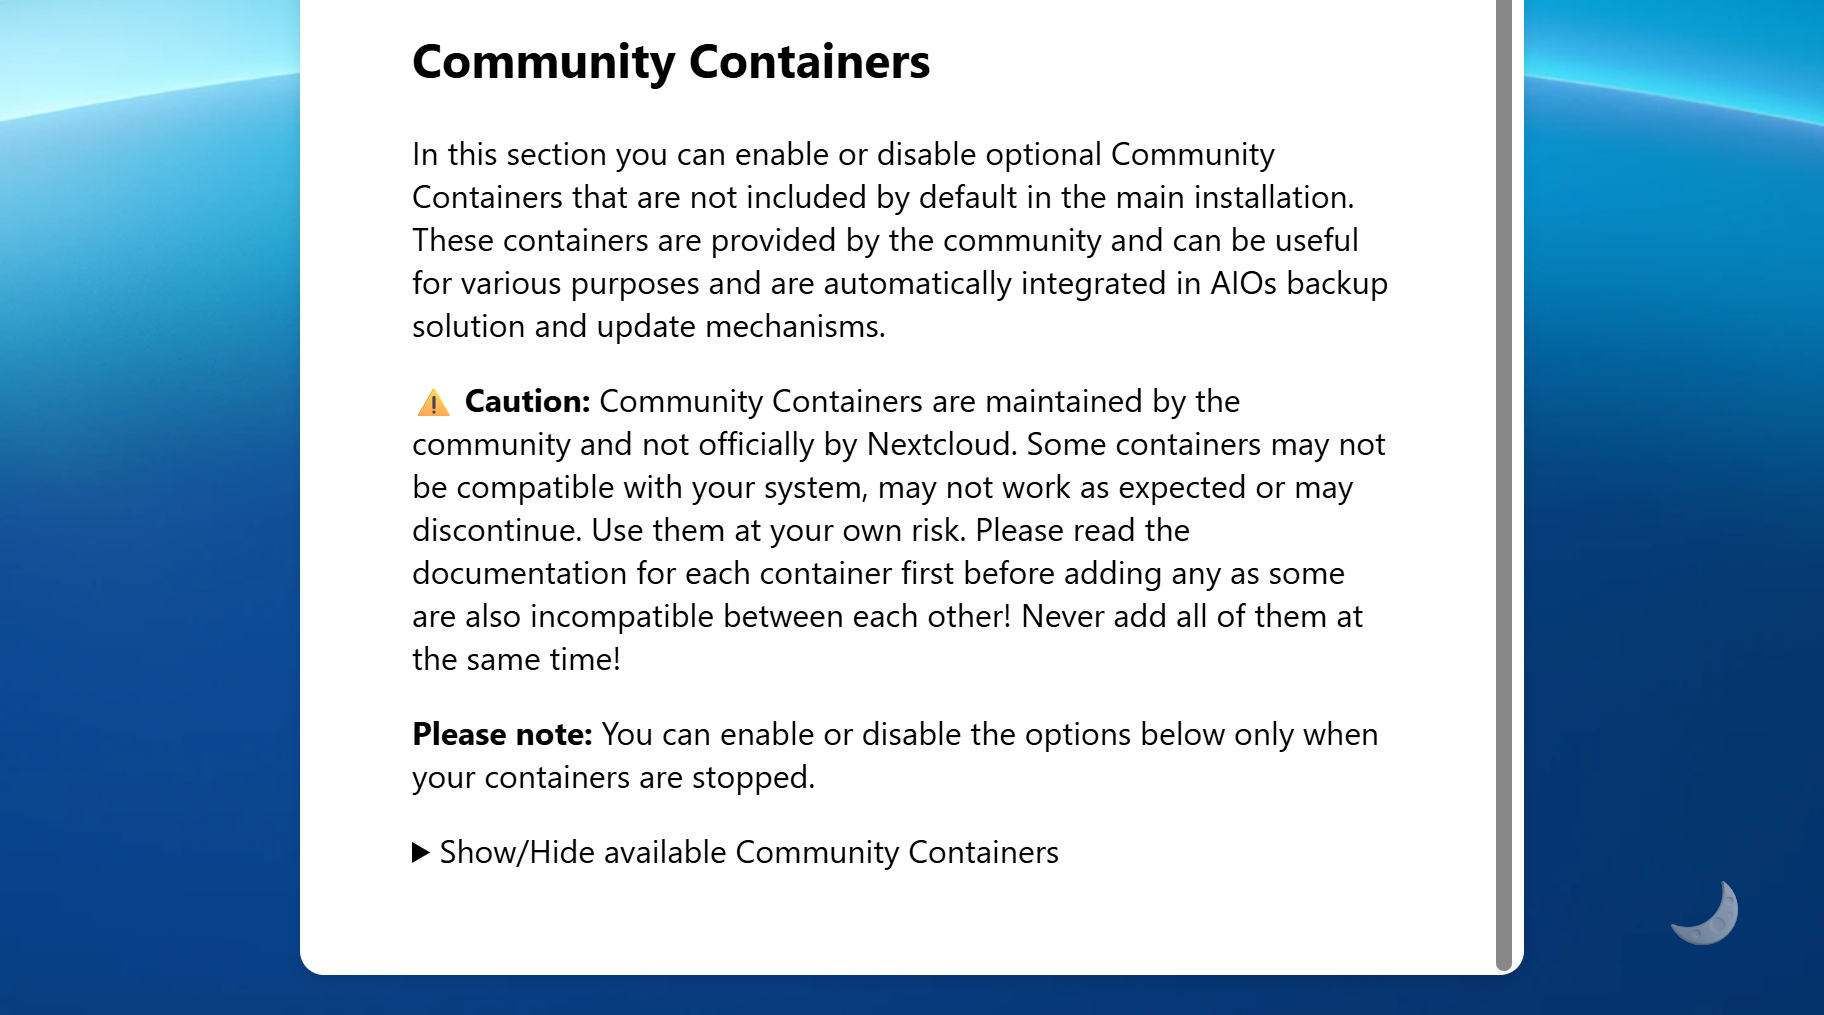
6. Here, you should see the list of available Community Containers.
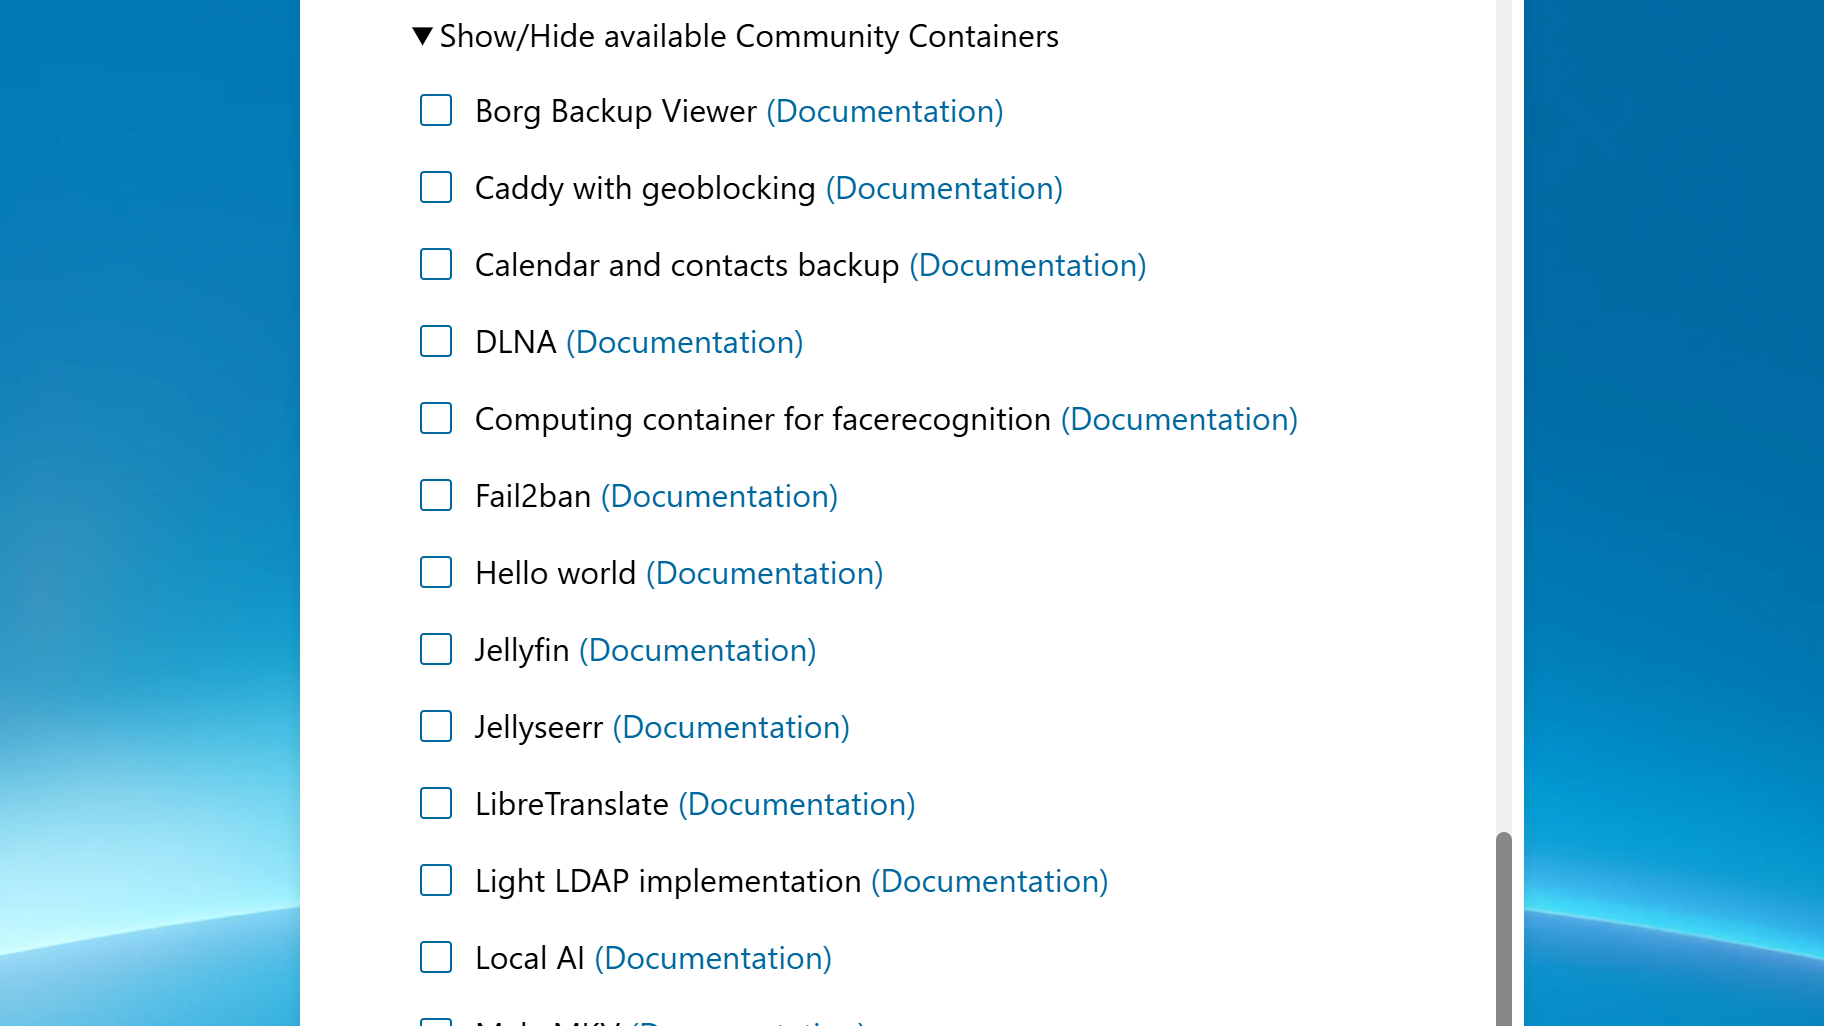
7. Before enabling any of them, first read through the documentation of each container you want to enable. Do so by clicking on the documentation link next to the container checkbox. For example, in the case of the Fail2ban container, you will be redirected to the corresponding documentation page.
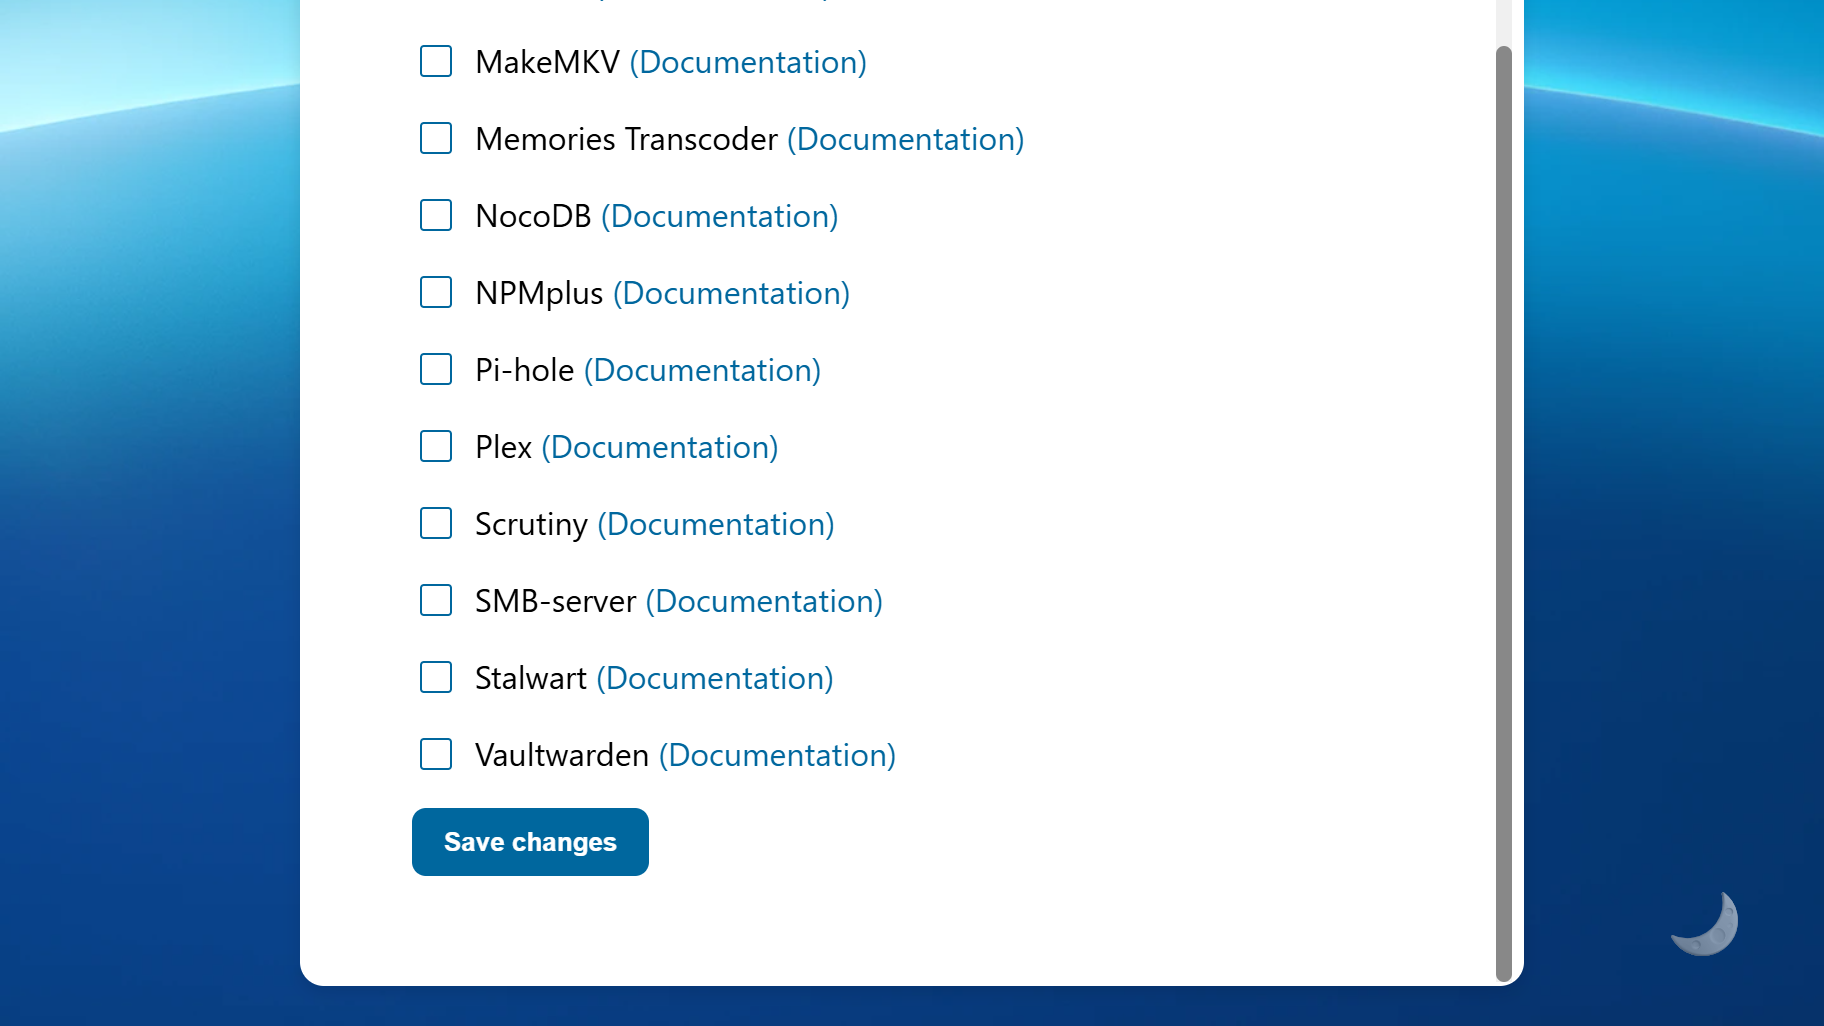
8. If you have read through the documentation and understood it, you can enable the container via the checkbox. Afterwards, click on the “Save changes” button below the container list to save it.
9. In the pop-up dialogue, confirm that you have read and understood the documentation for all the containers that you wish to add.
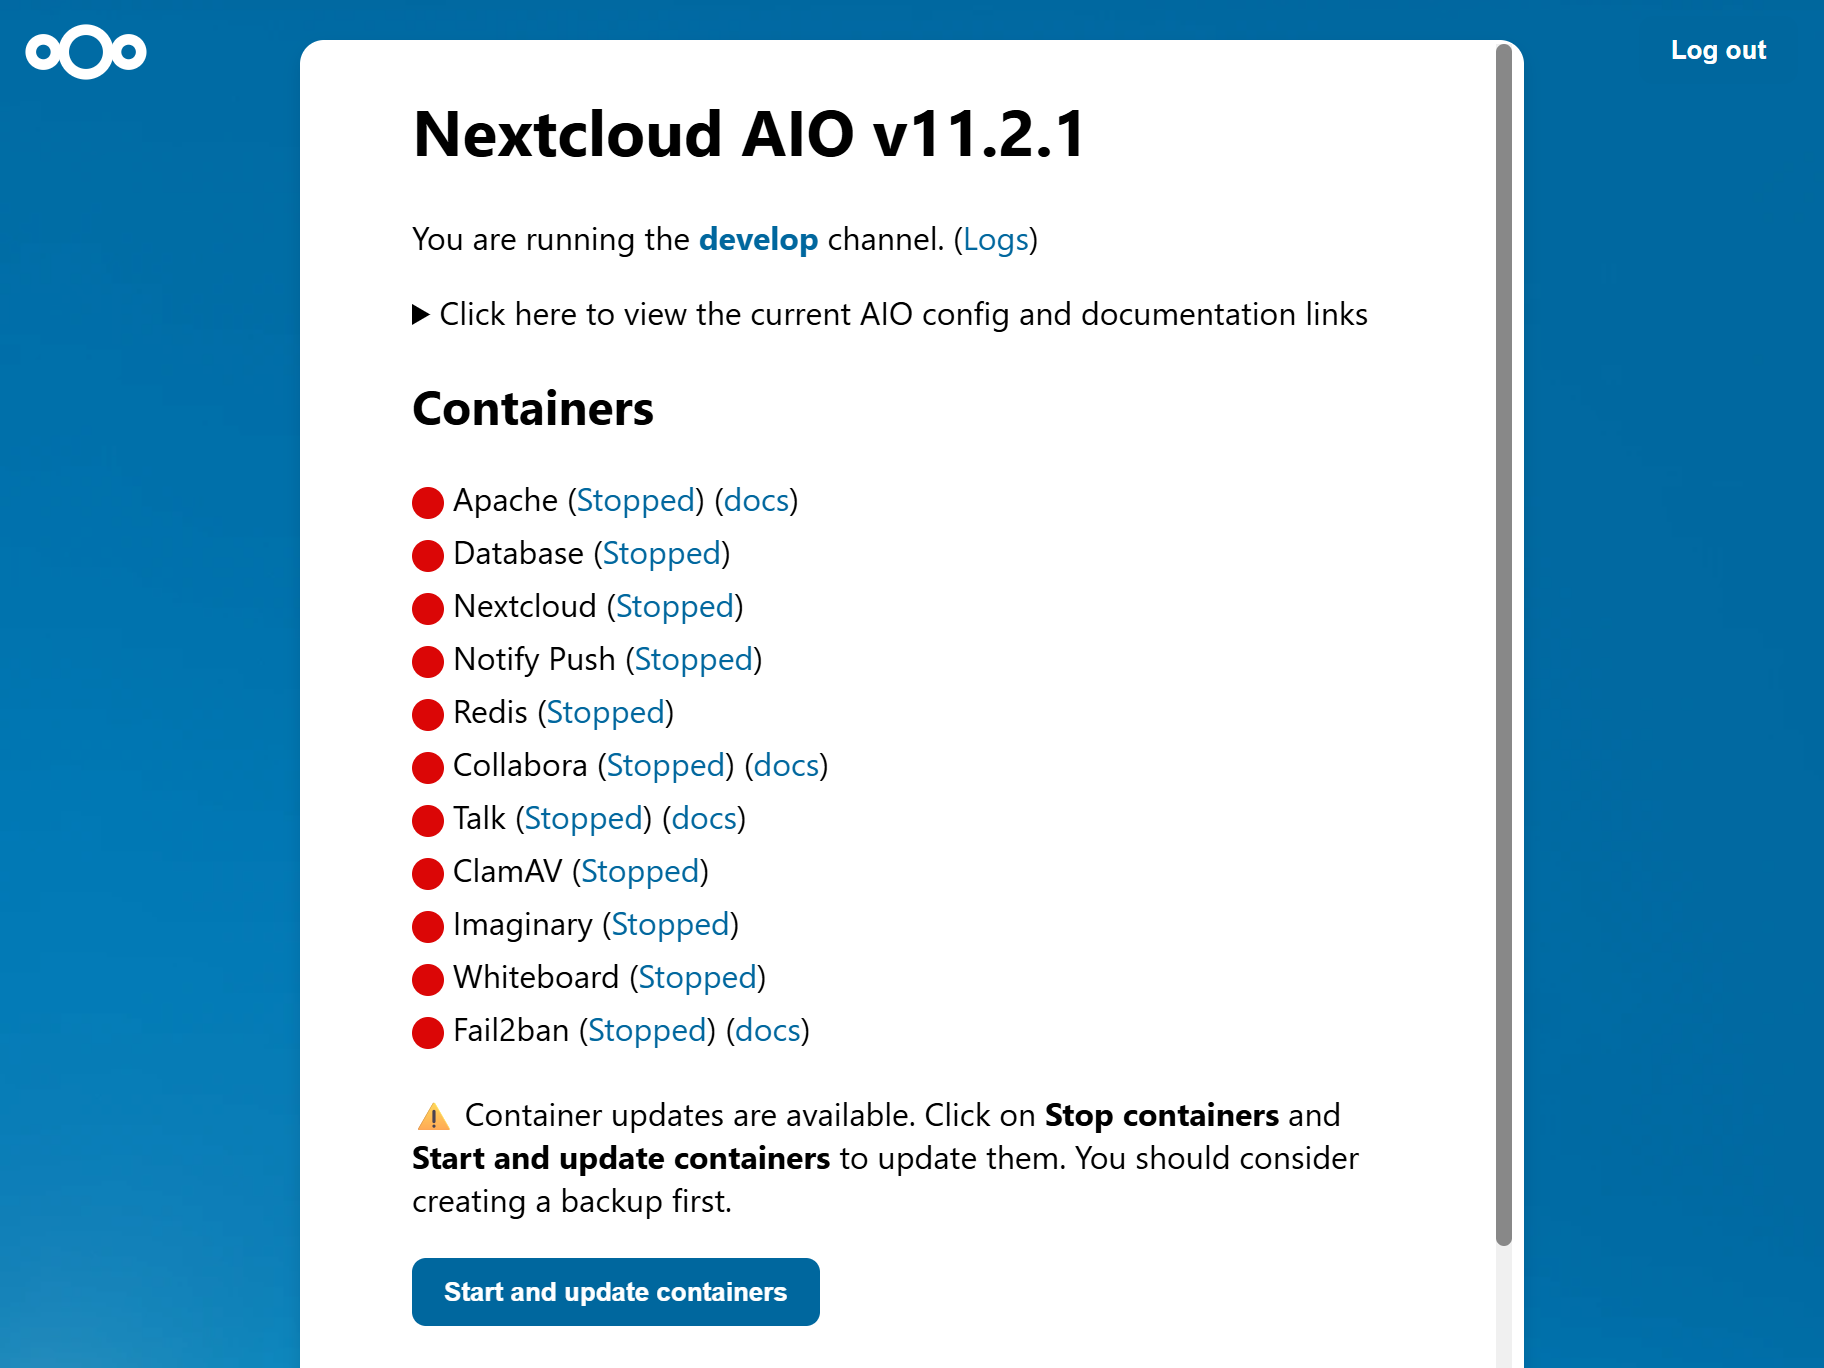
10. Now, the desired containers should be listed in the Containers list, and you should see that an update is available. Simply click on “Start and update containers” to start and update them. Make sure to create a backup before clicking this button if you haven’t done it yet.
You have now successfully added Community Containers to your Nextcloud AIO!
Nextcloud Hub 10 is an integrated but modular solution that you shape and define, replacing multiple disconnected stand-alone apps and restrictive, rigid app bundles. Instead, it offers flexibility and adaptability within a unified platform, so you can readjust your focus on what matters. Learn more about Nextcloud Hub 10 in our blog.
Interested? Download the latest version of Nextcloud AIO and get started now!
AI privacy concerns are growing as Big Tech keeps collecting data. Learn the risks and how privacy-first AI solutions help protect your data.
Read More
Following the overwhelming success of last year’s Nextcloud Summit, Nextcloud is proud to launch its second edition of the Nextcloud Summit, taking place on 9 June in Munich, Germany. During this unique event, we want to address the wider market around digitally sovereign collaboration technology, providing a space for organizations, governments, and experts to connect, […]
Read More
Time to own your data is now. Introducing the new Nextcloud Hub, a powerful open source collaboration platform that puts you in control. Discover improvements in performance, design, and security, and lots of new and improved tools for your daily work and life.
Read More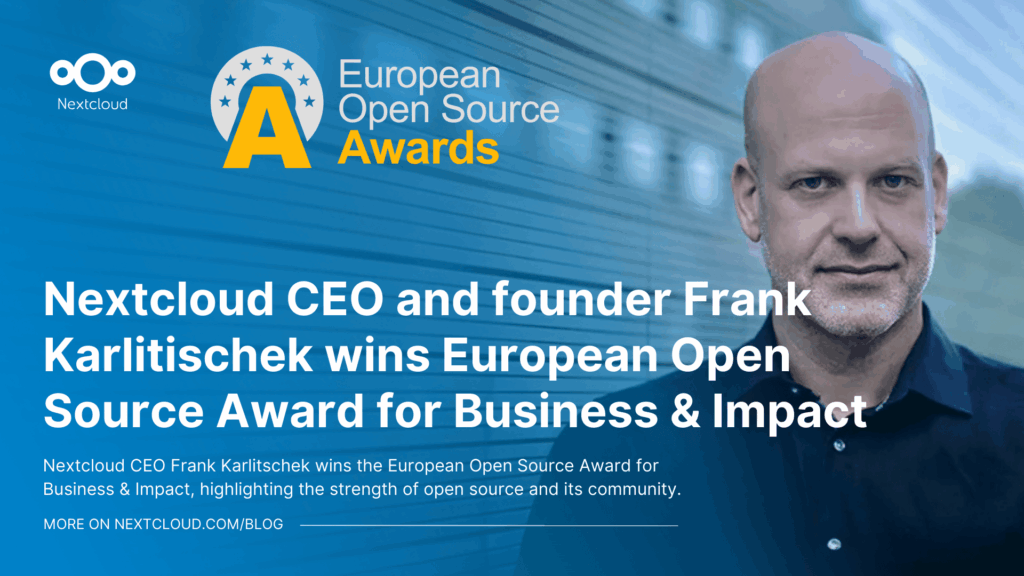
Nextcloud CEO Frank Karlitschek wins the European Open Source Award for Business & Impact, highlighting the strength of open source and its community.
Read More
Looking for a sovereign Microsoft Office alternative? Learn how Nextcloud puts you back in control of your data and online collaboration.
Read More
Nextcloud Hub 25 Autumn makes it easier to get started with powerful collaboration while fully in control of your data. From global design updates to improved usability and performance, discover our latest release in this blog.
Read More
Nextcloud has published its first Digital Sovereignty Index (DSI) to showcase the status of digital sovereign infrastructure.
Read More
Discover the Microsoft 365 alternative by Nextcloud and IONOS: the Nextcloud Workspace office suite, launching in the course of 2025.
Read More
Nextcloud becomes the first cloud software platform to earn the Blauer Engel ecolabel, proving that digitally sovereign and green IT is possible.
Read More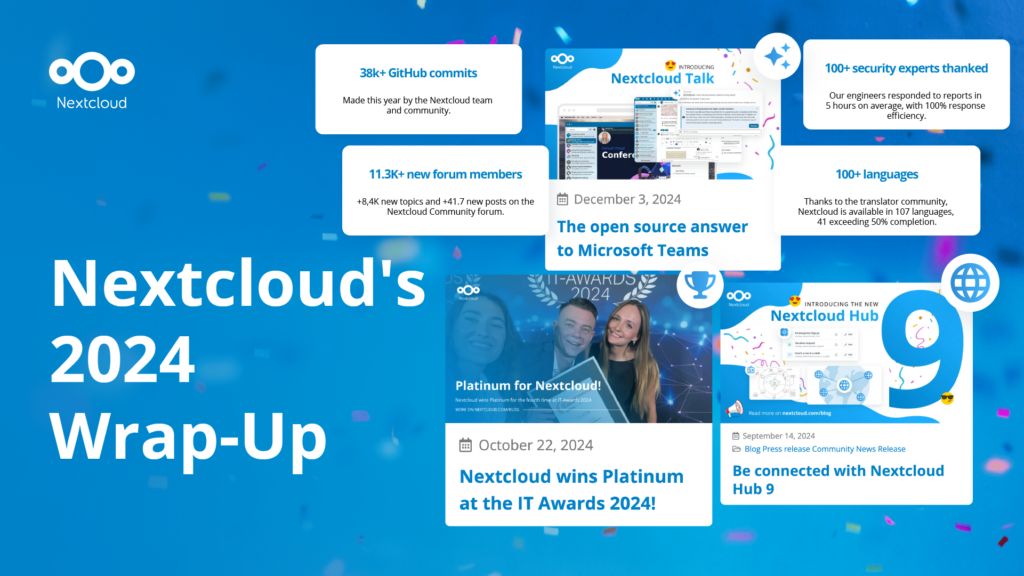
In the Nextcloud 2024 wrap-up, we want to take a moment to celebrate this year's achievements. Join us as we continue to reimagine what’s possible - shaping a world where open source, privacy and connection come together and drive progress for the greater good.
Read More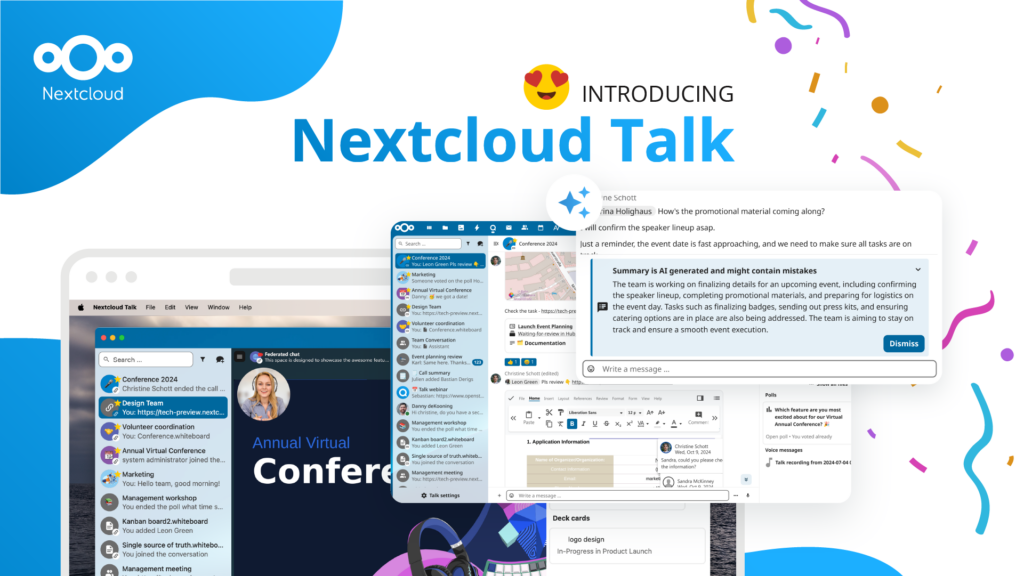
Organisations, small and large, need a way to ensure the resiliency and digital sovereignty of their operations – an open-source, privacy-respecting alternative to Teams. And today, we present that solution - Nextcloud Talk.
Read More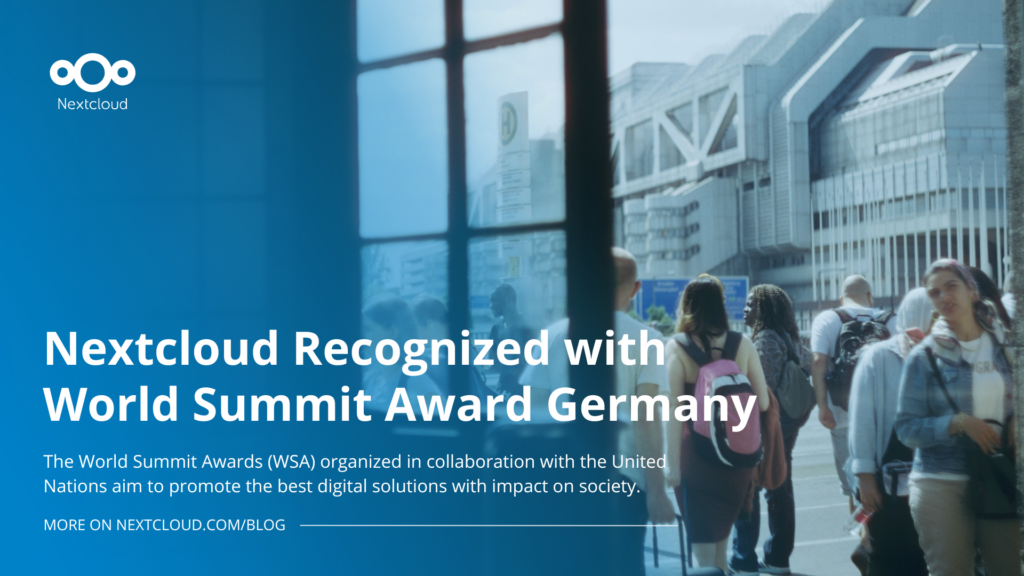
Nextcloud has been recognized with the World Summit Award Germany that selects and promotes local digital innovation improving society, aiming to contribute to the United Nations' agenda of sustainable development goals.
Read More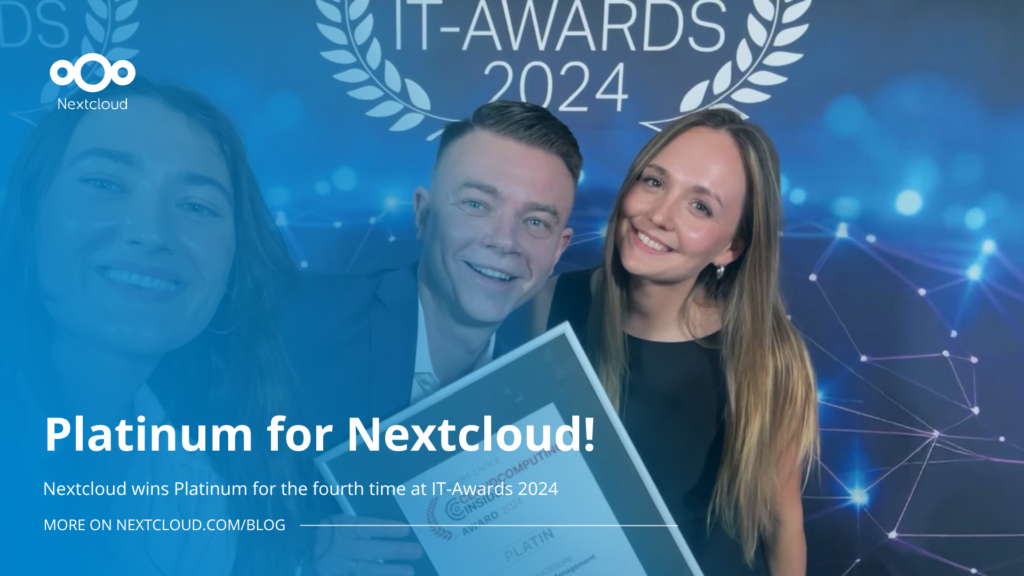
Nextcloud has been awarded Platinum at the IT Awards 2024. Today, we celebrate this win together!
Read More
DIE ZEIT, a prominent German outlet, interviewed Nextcloud’s founder Frank Karlitschek for an article on Microsoft’s anti-competitive behaviour on the European office software market. Read for a recap of the article and the key takeaways.
Read More
MagentaCLOUD’s migration to Nextcloud in 2021 resulted in a fully equipped Online Storage with an integrated online office suite that further improves the user experience, flexibility and security for customers.
Read More
We bring you a major update to the Nextcloud AI Assistant, plus the news we work with several big hosting providers like IONOS and OVHcloud to bring AI-as-a-Service options to you!
Read More
Bechtle and Nextcloud announce today a complete managed collaboration platform for the public sector that requires no tender and can be deployed immediately.
Read More
Discover how to make the switch from ownCloud to Nextcloud. Our quick guide provides insights into the migration process, helping you make the transition smoothly.
Read More
Today, US-based file sync & share vendor Kiteworks announced their acquisition of ownCloud and Dracoon. Kiteworks points out that their customers now have access to their file-sharing application. It is to be expected they will not maintain 3 similar products, but customers will have to migrate to the US firms’ platform or look for another […]
Read More
Nextcloud founder and CEO Frank Karlitschek earns the honorary SFS Award at the 20th annual SFSCON taking place in South Tyrol, Italy.
Read More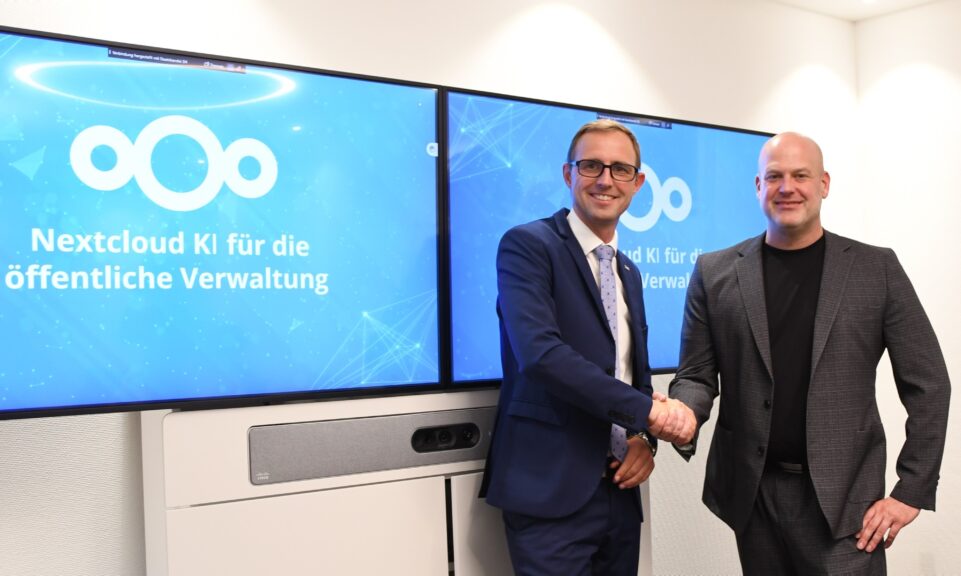
As part of Schleswig-Holstein's state digitization strategy, the state chancellery has announced they will work with Nextcloud to develop AI for working with government documents. This comes just after we announced the first private AI assistant last weekend with Hub 6. The German state already uses Nextcloud and their AI strategy aligns with our work on ethical, local AI technologies.
Read More
Since its mass adoption, AI has become, and still is, a popular and sometimes contraversial topic. Some of it is hype, some is substance. Some is good, some, of course, is bad. We want to give you the good, not the bad, and ignore the hype. In Nextcloud Hub we’ve focused on providing you the […]
Read More
From government institutions to research organisations and private companies: There is a growing urgency to regain control over data, infrastructure and digital collaboration. Austria is actively shaping this movement with great lighthouse projects.
Read More
Keep Microsoft workflows while regaining data sovereignty. Learn how to integrate Microsoft tools with Nextcloud for on-prem collaboration.
Read More
Explore how millions of new users and rapid growth are driving adoption of open, secure collaboration platforms like Nextcloud.
Read More