Sia is a blockchain-based, decentralized cloud storage technology. Think Bitcoin for your data, providing an encrypted, distributed and affordable storage. Sia developed a Nextcloud external storage app providing its redundant and secure data store to Nextcloud users. Learn more in about this exciting technology in their excellent FAQ. In this blog we will walk through the steps required to integrate Sia in Nextcloud.
Setting up a Sia Node
Running Nextcloud with Sia requires running a full Sia node. This guide will walk you through the process of setting one up on your Nextcloud server, and assumes basic linux system administration knowledge.
Download the latest Sia release that supports Nextcloud, v1.1.2, available from Github. Unpack the release to your preferred installation directory, and start up a node by running siad. You may want to set up siad as a service on your server.
Once you have started a siad instance, you should allow the blockchain to fully synchronize. This can take a fair bit of time, you can view the progress by running siac, the other binary packaged in the release.
After the blockchain has fully synced, create a new wallet by running siac wallet init. Make sure you keep the seed that is displayed after this command executes safe, it’s the passphrase you will use to unlock your wallet and can also be used to recover your wallet if you lose your data. Now that you’ve initialized a wallet, run siac wallet unlock and provide your seed to unlock your wallet.
Now, you’ll want to acquire some Siacoin (SC). The usual process for this is to first get Bitcoin, then use an exchange (Yunbi, Poloniex, Shapeshift.io, and Bitsquare all have Siacoin) to convert from BTC to SC. Once you’ve done this, use siac wallet address to get an address you can receive coins on, and send your SC from your exchange to that address.
The final step is to set an allowance. A Sia allowance is a recurring amount that you allocate to file storage, download, and upload. You can use the siac renter setallowance command to set your allowance. It takes two parameters, amount and period, where amount is the amount of SC you will be setting aside and the period is the duration of the allowance, in blocks. We use 12960 in Sia-UI, which amounts to roughly 3 months. The allowance will automatically renew halfway through the period. After you set your allowance, you’re ready to install the Sia Nextcloud app and start uploading and downloading from the Nextcloud interface.
Setting up your Nextcloud installation
First, you’ll need to enable external storage on your Nextcloud installation, if you haven’t done so already. Nextcloud provides some good docs on how to do that here. After you’ve enabled external storages, you’ll need to install the Sia external storage app, available here. After you’ve installed the Sia app, add a new external storage from the external storage app. From the dropdown, select Sia. In the ‘API Address’ field, input the default api address, localhost:9980. After doing so, you should see the status indicator turn to green, indicating that you’re ready to start uploading files to Sia.
Conclusion
For Nextcloud users, the Sia/Nextcloud integration provides a unique way to expand their storage through an encrypted, distributed, redundant and global storage technology. Sia is fully open source and its blockchain foundations provide an impressive cost saving compared to Amazon, Google and other public clouds. It is great to see such innovative technology integrate into Nextcloud!
Sia is developing an exciting technology and the team welcomes you to check out their source code, report bugs, or request features for the Sia Nextcloud app in their github repo..
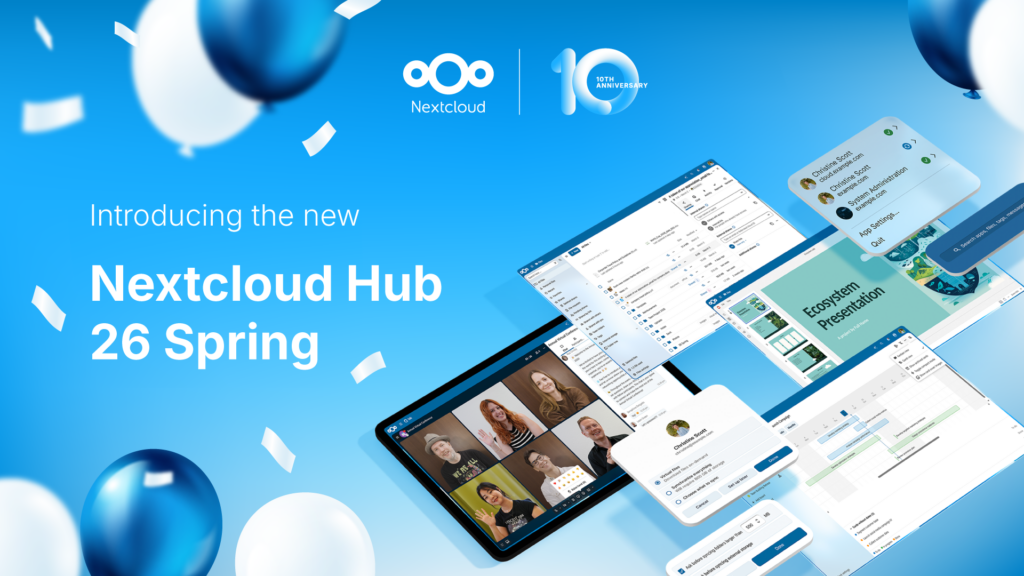
Today we present Nextcloud Hub 26 Spring, our anniversary release. It gives you even more choice for your tools, a refined UI, stress-free collaboration, and the new platform strategy that enables developers to benefit more from our vast ecosystem. Built together, designed for the future.
Passionate about data privacy and Nextcloud? We invite you speak at the Nextcloud Community Conference to share your experience, knowledge and news with the community!
Following two successful Nextcloud Enterprise Days in The Hague in 2025, we brought the event to Utrecht this year, where a massive 750 registrations brought a big crowd to the Jaarbeurs venue. The kickoff in the morning pre-announced the launch of the book “Sovereignty! But how?“ by well-known Dutch IT security journalist and author Brenno […]
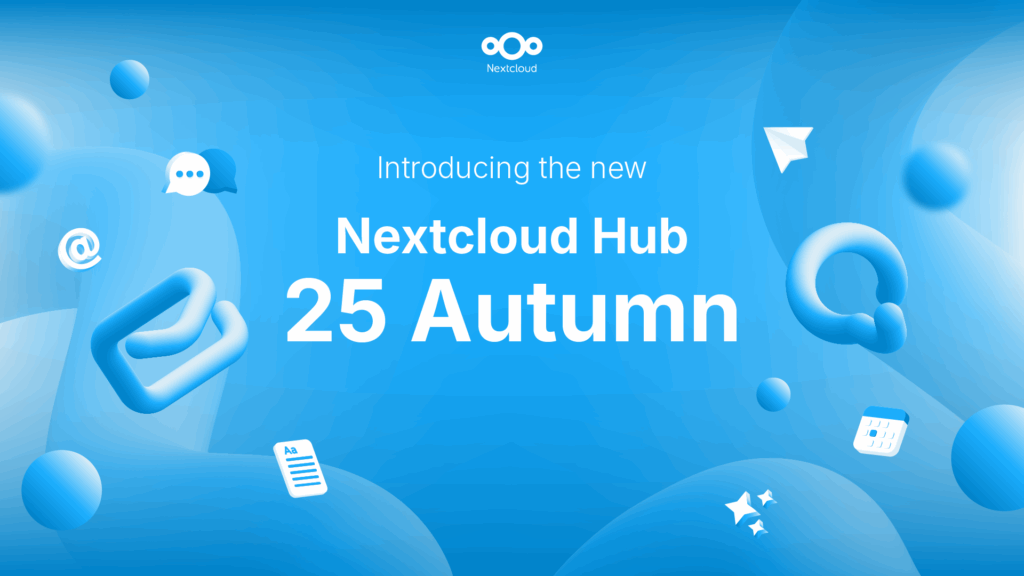
Nextcloud Hub 25 Autumn makes it easier to get started with powerful collaboration while fully in control of your data. From global design updates to improved usability and performance, discover our latest release in this blog.
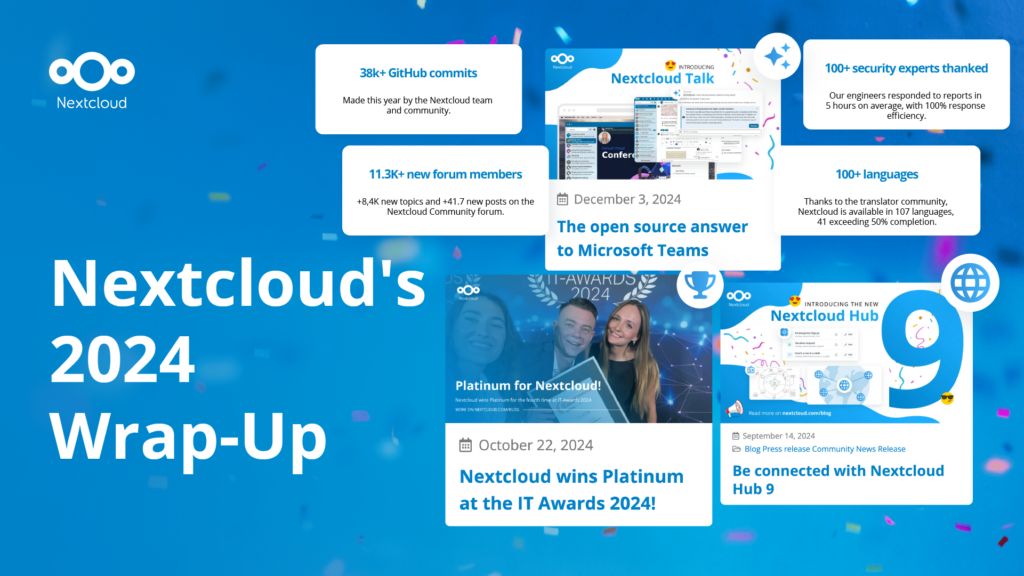
In the Nextcloud 2024 wrap-up, we want to take a moment to celebrate this year's achievements. Join us as we continue to reimagine what’s possible - shaping a world where open source, privacy and connection come together and drive progress for the greater good.
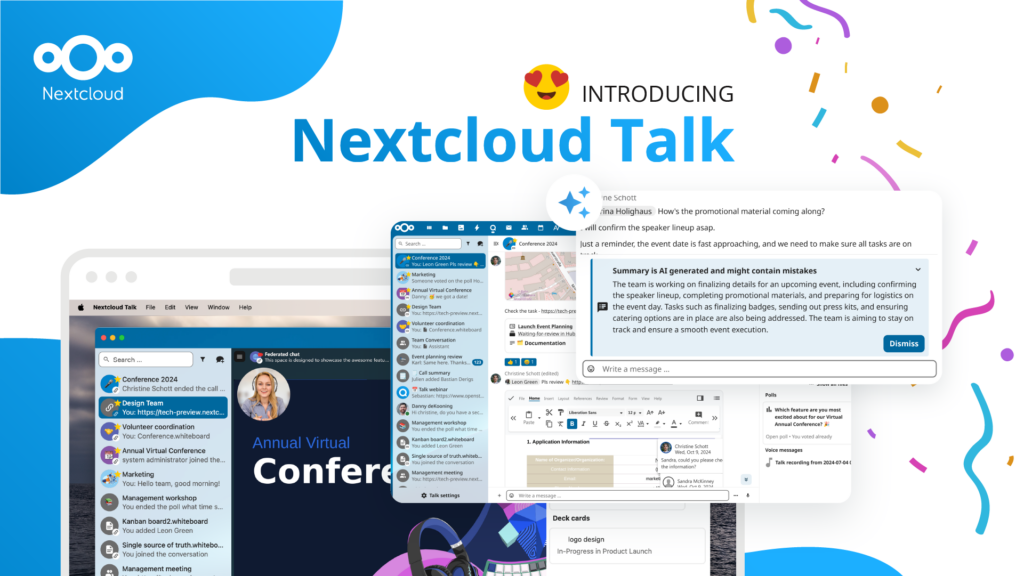
Organisations, small and large, need a way to ensure the resiliency and digital sovereignty of their operations – an open-source, privacy-respecting alternative to Teams. And today, we present that solution - Nextcloud Talk.
Nextcloud has been recognized with the World Summit Award Germany that selects and promotes local digital innovation improving society, aiming to contribute to the United Nations' agenda of sustainable development goals.
DIE ZEIT, a prominent German outlet, interviewed Nextcloud’s founder Frank Karlitschek for an article on Microsoft’s anti-competitive behaviour on the European office software market. Read for a recap of the article and the key takeaways.
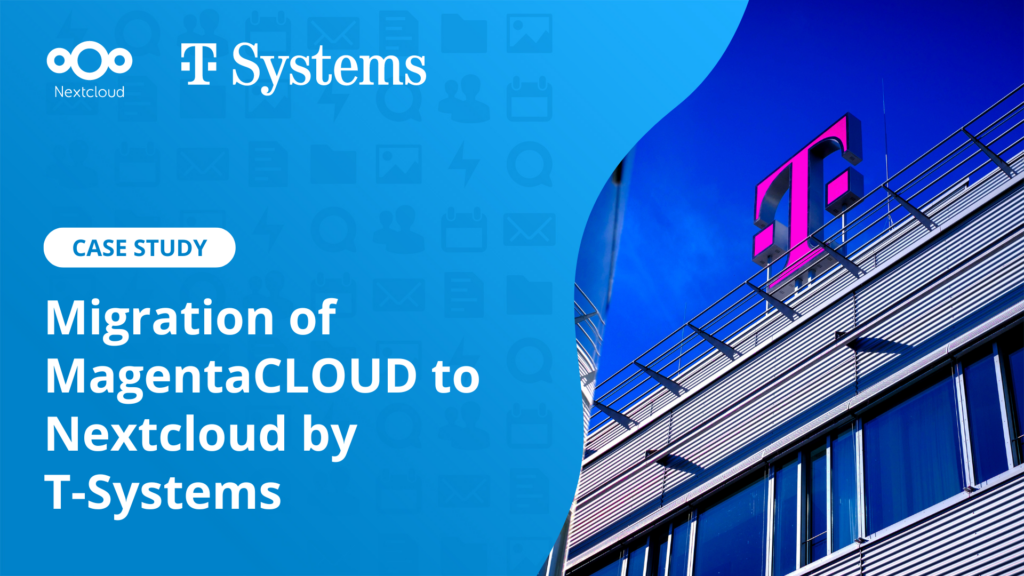
MagentaCLOUD’s migration to Nextcloud in 2021 resulted in a fully equipped Online Storage with an integrated online office suite that further improves the user experience, flexibility and security for customers.
We bring you a major update to the Nextcloud AI Assistant, plus the news we work with several big hosting providers like IONOS and OVHcloud to bring AI-as-a-Service options to you!
Bechtle and Nextcloud announce today a complete managed collaboration platform for the public sector that requires no tender and can be deployed immediately.
Discover how to make the switch from ownCloud to Nextcloud. Our quick guide provides insights into the migration process, helping you make the transition smoothly.
Today, US-based file sync & share vendor Kiteworks announced their acquisition of ownCloud and Dracoon. Kiteworks points out that their customers now have access to their file-sharing application. It is to be expected they will not maintain 3 similar products, but customers will have to migrate to the US firms’ platform or look for another […]
As part of Schleswig-Holstein's state digitization strategy, the state chancellery has announced they will work with Nextcloud to develop AI for working with government documents. This comes just after we announced the first private AI assistant last weekend with Hub 6. The German state already uses Nextcloud and their AI strategy aligns with our work on ethical, local AI technologies.
Starting with Nextcloud AIO v13.3.1, you can register a free, automatically configured domain with DNS records via deSEC to streamline setting up your Nextcloud.
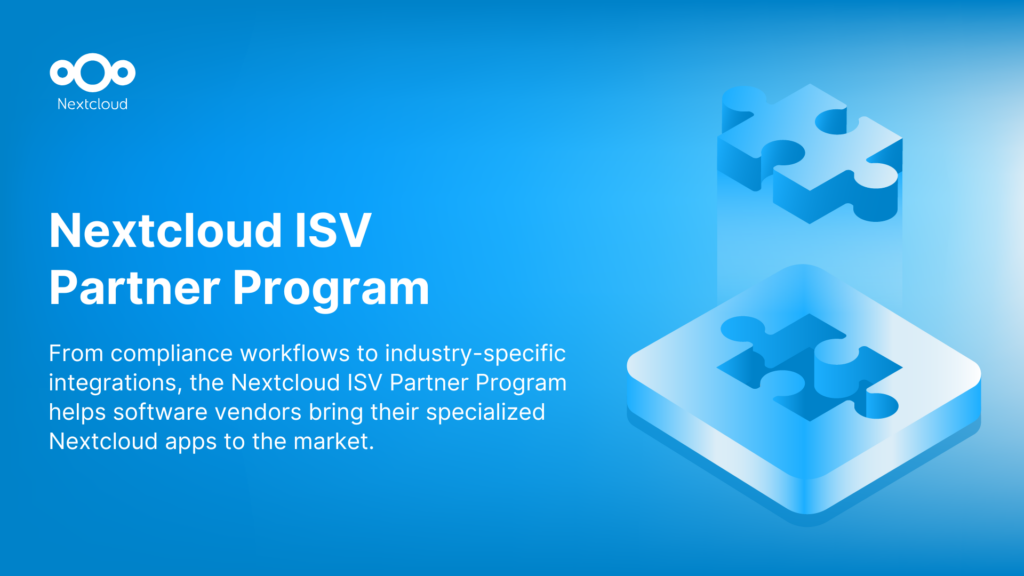
We are introducing the Nextcloud ISV Partner Program to support independent app developers through the Nextcloud app store. Read more in this article and get in touch with our team if you want to join the program.
We save some cookies to count visitors and make the site easier to use. This doesn't leave our server and isn't to track you personally!
See our Privacy Policy for more information. Customize
Statistics cookies collect information anonymously and help us understand how our visitors use our website. We use cloud-hosted Matomo
Service:Matomo
Cookies description:
_pk_ses*: Counts the first visit of the user
_pk_id*: Helps not to double count the visits.
mtm_cookie_consent: Remembers that consent for storing and using cookies was given by the user.
Cookies expiry:_pk_ses*: 30 minutes
_pk_id*: 13 months
mtm_cookie_consent: 30 days