Mit dem Docker-Image Nextcloud All-in-One (AIO) richten Sie schnell und einfach eine vollständige Nextcloud-Installation unter Windows ein. Diese Methode vereinfacht die Bereitstellung und Wartung und gibt Ihnen die volle Kontrolle über Ihre Daten.
In der folgenden Anleitung erfahren Sie, wie Sie Nextcloud AIO unter Windows 10 und 11 einrichten. Die Anweisungen gelten für PCs mit x64-Architektur, mindestens 8 GB RAM und vier Prozessorkernen.
Vor der Installation
Damit Sie der Anleitung folgen können, benötigen Sie eine öffentliche IP-Adresse und die Möglichkeit, Ports zu öffnen. Zudem darf keine CGNAT-Verbindung vorliegen.
Bitte beachten Sie, dass die folgenden Anweisungen für Installationen gelten, bei denen noch kein Webserver oder Reverse-Proxy (wie Apache oder nginx) eingerichtet wurden. Wenn Sie Nextcloud AIO hinter einem Webserver oder einem Reverse-Proxy ausführen möchten, werfen Sie einen Blick auf die entsprechende Dokumentationsseite.
Sind diese Voraussetzungen erfüllt, kann es losgehen.
2. Führen Sie die EXE-Datei aus und installieren Sie Docker Desktop. Klicken Sie auf „OK“, um fortzufahren (WSL 2 empfohlen).
3. Warten Sie, bis die Installation erfolgreich abgeschlossen wurde, und klicken Sie anschließend auf die Schaltfläche zum Schließen und Neustarten.
4. Öffnen Sie Docker Desktop, lesen Sie die Nutzungsbedingungen und stimmen Sie ihnen zu.
5. Falls Sie ein Pop-up-Fenster darauf hinweist, dass Ihre WSL 2-Installation unvollständig ist, folgen Sie dem angezeigten Link (https://aka.ms/wsl2kernel).
6. Klicken Sie auf der sich nun öffnenden Seite auf den Link für das WSL2-Linux-Kernel-Update-Paket für x64-Rechner klicken.
7. Laden Sie die MSI-Datei wsl_update herunter und installieren Sie sie.
8. Klicken Sie nun auf die Schaltfläche zum Neustarten von Docker Desktop.
11. Nach einer Weile sollte Ihnen dieser Bildschirm angezeigt werden. Das Tutorial können Sie überspringen.
12. Docker Desktop ist nun einsatzbereit und Sie sollten den Startbildschirm sehen.
13. Stellen Sie sicher, dass Docker Desktop beim Anmelden automatisch gestartet wird, indem Sie das entsprechende Kontrollkästchen in den Einstellungen aktivieren.
14. Stellen Sie sicher, dass die IPv6-Unterstützung für Docker aktiviert ist. Folgen Sie dafür den Anweisungen auf dieser Dokumentationsseite.
AIO installieren
Nachdem Sie Docker Desktop installiert haben, können Sie mit der Installation von Nextcloud AIO fortfahren.
Denken Sie daran, /run/desktop/mnt/host/c/ncdata anzupassen. Dieser Pfad entspricht C:\ncdata auf Ihrem Windows-Host. In Ihrem Pfad müssen Sie das entsprechend berücksichtigen. Der von Ihnen eingegebene Pfad muss mit /run/desktop/mnt/host/ beginnen. Fügen Sie dazu den genauen Speicherort auf Ihrem Windows-Host hinzu, z. B. c/ncdata, was C:\ncdata entspricht.
3. Anschließend können Sie die AIO-Oberfläche unter https://localhost:8080 öffnen.
⚠️ Verwenden Sie beim Zugriff auf diesen Port stets eine IP-Adresse oder localhost und keine Domain, da HSTS später den Zugriff darauf blockieren könnte.
Akzeptieren Sie das selbstsignierte Zertifikat. Anschließend sollte folgender Bildschirm angezeigt werden:
4. Klicken Sie auf „Nextcloud AIO-Anmeldung öffnen“ und geben Sie Ihr Passwort ein.
5. Nun sollte das AIO-Dashboard angezeigt werden.
6. Geben Sie als nächstes die Domain ein, die Sie vor Beginn dieser Anleitung eingerichtet haben. Die Benutzeroberfläche hilft Ihnen mit den nächsten Schritten. (Richten Sie DDNS für Ihre Domain so ein, dass sie auf Ihre öffentliche IP-Adresse verweist, und leiten Sie mindestens die Ports 443/TCP, 3478/UDP und 3478/TCP auf Ihren Windows-Rechner weiter.)
7. Sobald Sie die Einrichtung vorgenommen haben, sollten Sie zum nächsten Schritt weitergeleitet werden, in dem Sie optionale Add-ons sowie die Zeitzone konfigurieren können. Anschließend können Sie auf „Container herunterladen und starten“ klicken.
8. Eine Animation signalisiert den Ladevorgang, der je nach Internetgeschwindigkeit 10 Minuten oder länger dauern kann.
9. Sobald alle Container heruntergeladen wurden, wird dieser Bildschirm angezeigt, auf dem Sie die Container sehen können, die sich noch im Startvorgang befinden und deren erste Installation durchgeführt wird:
10. Sobald alles abgeschlossen wurde, sollte dieser Bildschirm erscheinen:
11. Sie können nun Ihre neue Nextcloud-Instanz öffnen und sich mit Ihren Administrator-Zugangsdaten anmelden.
12. Geben Sie im Abschnitt für die Sicherung und Wiederherstellung einen Pfad wie /run/desktop/mnt/host/c/backup ein und bestätigen Sie die Eingabe. Dieser Pfad entspricht dem Pfad C:\backup auf Ihrem Windows-Host, daher müssen Sie ihn entsprechend anpassen. Wie bereits erwähnt, muss der Pfad mit /run/desktop/mnt/host/ beginnen. Fügen Sie also den genauen Speicherort auf Ihrem Windows-Host an, z. B. c/backup, was C:\backup entspricht.
Und das war es auch schon! Die Einrichtung ist abgeschlossen und Ihre Nextcloud startklar.
Erfahren Sie mehr über Nextcloud All-in-One und die zahlreichen Features
Diese Anleitung für Nextcloud AIO wurde von Simon Lindner, Softwareentwickler bei Nextcloud, erstellt. In unserem Podcast-Interview mit Simon erfahren Sie, warum er so vielen Menschen wie möglich den Zugang zu Nextcloud und Open-Source-Software erleichtern möchte.
Lesen Sie auch unsere Anleitung zur Einrichtung von Community-Containern für Ihre Nextcloud-Instanz. Mit diesen werten Sie Nextcloud AIO in nur wenigen Klicks mit nützlichen Funktionen wie Caddy, Fail2ban und Pi-hole auf.
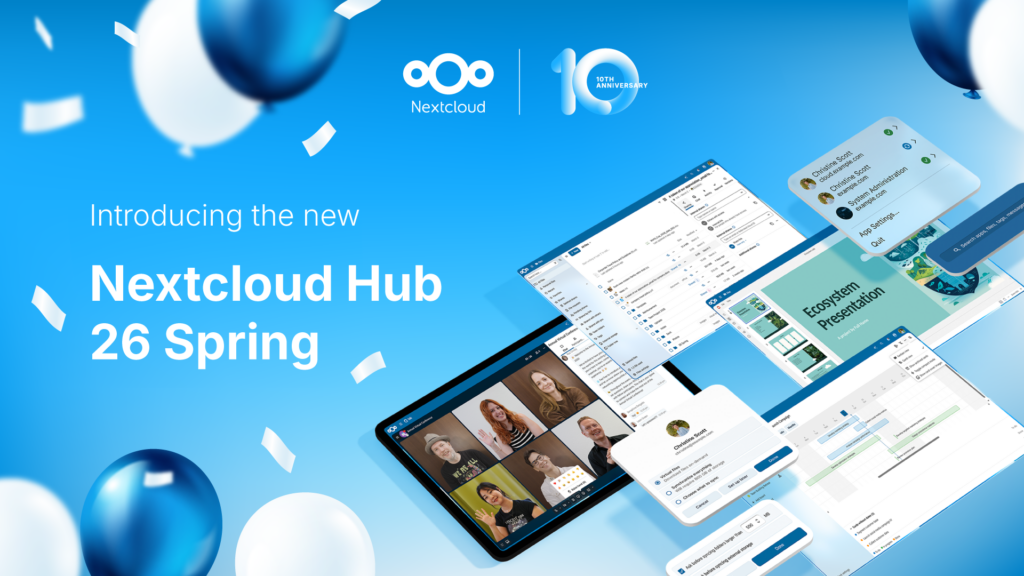
Nextcloud Hub 26 Spring: Gemeinsam entwickelt, für die Zukunft konzipiert
Entdecken Sie den neuesten Release! Verfolgen Sie die Veröffentlichung von Nextcloud Hub 26 Spring auf Ihrer bevorzugten Plattform und lesen Sie den dazugehörigen Blogpost.
Mit Nextcloud Hub 26 Spring feiern wir unsere Jubiläumsversion. Es bietet Ihnen noch mehr Auswahl bei den Tools, eine optimierte Benutzeroberfläche, reibungslose Zusammenarbeit und eine neue Plattformstrategie, durch die Entwickler:innen noch stärker von unserem umfangreichen Ökosystem profitieren können. Gemeinsam entwickelt, für die Zukunft konzipiert.
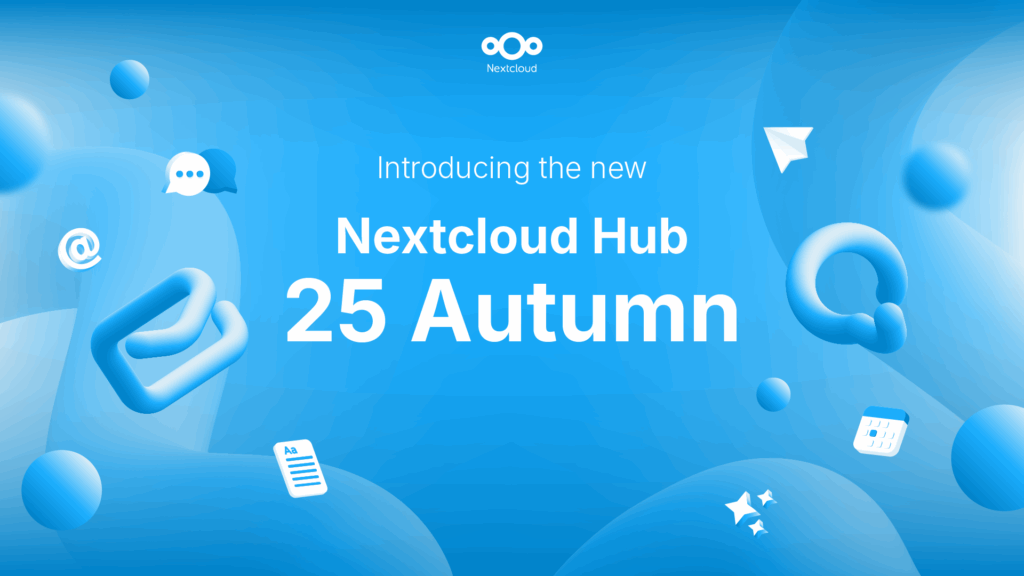
Nextcloud Hub 25 Autumn erleichtert Ihnen den Einstieg in eine leistungsstarke Zusammenarbeit, während Sie die vollständige Kontrolle über Ihre Daten behalten. Von globalen Design-Updates bis hin zu verbesserter Benutzerfreundlichkeit und Leistung – entdecken Sie unsere neueste Version in diesem Blog.
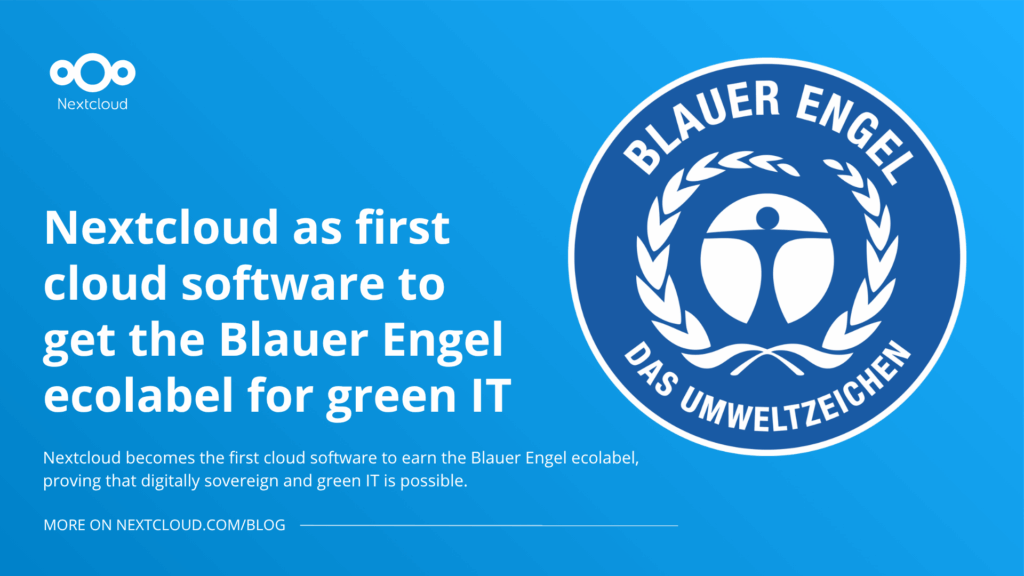
Nextcloud ist die erste Cloud-Plattform, die mit dem Umweltzeichen „Blauer Engel“ ausgezeichnet wurde und damit beweist, dass eine digital souveräne und grüne IT möglich ist.
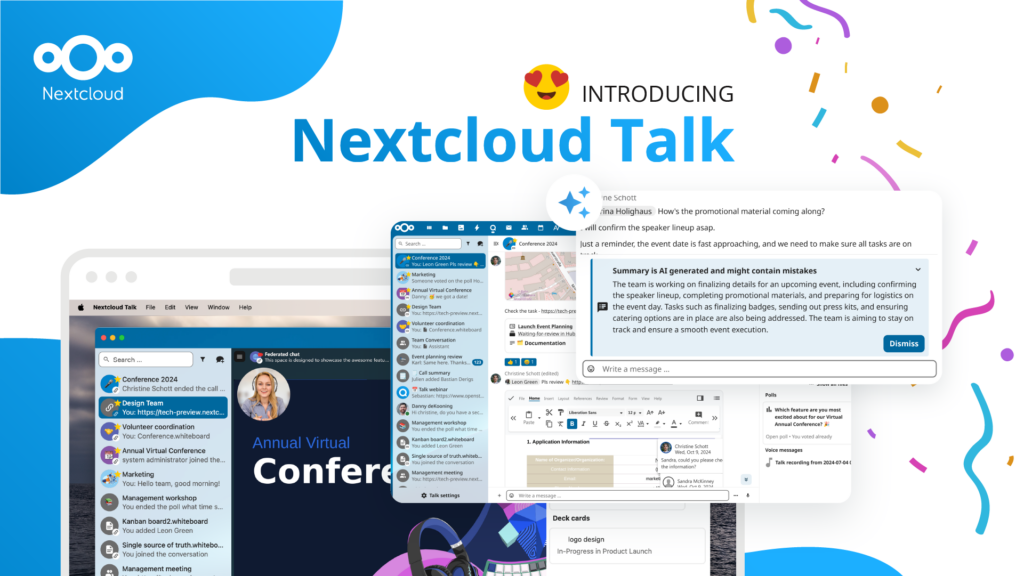
Unternehmen, ob klein oder groß, brauchen eine Möglichkeit, die Ausfallsicherheit und digitale Souveränität ihrer Abläufe zu gewährleisten - eine Open-Source-Alternative zu Teams, die die Privatsphäre respektiert. Und heute stellen wir diese Lösung vor - Nextcloud Talk.
Bechtle und Nextcloud kündigen heute eine vollständig verwaltete Kollaborationsplattform für den öffentlichen Sektor an, die keiner Ausschreibung bedarf und sofort bereitgestellt werden kann.
Our mission is to help individuals, businesses and organizations achieve digital sovereignty and regain control over their data. Nextcloud Hub 5 marks a massive step forward towards achieving this mission, putting the power of AI into your hands – in a way that keeps you in control. New release, new possibilities Hub 5 builds on […]
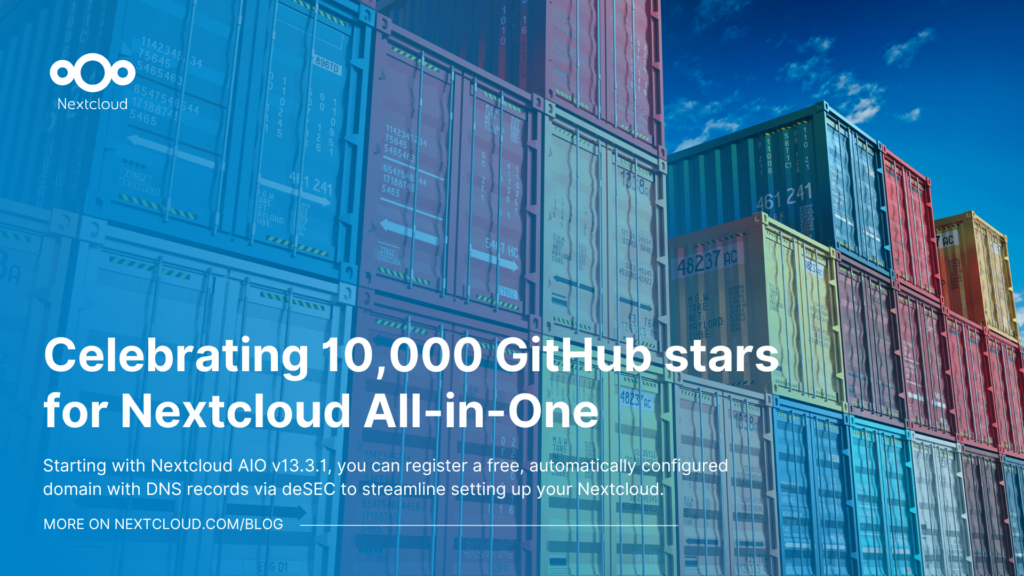
Starting with Nextcloud AIO v13.3.1, you can register a free, automatically configured domain with DNS records via deSEC to streamline setting up your Nextcloud.
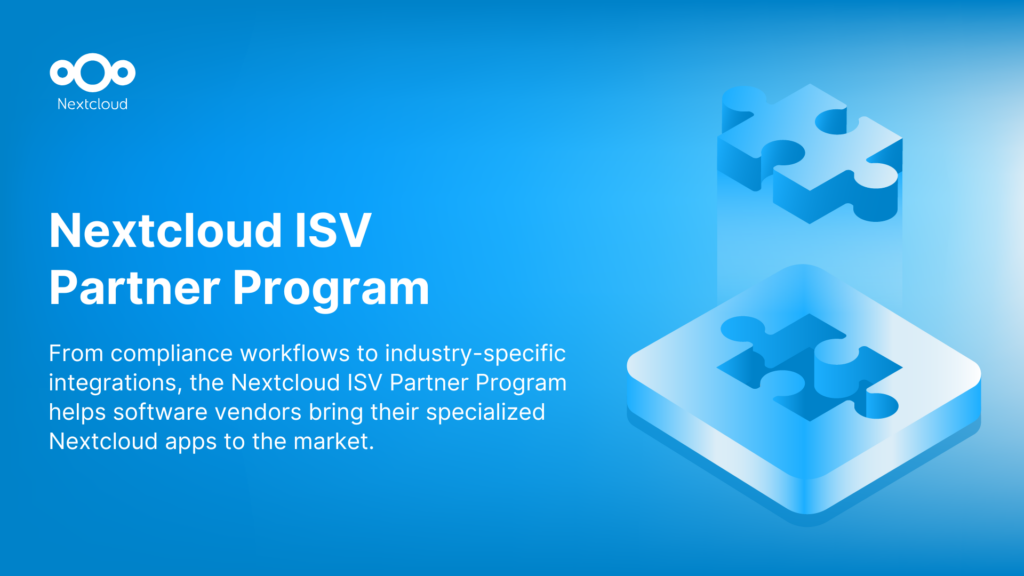
We are introducing the Nextcloud ISV Partner Program to support independent app developers through the Nextcloud app store. Read more in this article and get in touch with our team if you want to join the program.
Wir speichern einige Cookies, um Besucher zu zählen und die Nutzung der Website zu erleichtern. Diese verlassen unseren Server nicht und dienen nicht der Verfolgung Ihrer online-Aktivitäten.
Weitere Informationen hierzu finden Sie in unserer Datenschutzrichtlinie. Anpassen
Statistik-Cookies sammeln anonym Informationen und helfen uns zu verstehen, wie unsere Besucher unsere Website nutzen. Wir verwenden cloud-gehostetes Matomo
Dienst:Matomo
Cookie-Beschreibung:
_pk_ses*: Zählt den ersten Besuch des Benutzers
_pk_id*: Hilft, die Besuche nicht doppelt zu zählen.
mtm_cookie_consent: Erinnert daran, dass der Nutzer seine Zustimmung zur Speicherung und Verwendung von Cookies gegeben hat.
Cookie-Ablauf:_pk_ses*: 30 Minuten
_pk_id*: 13 Monate
mtm_cookie_consent: 30 Tage