Are you a Linux user looking to install the Nextcloud All-in-One (AIO) Docker image? In this blog, we walk you through the steps, just like we did in our last AIO Guide for Windows 10 & 11.
Nextcloud All-in-One is a Docker-based project that allows you to install just one container that does the heavy lifting of creating and managing all containers needed for a full-blown Nextcloud installation. Nextcloud AIO not only provides easy deployment and maintenance of many Nextcloud features included, but you can also expect a user-friendly interface, stress-free updates, and a more simplistic approach for getting most features to work out of the box.
Nextcloud AIO includes:
Nextcloud
High-performance backend for Nextcloud Files
Nextcloud Office (optional)
High-performance backend for Nextcloud Talk and TURN-server (optional)
„With using Nextcloud All-in-One compared to the other installation methods, I found the performance is substantially better, especially on an office server.“
Brandon Hopkins
Founder at TechHut Media
Read on for a clear and easy-to-follow step-by-step guide for how to set up an AIO for a Linux PC successfully.
Guide for AIO on Linux
The following instructions are valid for a Linux PC (e.g., with Ubuntu 22.04 LTS) with at least 4GB of RAM and 2 cores.
You will need to obtain a public domain and be able to open ports for the guide to work properly. Make sure that you are not behind CGNAT, as it will not work with that either.
In addition, please note that the instructions are for a setup without a web server or reverse proxy (like Apache, Nginx, etc.) already being in place. If you want to run it behind a web server or reverse proxy, check this documentation.
Install Docker
Install Docker on your Linux installation by following the official documentation. The easiest way is to install it by using the convenience script:
3. Now, open the Terminal and start AIO with this command:
# For Linux and without a web server or reverse proxy (like Apache, Nginx and else) already in place:
sudo docker run \
--sig-proxy=false \
--name nextcloud-aio-mastercontainer \
--restart always \
--publish 80:80 \
--publish 8080:8080 \
--publish 8443:8443 \
--volume nextcloud_aio_mastercontainer:/mnt/docker-aio-config \
--volume /var/run/docker.sock:/var/run/docker.sock:ro \
ghcr.io/nextcloud-releases/all-in-one:latest
Note: You may be interested in adjusting Nextcloud’s datadir to store the files in a different location than the default Docker volume. See this documentation on how to do it.
4. Next, you can open the AIO interface on https://localhost:8080 or https://the.servers.ip.address:8080.
Why you should use an ip-address
It’s important to always use an ip-address if you access this port, and not a domain. Otherwise, you risk that HSTS might block access to it later!
You need to accept the self-signed certificate. Then you should see this:
Alternatively, if ports 80 and 8443 should be opened in your firewall/router and a domain is configured to point to your server, you can reach the AIO interface with a valid certificate using https://your-domain.com:8443.
5. Click on „Open Nextcloud AIO login“ and paste your password:
6. Then, you should see the AIO interface:
7. Next, type in your public domain that you you’ve got before doing this guide. The interface should help you figure out the exact steps. (Set up DDNS for your domain to point to your public IP, port-forward at least ports 443/tcp, 3478/udp, and 3478/tcp to your Linux machine.)
8. After you’ve set it up correctly, it should allow you to pass to the next step, where you can configure the wanted optional add-ons and the timezone, and click on „Start containers“ to download and start them.
9. At this point, you should see a spinner that will take a while depending on your internet speed. It should take around 10 minutes or more.
10. When all containers are downloaded and started, you will see this screen showing the containers still starting, which will do the first installation for you:
11. When everything is done, you should see this screen:
12. Finally, you can now open your new Nextcloud instance and log in with the given admin credentials.
That’s it! Everything is set and ready for production.
Discover more about Nextcloud All-in-One and its many options
This Nextcloud AIO manual was developed by Simon Lindner, Software Engineer at Nextcloud. You can check out our Nextcloud podcasts for an interview with Simon, where he explains more about his interest in making Nextcloud and open source software accessible to everyone.
Make sure to read our guide to set up Community Containers, developed by the Nextcloud community, for your Nextcloud instance. With these useful features, including Caddy, Fail2ban, and Pi-hole, you can enhance your Nextcloud AIO in a couple of clicks.
Jetzt ist es Zeit, die Kontrolle über Ihre Daten zu übernehmen. Wir präsentieren den neuen Nextcloud Hub, eine leistungsstarke Open-Source-Kollaborationsplattform für volle Datenkontrolle. Entdecken Sie Verbesserungen in Leistung, Design und Sicherheit sowie viele neue und verbesserte Tools für Ihren Arbeits- und Lebensalltag.
Nextcloud Hub 25 Autumn erleichtert Ihnen den Einstieg in eine leistungsstarke Zusammenarbeit, während Sie die vollständige Kontrolle über Ihre Daten behalten. Von globalen Design-Updates bis hin zu verbesserter Benutzerfreundlichkeit und Leistung – entdecken Sie unsere neueste Version in diesem Blog.
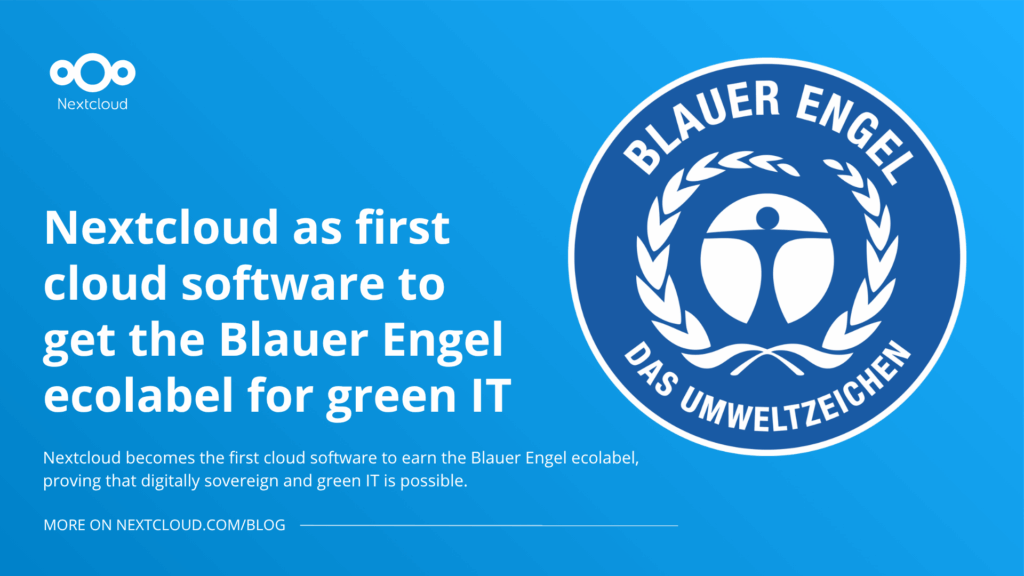
Nextcloud ist die erste Cloud-Plattform, die mit dem Umweltzeichen „Blauer Engel“ ausgezeichnet wurde und damit beweist, dass eine digital souveräne und grüne IT möglich ist.
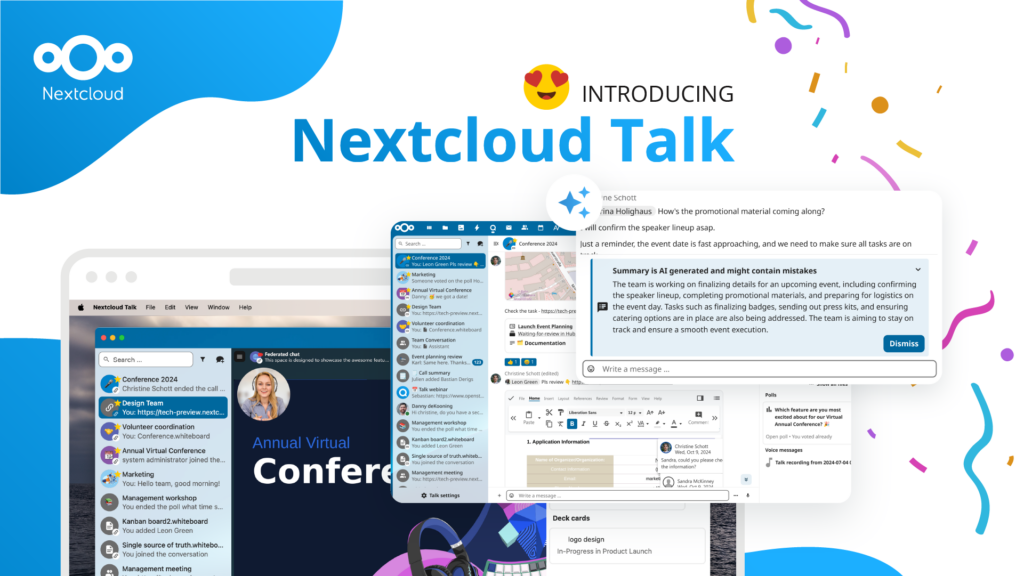
Unternehmen, ob klein oder groß, brauchen eine Möglichkeit, die Ausfallsicherheit und digitale Souveränität ihrer Abläufe zu gewährleisten - eine Open-Source-Alternative zu Teams, die die Privatsphäre respektiert. Und heute stellen wir diese Lösung vor - Nextcloud Talk.
Bechtle und Nextcloud kündigen heute eine vollständig verwaltete Kollaborationsplattform für den öffentlichen Sektor an, die keiner Ausschreibung bedarf und sofort bereitgestellt werden kann.
Our mission is to help individuals, businesses and organizations achieve digital sovereignty and regain control over their data. Nextcloud Hub 5 marks a massive step forward towards achieving this mission, putting the power of AI into your hands – in a way that keeps you in control. New release, new possibilities Hub 5 builds on […]
From government institutions to research organisations and private companies: There is a growing urgency to regain control over data, infrastructure and digital collaboration. Austria is actively shaping this movement with great lighthouse projects.
Wir speichern einige Cookies, um Besucher zu zählen und die Nutzung der Website zu erleichtern. Diese verlassen unseren Server nicht und dienen nicht der Verfolgung Ihrer online-Aktivitäten.
Weitere Informationen hierzu finden Sie in unserer Datenschutzrichtlinie. Anpassen
Statistik-Cookies sammeln anonym Informationen und helfen uns zu verstehen, wie unsere Besucher unsere Website nutzen. Wir verwenden cloud-gehostetes Matomo
Dienst:Matomo
Cookie-Beschreibung:
_pk_ses*: Zählt den ersten Besuch des Benutzers
_pk_id*: Hilft, die Besuche nicht doppelt zu zählen.
mtm_cookie_consent: Erinnert daran, dass der Nutzer seine Zustimmung zur Speicherung und Verwendung von Cookies gegeben hat.
Cookie-Ablauf:_pk_ses*: 30 Minuten
_pk_id*: 13 Monate
mtm_cookie_consent: 30 Tage