With growing political and technical challenges to privacy worldwide, keeping the software you run updated and secure is more important than ever before. Upgrading to Nextcloud from a legacy release brings not only new capabilities but protects crucial enterprise and personal data from data leaks and legal challenges.
When running an outdated private cloud server, data can be surprisingly easy to steal. Certainly very old releases like ownCloud 5 or 6 which in most cases enable attackers to trivially take over the entire server. But also a newer release like Nextcloud 9.0.0 which has not been updated constitutes a risk.
Nextcloud: the most secure solution
Improving security was Nextcloud’s core focus for version 11, and we had all our many improvements verified by the security experts from the NCC Group, a global expert in cyber security and risk mitigation.
Nextcloud 11 introduced 7 new security hardening techniques making it significantly harder for an adversary to breach the defenses. On top of that, it integrated new secure authentication technologies including two-factor authentication and Kerberos support. We also built a new App store which uses automated checks and signatures to prevent malicious apps from getting installed on user installations. Nextcloud 12 introduced further hardenings and we are committed to keeping your data secure with all technologies available to us!
Besides security improvements, Nextcloud 11 also improved the scalability of Nextcloud servers by up to 80%, decreasing server load significantly. A migration of their 22.000 user installation by the TU Berlin from ownCloud 9.1 to Nextcloud 11 resulted in a nearly 50% decrease in database load, showing the improvements have a real life impact.
Combined with a support contract offering up to 15 years of bugfix and security updates to Nextcloud releases, the Total Cost of Ownership for newer Nextcloud setup is notably lower than for an older Nextcloud or ownCloud deployment.
You can learn more about what is new in these releases in the blogs on Nextcloud 11 and Nextcloud 12.
To upgrade
Before upgrading from an old ownCloud or Nextcloud release, it is best to create a plan and download the correct releases you will need in advance. Take these points into consideration:
ownCloud and the current Nextcloud releases do not have the the ability to skip releases. This means upgrades have to go through all major releases.
Always start by upgrading to the latest bugfix/security release in your current stable series before moving to the next major release.
To ensure app data is properly migrated you have to update and enable the apps after each step. They are automatically disabled to make sure the server does not break during the upgrade.
Starting ownCloud 8.2.x or Nextcloud 9.0, you can use the new Nextcloud updater, skipping the steps below
We realize updating has been unreliable in the past. We’ve developed our new updater for this reason and will continue to make improvements in future releases, for example in Nextcloud 12 which no longer will disable your apps on upgrade when you use PHP 7.x.
An example
We will illustrate the upgrade with an example. Say you currently run ownCloud 5.0.3. This release is outdated and an attacker would be able to take over the entire server in a trivial way thanks to this vulnerability.
This is what you should be doing to protect your data:
Upgrade to the latest bugfix release
First, you download the latest release in the 5.0.x series, that is ownCloud 5.0.19. You can find it on this page. Sadly, there is no manual available anymore, but the steps in the 7.x release should work.
You might wonder why you should first upgrade to the latest release in your stable series. 5.0.19 does indeed not provide much benefit over 5.0.3 from a security point of view, however, it is safer to start your upgrade path from the last stable release. So, no matter if you’re on 7.0.1 or 8.0.0 or 5.0.3, first upgrade to the latest bugfix version before moving to the next major release!
We strongly recommend to use the manual upgrade procedure. Sadly the shipped updater in old releases has been less than reliable. Nextcloud 9+ ships a more reliable updater that does the code placing for you but you can only use it from ownCloud 8.2 and onward.
These are the steps to go through for each update:
1. Enable Maintenance Mode with the command line tool in the ownCloud folder
sudo -u www-data php occ maintenance:mode --on
2.
Backup existing configuration and database
Copy config.php somewhere safe and move the data folder out as well.3. Delete the old code and extract the new code4. Copy back the configuration file and data folder
5. Start the upgrade process with the command line tool
sudo -u www-data php occ upgrade
6. Disable Maintenance Mode
sudo -u www-data php occ maintenance:mode --off
7. Log into the server and upgrade, then re-enable the apps
Note that the commands are examples and the exact command will vary by operating system and version. Consult the documentation!
Re-enabling old apps
On such an old release you are very likely to run in trouble re-enabling the apps. The app store no longer delivers them! You can often find the right version by looking on github. For example, here is a link to the Calendar app release page from the ownCloud Archive where you can find version 5.0.16. Here is the oldest link to Contacts I could find. Find these and other old apps in the ownCloud Archive, where apps have been put that were once maintained by people who now moved on to Nextcloud. Once you get to newer releases, the app store usually can deliver them to your ownCloud server when you click 'enable' and once you get to Nextcloud you’ll find the apps actively maintained and improved again.
Upgrading to the next major release
You now run the latest ownCloud 5.0.19 – a release that is very insecure still, so time to move to the last bugfix release in the next major version: 6.0.9, released in July 2015. Get it here and go through the 7 steps again. Don’t forget to re-enable the apps so their data gets migrated, too!
Upgrading from ownCloud 8.2 to Nextcloud 9 and further
Once you get to the latest ownCloud 8.2.9 I have good news: we can now move to Nextcloud. On top of features and security improvements, this will bring the benefits of a new updater, doing a number of the steps automatically for you. To move to the new updater (see also this blog) you follow these steps:
1. Log into your server with SSH or FTP and go to the folder where Nextcloud is installed, for example
/srv/www/htdocs/nextcloud
You should now enable maintenance mode if you have not yet:
sudo -u www-data php occ maintenance:mode --on
(replace www-data with the equivalent for your os.
2. Delete the file
updater/index.php
The folder
updater/
can be found in the subfolder of the folder where you installed your Nextcloud. If you don’t have it, easy – just create it and make sure the access rights are the same as those for the other files. You can see those witl
6. Log into the Nextcloud UI, go to the updater section in the admin panel, switch the channel to production and back to stable to clear your update cache. If you then reload the updater should give you a notification and you can follow the instructions in the updater app to upgrade. We do recommend to run the database update from the command line, as the updater also points out.
Alternatively, this is how you do it from the command line:
grab this file, put it under the name updater.phar in the updater subfolder of Nextcloud. Make sure to change ownership of the file to www-data or the equivalent on your distribution.
Go into the updater folder and run the phar file with sudo -u www-data php updater.phar or the equivalent for your OS (replace www-run with wwwrun on openSUSE etc).
If you run the command but get no output whatsoever, check if you have the php-phar module is installed on your system. You can check by running
php -m | grep -i Phar
and looking at the output. If you get nothing, phar is not installed. You have to install it, running
zypper in php7-phar
or the equivalent for your distribution. Once you get notified that there is a new version, follow the instructions to install it.
7. When upgraded, remove the
updater.server.url
line that you’ve added to
/config/config.php
8. Log into the server, update and re-enable the apps
If you run the command in step 5 but get no output whatsoever, check if the php-phar module is installed on your system by running php -m | grep -i Phar and looking at the output. If you get nothing, phar is not installed. You have to install it, running zypper in php7-phar or the equivalent for your distribution. Once you get notified that there is a new version for your server, follow the instructions of the updater to install it.
The hardest part is now over. After updating to Nextcloud 9 and removing the line you added from config.php (step 7) you can upgrade to 10, 11 and 12 as well, after which you know you have the most secure and private Nextcloud ever developed!
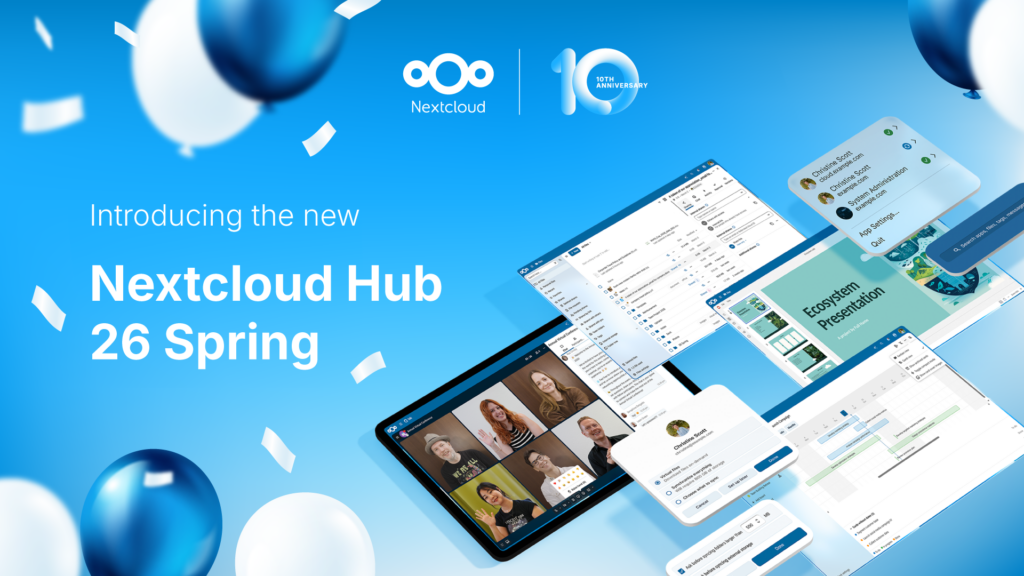
Mit Nextcloud Hub 26 Spring feiern wir unsere Jubiläumsversion. Es bietet Ihnen noch mehr Auswahl bei den Tools, eine optimierte Benutzeroberfläche, reibungslose Zusammenarbeit und eine neue Plattformstrategie, durch die Entwickler:innen noch stärker von unserem umfangreichen Ökosystem profitieren können. Gemeinsam entwickelt, für die Zukunft konzipiert.
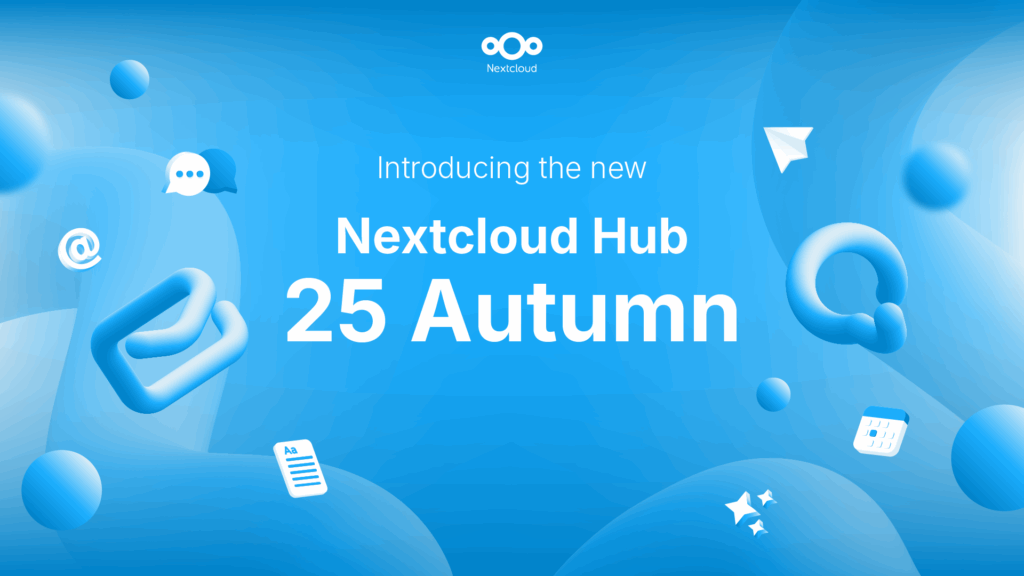
Nextcloud Hub 25 Autumn erleichtert Ihnen den Einstieg in eine leistungsstarke Zusammenarbeit, während Sie die vollständige Kontrolle über Ihre Daten behalten. Von globalen Design-Updates bis hin zu verbesserter Benutzerfreundlichkeit und Leistung – entdecken Sie unsere neueste Version in diesem Blog.
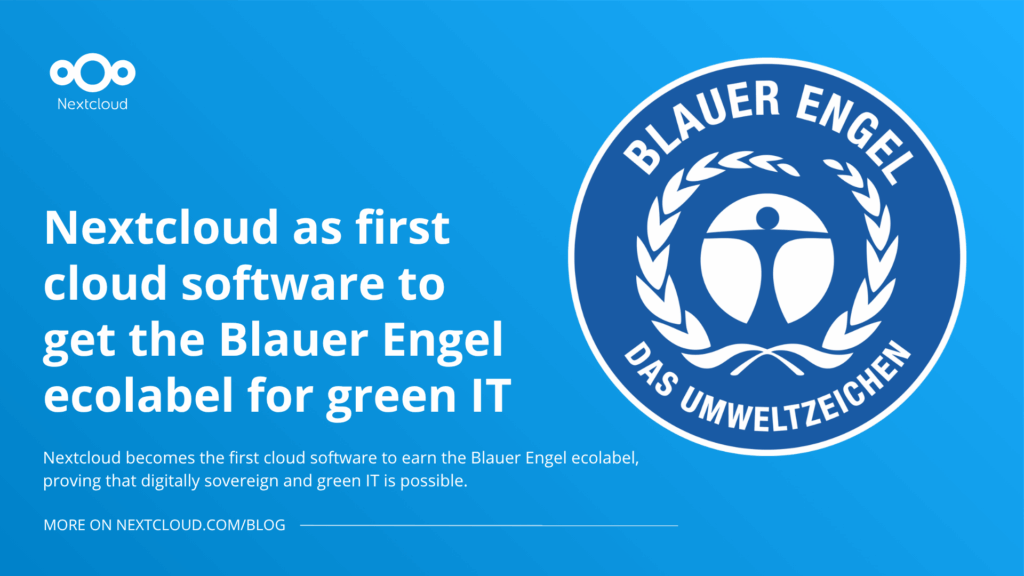
Nextcloud ist die erste Cloud-Plattform, die mit dem Umweltzeichen „Blauer Engel“ ausgezeichnet wurde und damit beweist, dass eine digital souveräne und grüne IT möglich ist.
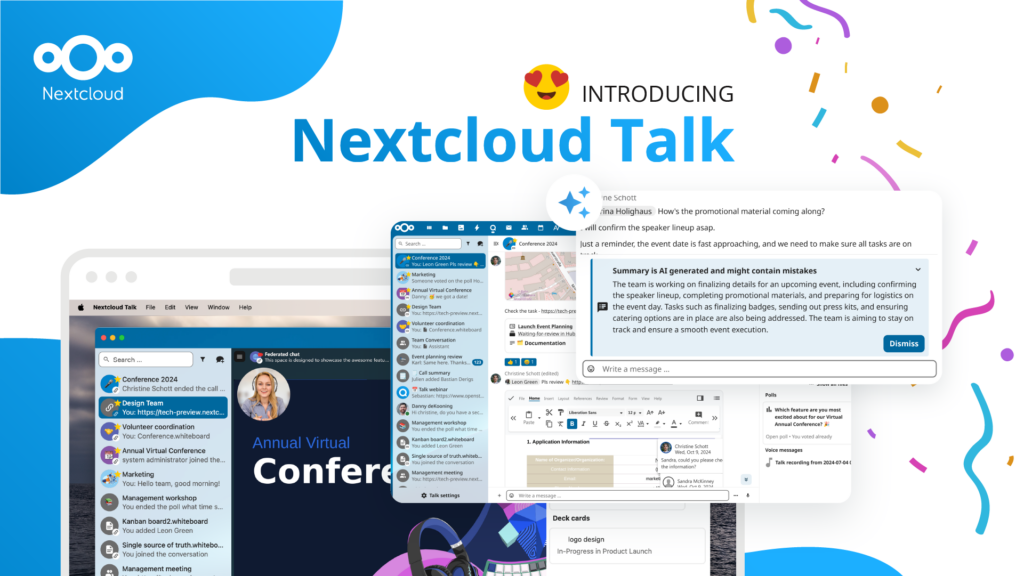
Unternehmen, ob klein oder groß, brauchen eine Möglichkeit, die Ausfallsicherheit und digitale Souveränität ihrer Abläufe zu gewährleisten - eine Open-Source-Alternative zu Teams, die die Privatsphäre respektiert. Und heute stellen wir diese Lösung vor - Nextcloud Talk.
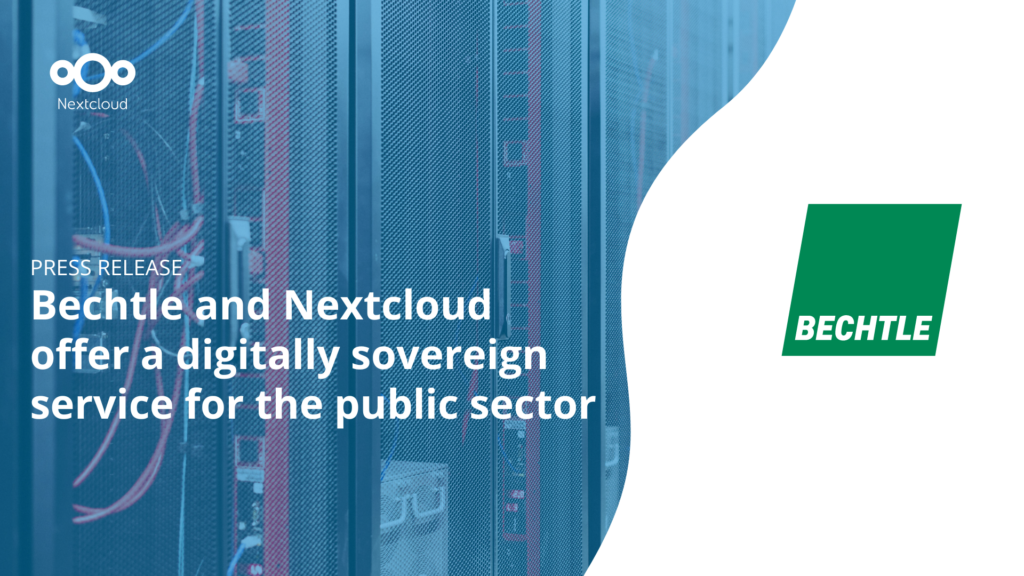
Bechtle und Nextcloud kündigen heute eine vollständig verwaltete Kollaborationsplattform für den öffentlichen Sektor an, die keiner Ausschreibung bedarf und sofort bereitgestellt werden kann.
Our mission is to help individuals, businesses and organizations achieve digital sovereignty and regain control over their data. Nextcloud Hub 5 marks a massive step forward towards achieving this mission, putting the power of AI into your hands – in a way that keeps you in control. New release, new possibilities Hub 5 builds on […]
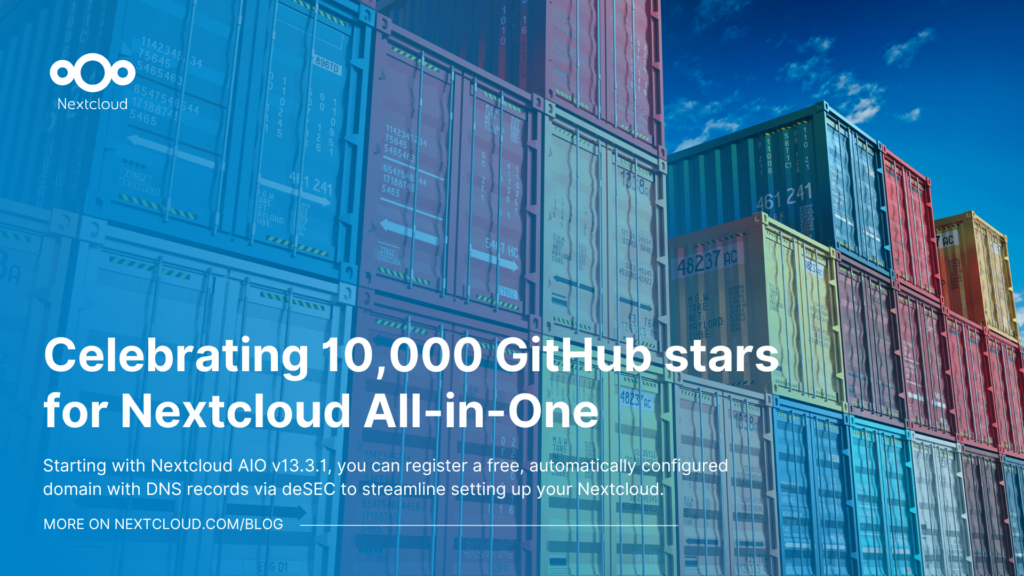
Starting with Nextcloud AIO v13.3.1, you can register a free, automatically configured domain with DNS records via deSEC to streamline setting up your Nextcloud.
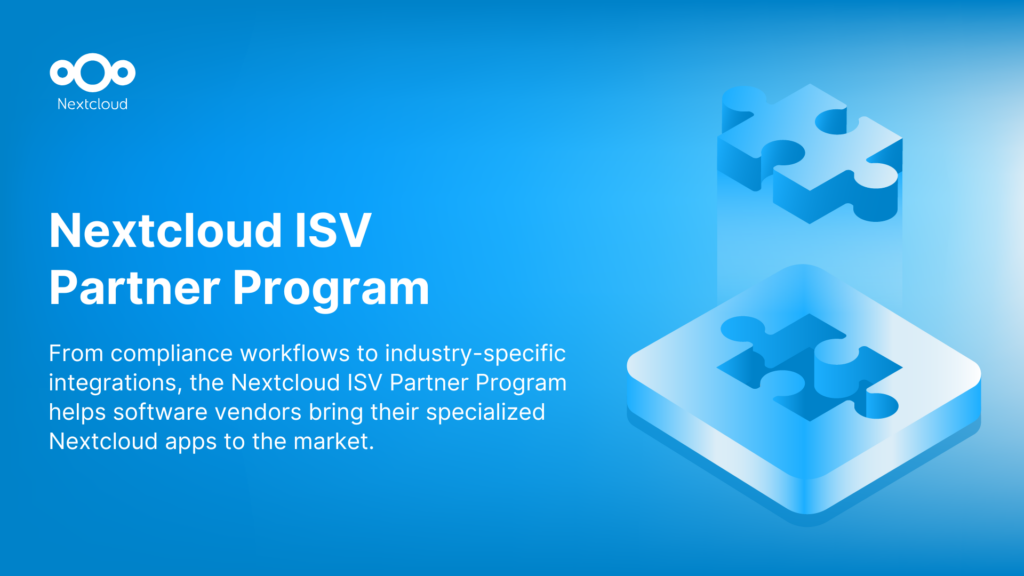
We are introducing the Nextcloud ISV Partner Program to support independent app developers through the Nextcloud app store. Read more in this article and get in touch with our team if you want to join the program.
Wir speichern einige Cookies, um Besucher zu zählen und die Nutzung der Website zu erleichtern. Diese verlassen unseren Server nicht und dienen nicht der Verfolgung Ihrer online-Aktivitäten.
Weitere Informationen hierzu finden Sie in unserer Datenschutzrichtlinie. Anpassen
Statistik-Cookies sammeln anonym Informationen und helfen uns zu verstehen, wie unsere Besucher unsere Website nutzen. Wir verwenden cloud-gehostetes Matomo
Dienst:Matomo
Cookie-Beschreibung:
_pk_ses*: Zählt den ersten Besuch des Benutzers
_pk_id*: Hilft, die Besuche nicht doppelt zu zählen.
mtm_cookie_consent: Erinnert daran, dass der Nutzer seine Zustimmung zur Speicherung und Verwendung von Cookies gegeben hat.
Cookie-Ablauf:_pk_ses*: 30 Minuten
_pk_id*: 13 Monate
mtm_cookie_consent: 30 Tage