We’re excited to share that we have recently introduced remote Borg backups for Nextcloud All-in-One (AIO) instances. Before, only local backups on drives mounted directly on the server were possible. With the remote backup feature, you can specify a remote location as the target location for your backup, enhancing the reliability and security of your backups. During the system restore process, this target location can be specified to spin up a new Nextcloud AIO instance and restore the state on a new server in minutes.
Like many features in Nextcloud, the remote Borg backup feature is a community contribution. Big thanks to hannahdiels for making it possible!
In this step-by-step guide, we explore how to create a remote Nextcloud backup and restore your instance from one. Follow along to make sure your backup and restore go smoothly!
What are the benefits of a remote Nextcloud backup for your Nextcloud AIO?
Remote backup is a convenient way to protect yourself against local incidents like hardware failures, ransomware attacks, and natural disasters. Remote backups make sure your data survives even if your server doesn’t.
That is also a compliance measure when a regulation requires you to have offsite and long-term archiving. And finally, it is your key component to a sound disaster recovery plan, when you need to restore your Nextcloud quickly and effectively.
How to make a Nextcloud backup remotely using Borg
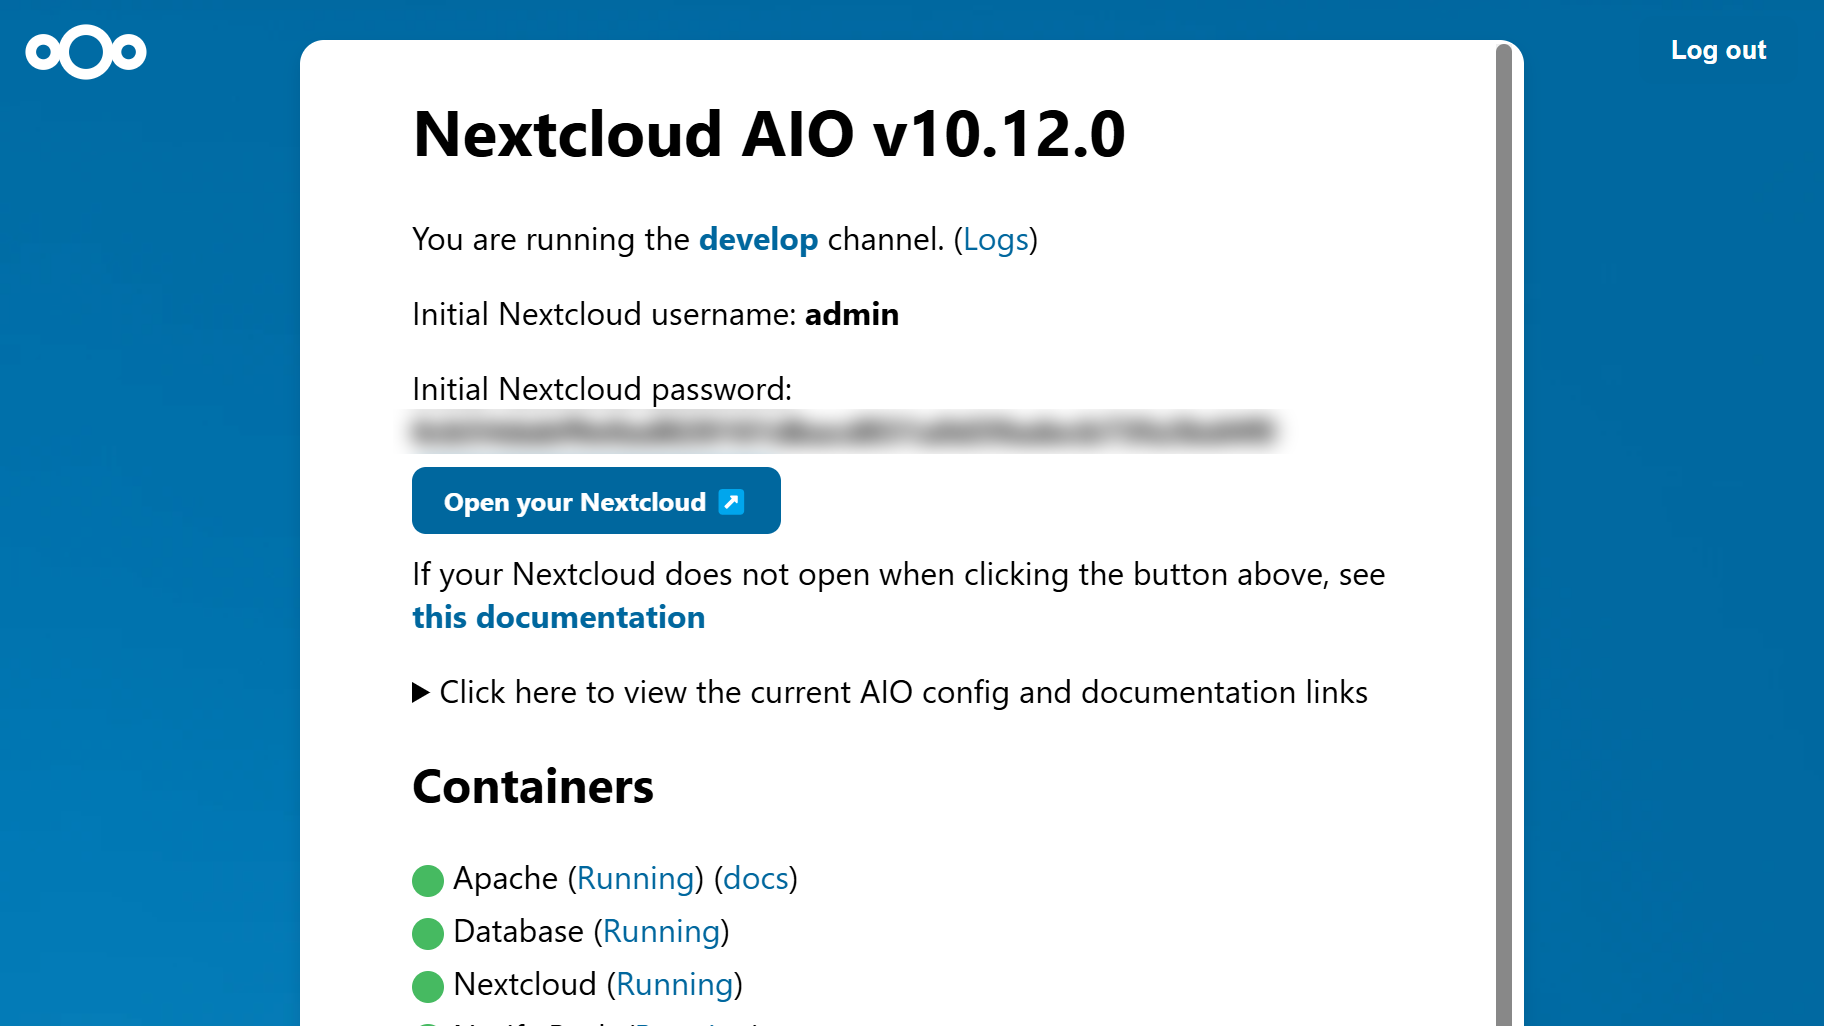
Once you have installed your All-in-One Nextcloud solution on a Windows or a Linux server, you will get access to the AIO interface. Scroll to the “Backup and restore” section to find your backup settings.
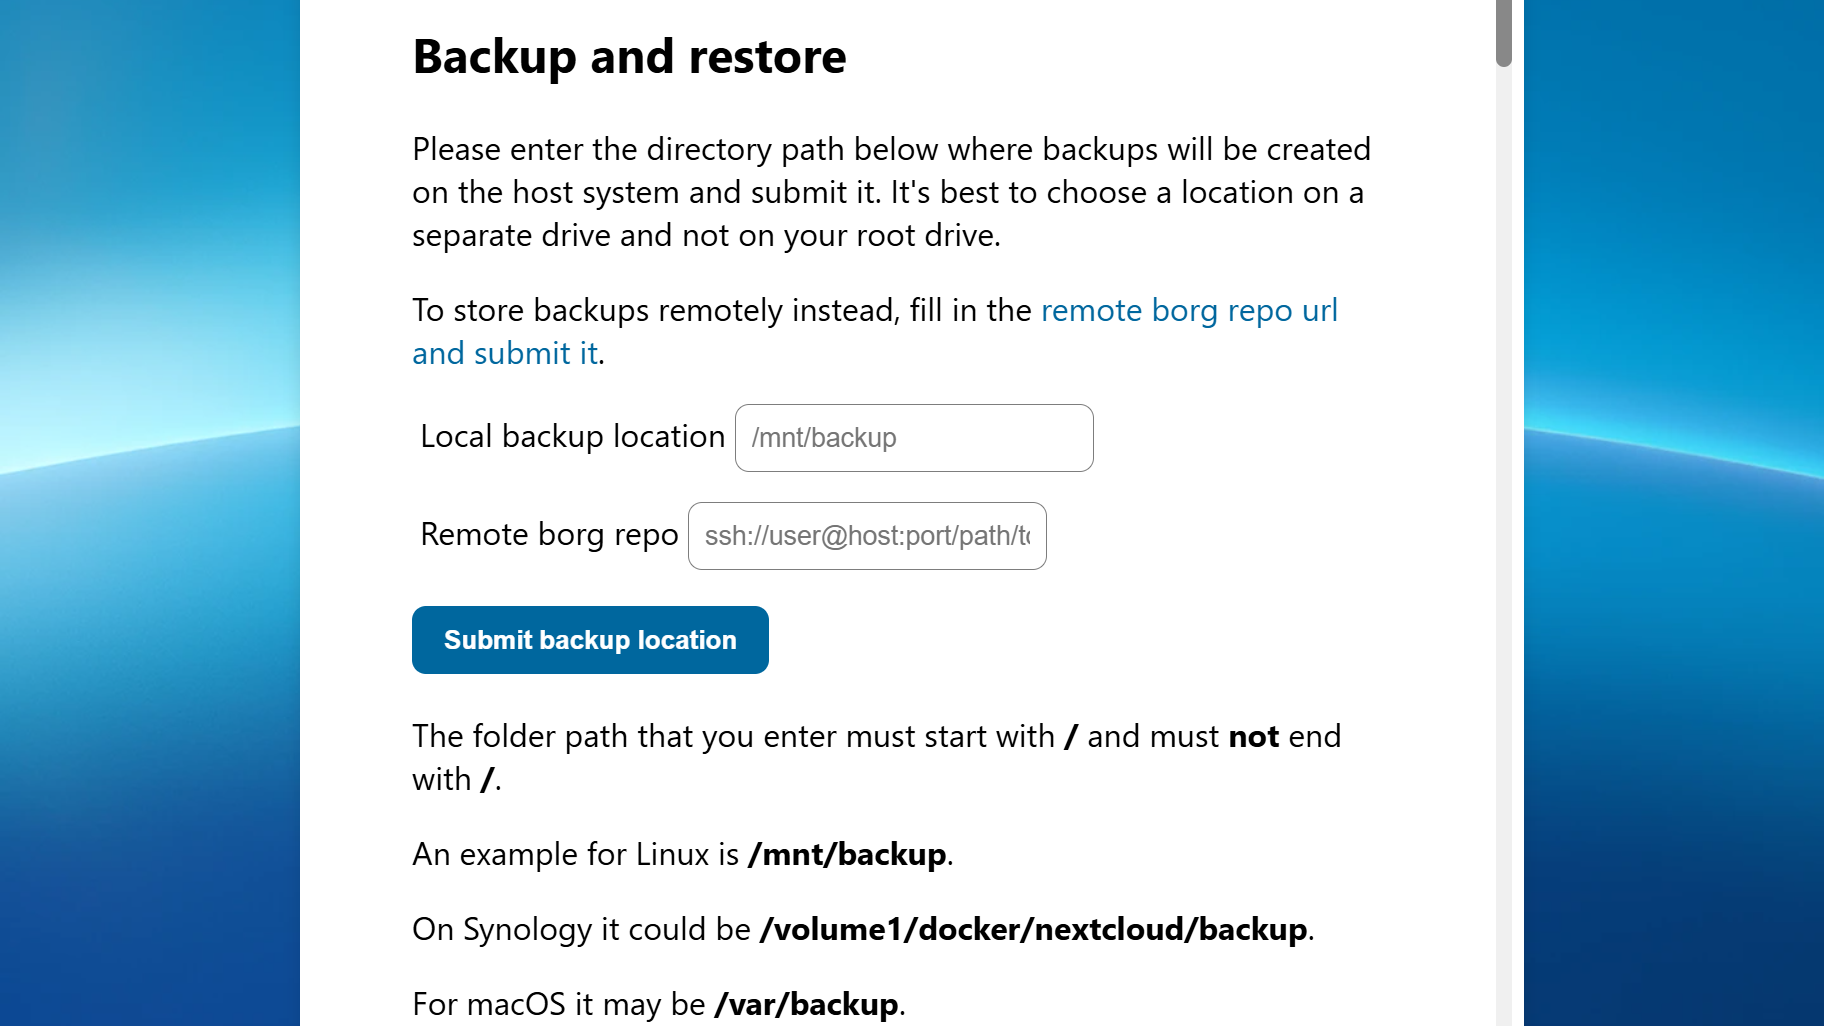
1. Submit the backup location
Enter the remote backup location into the Remote borg repo input field and click on « Submit backup location » to proceed. It should be in the form ssh://user@host:port/path/to/repo.
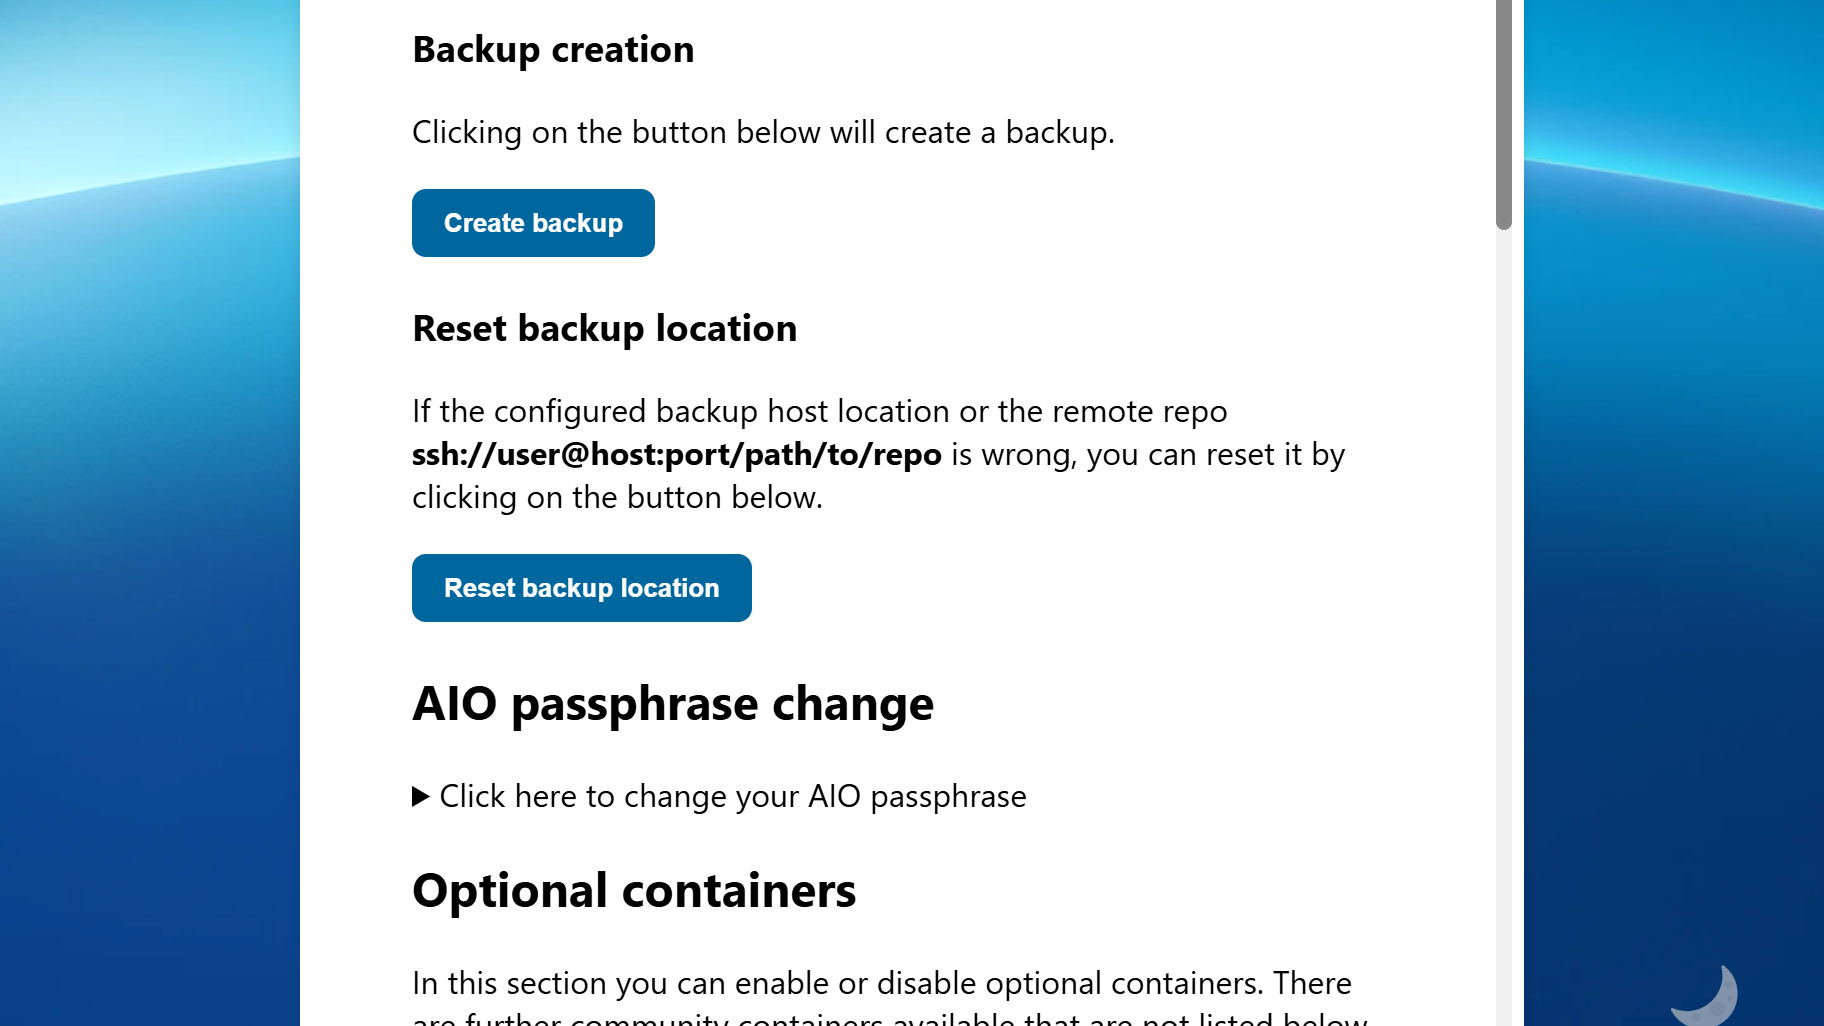
2. Start a new backup container
A new interface will open. Here, Click “Create backup” to start a new backup container.
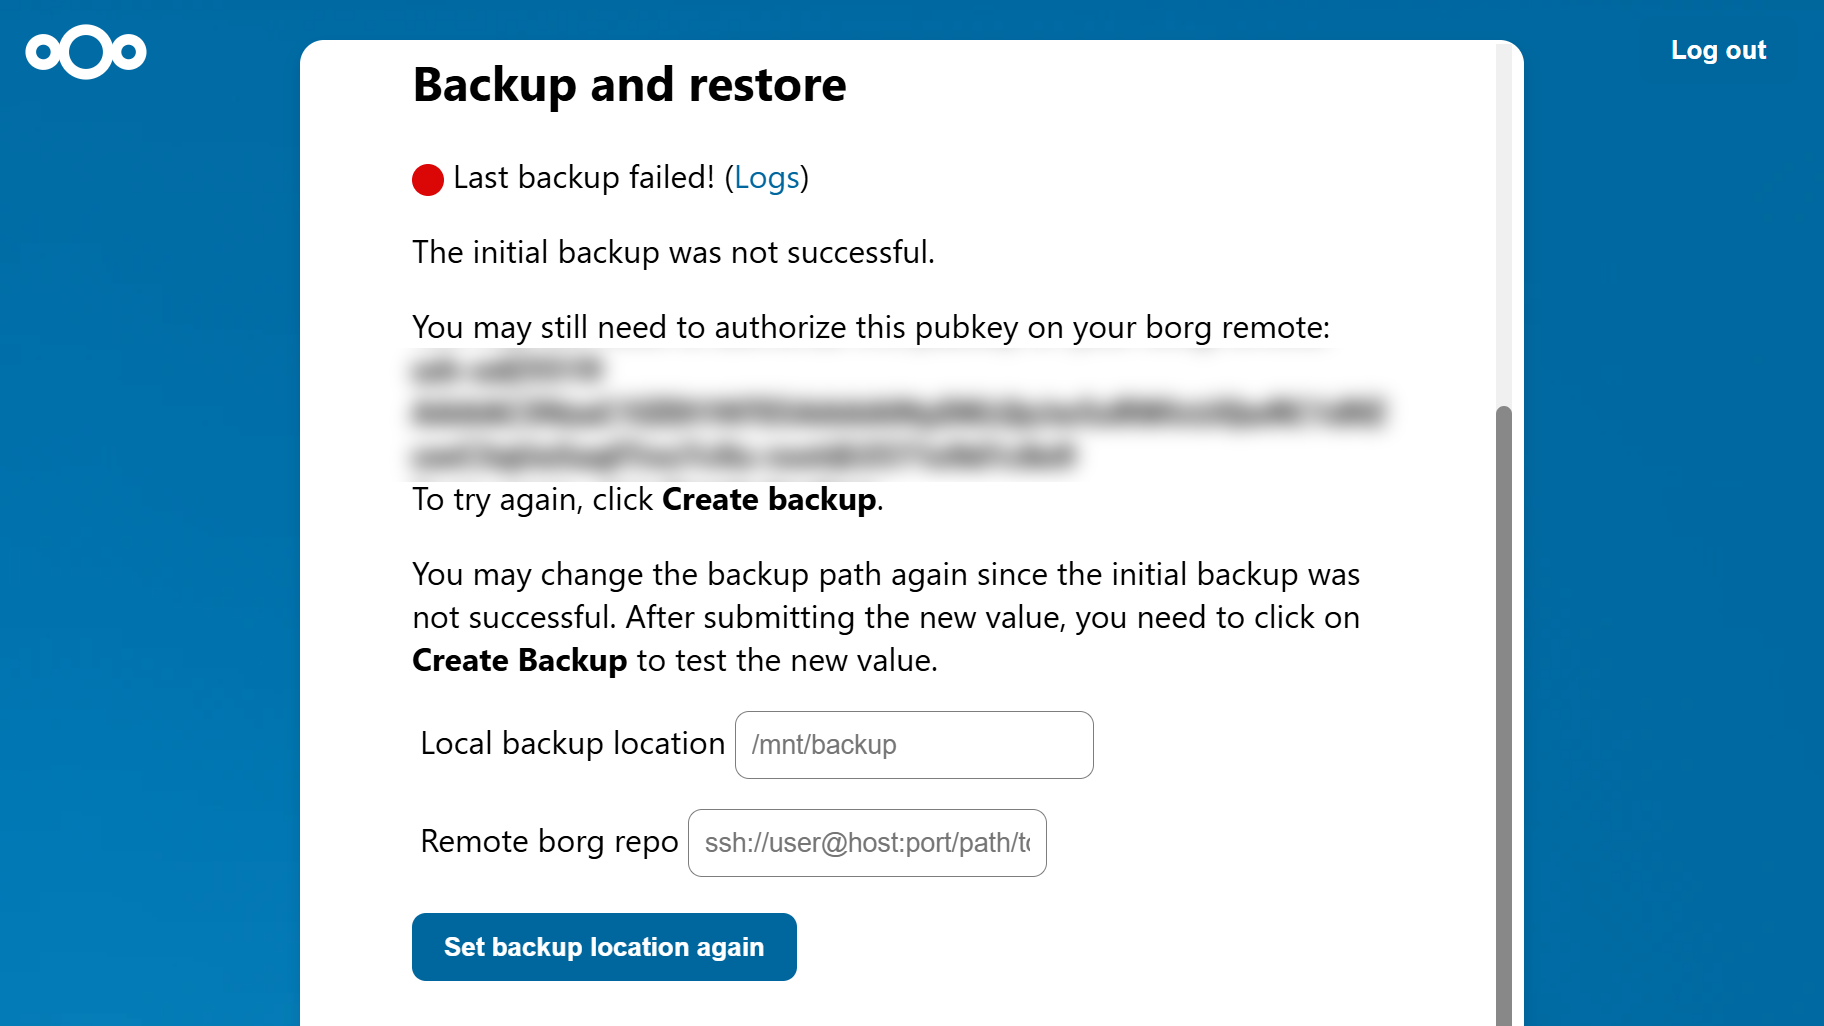
3. Authorize the SSH key
Initially, you won’t be able to proceed without an SSH key. But don’t worry, you will get the key after your first attempt. Authorize the key on your Borg remote, then scroll down to « Backup creation » and click “Create backup” again.
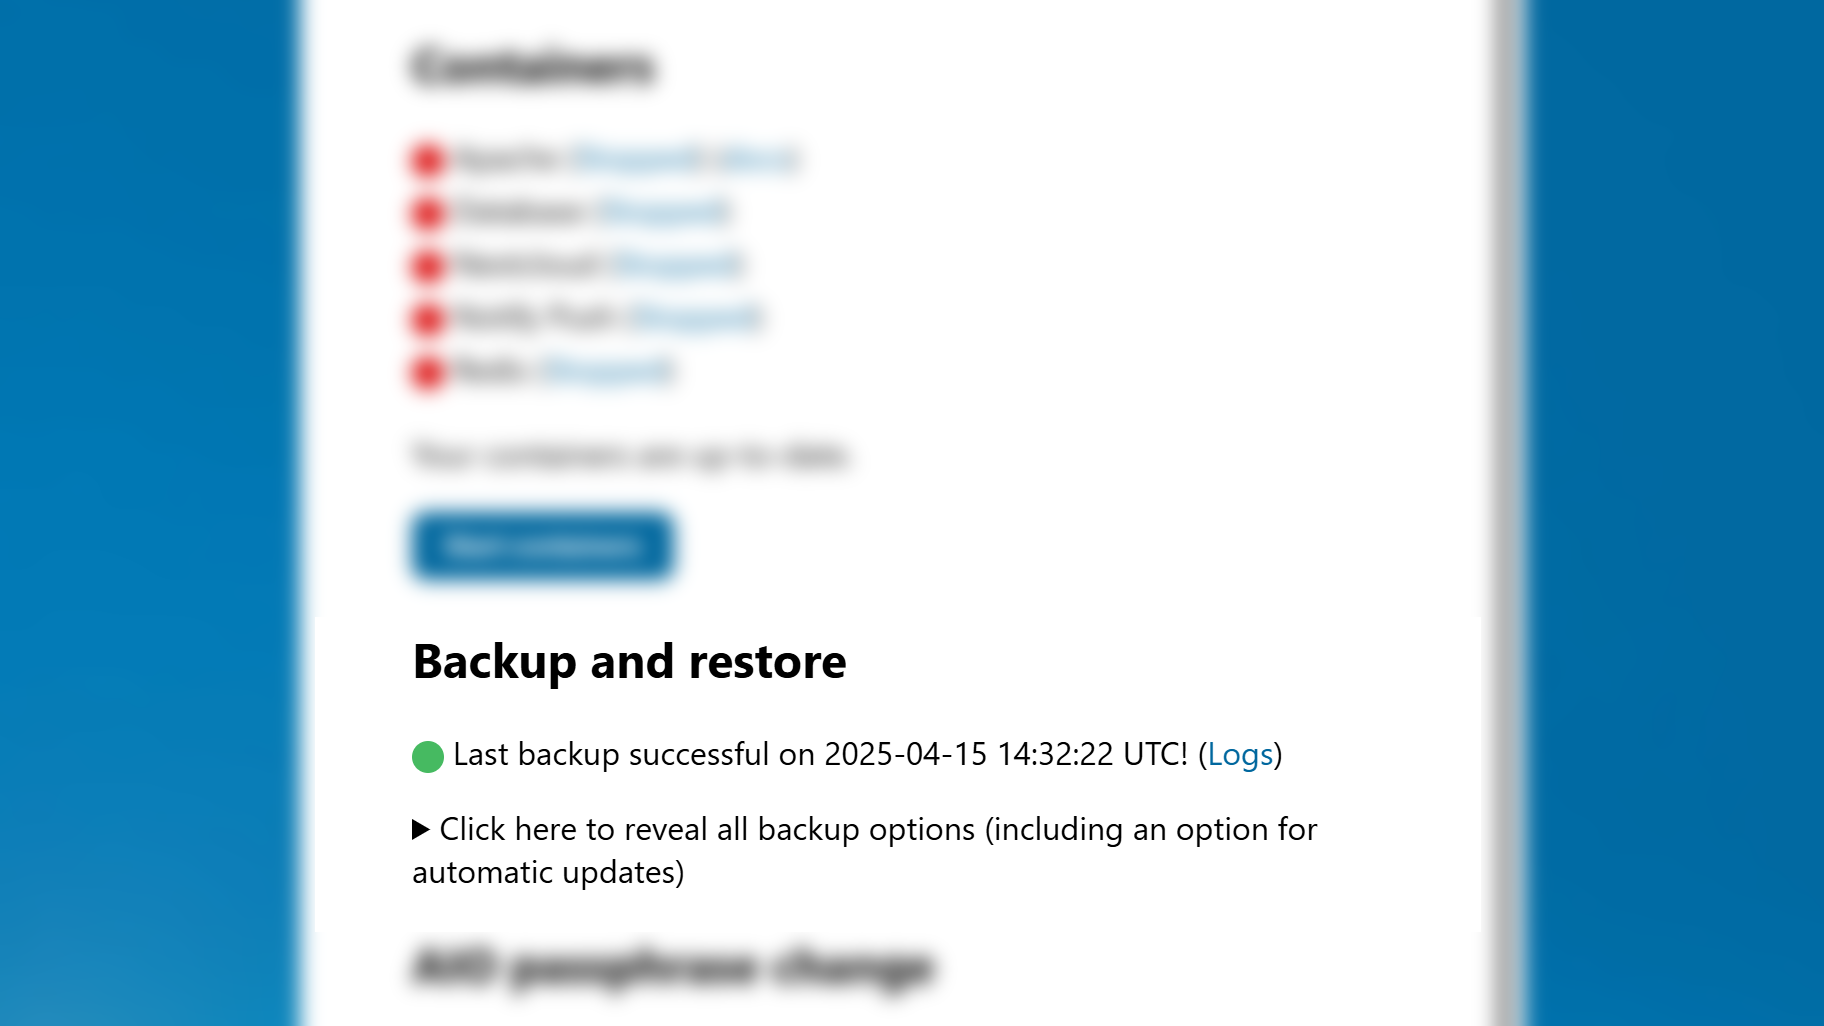
4. Finish the backup process
Once your back up has been created successfully, you should see a confirmation with the time and date.
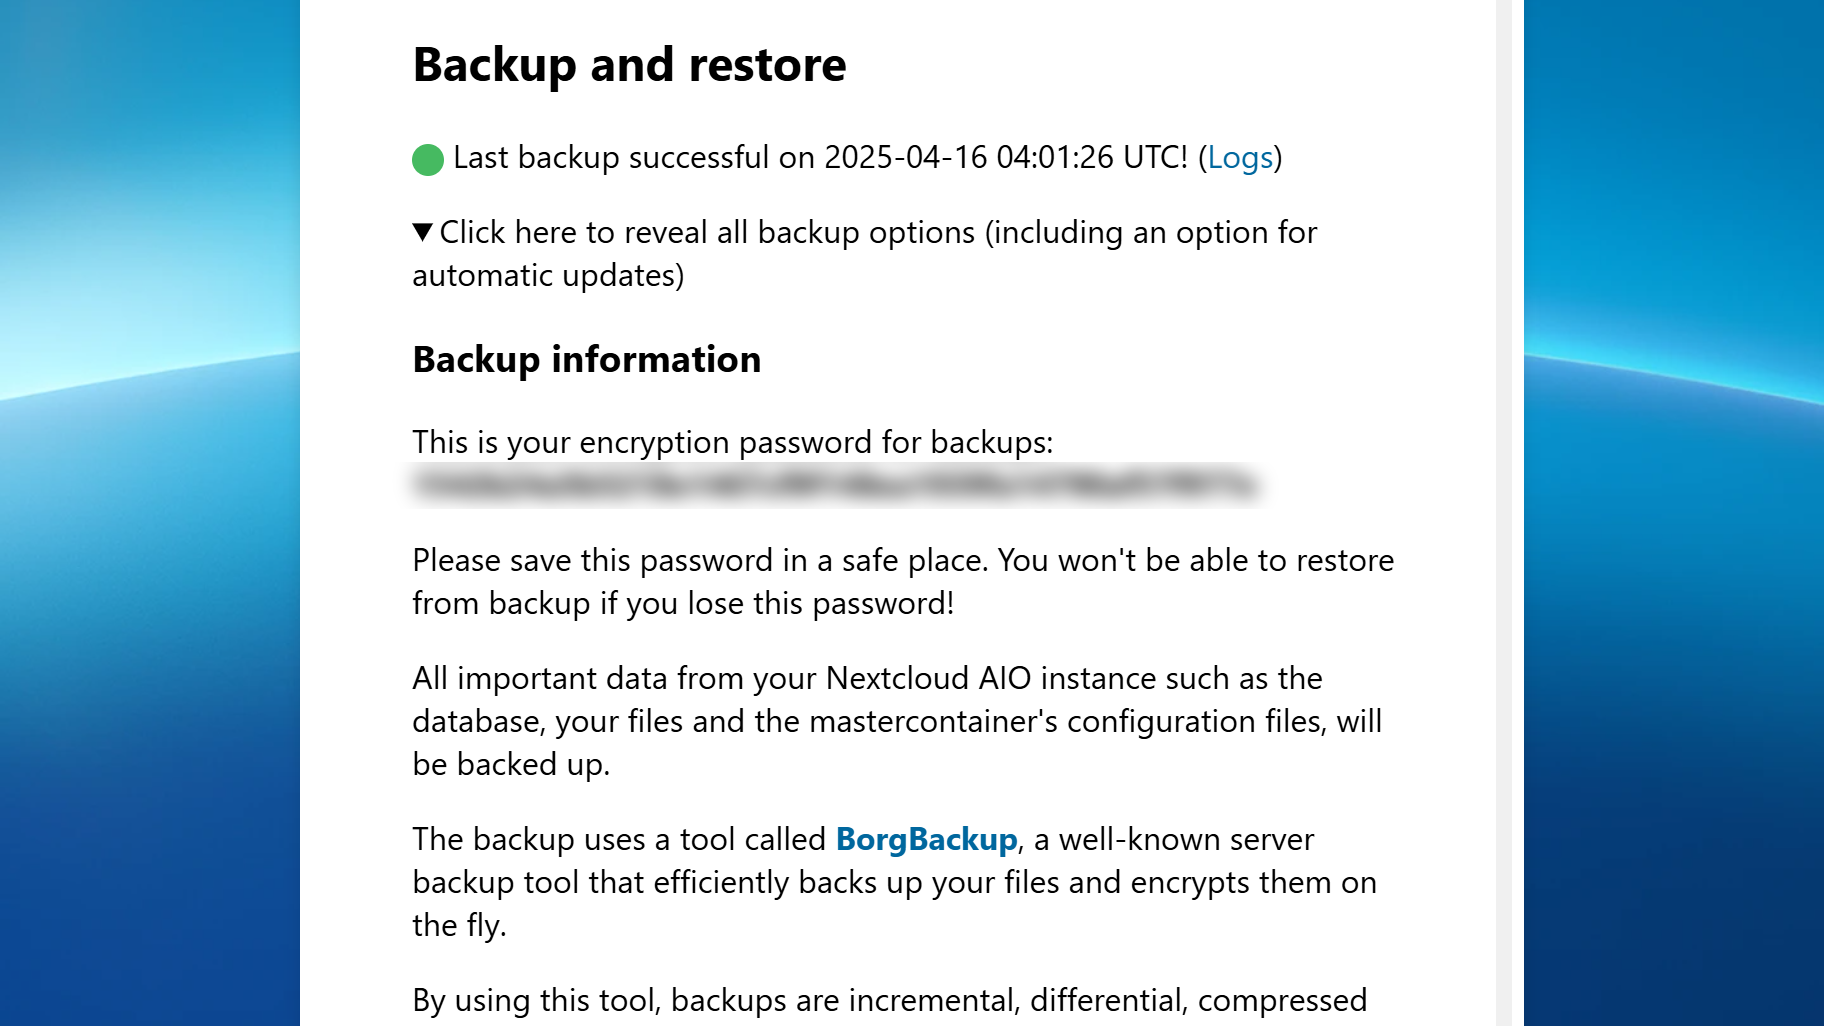
5. How to to restore a backup
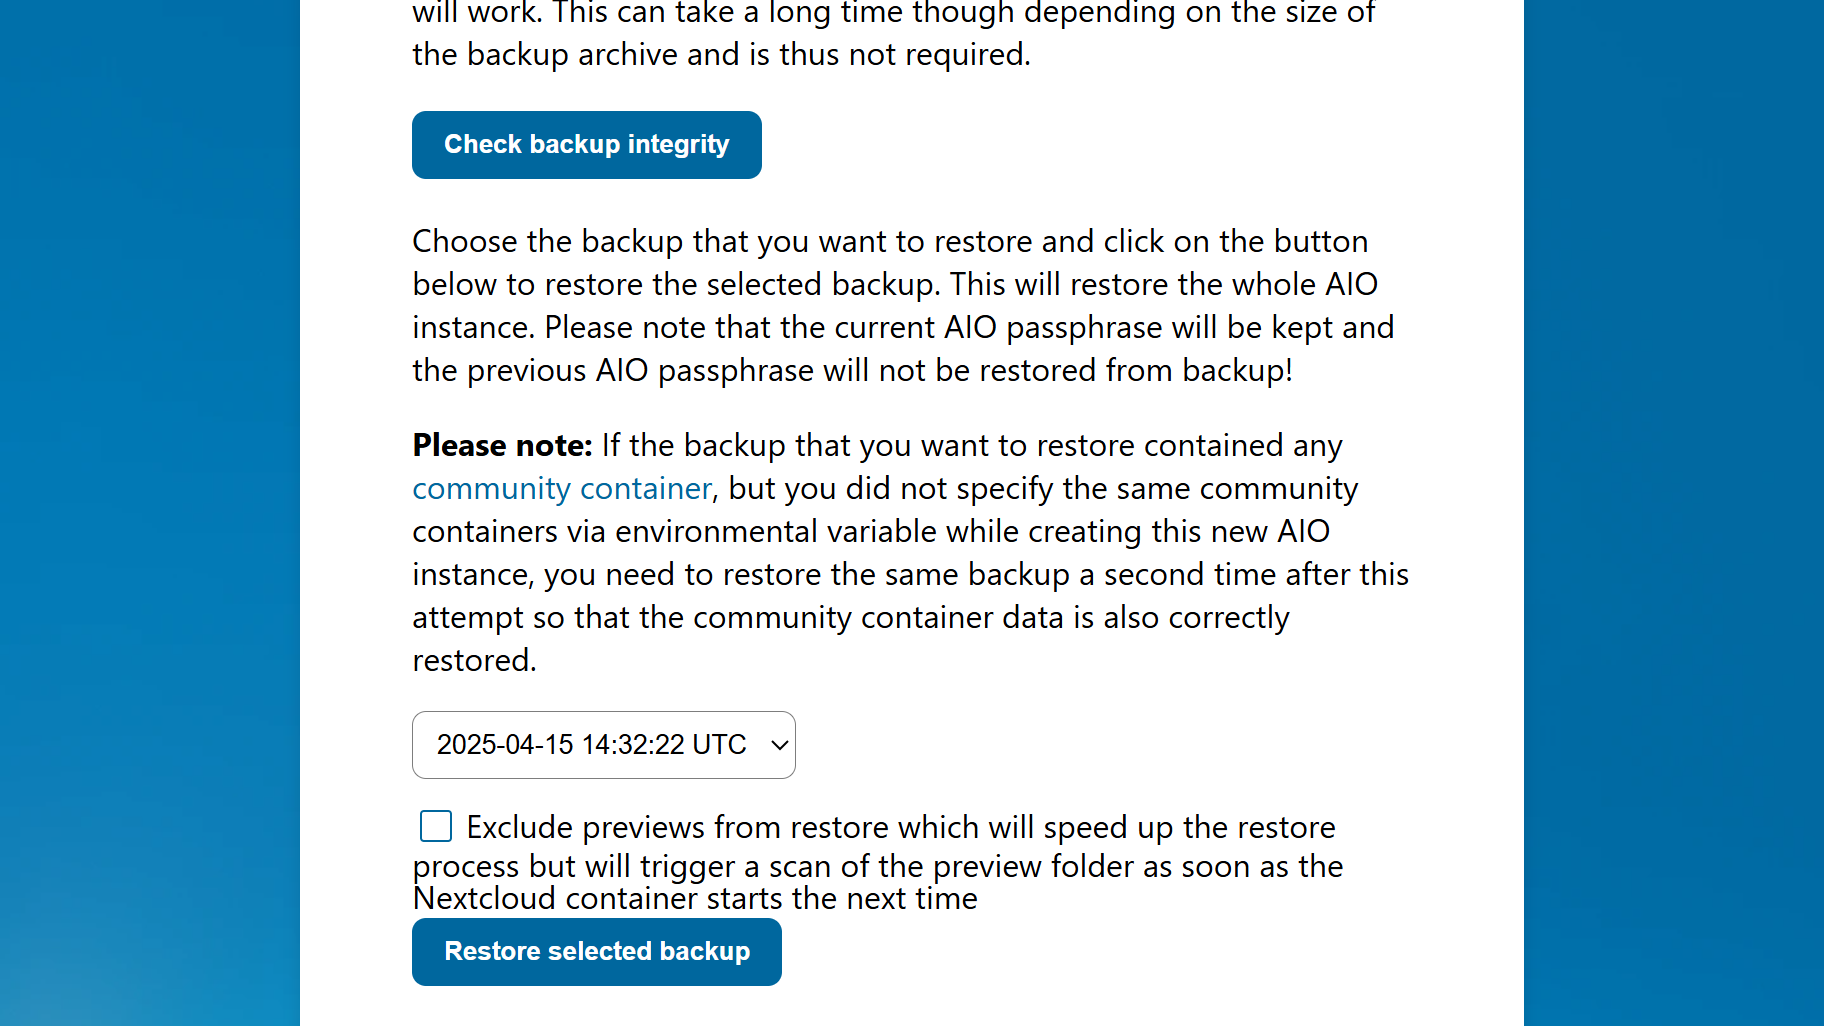
Scroll down to the « Backup and restore » section of the AIO interface and click « Click here to reveal all backup options ». In the the « Backup restore » subsection here, select the version that you want to restore and click the « Restore selected backup » button.
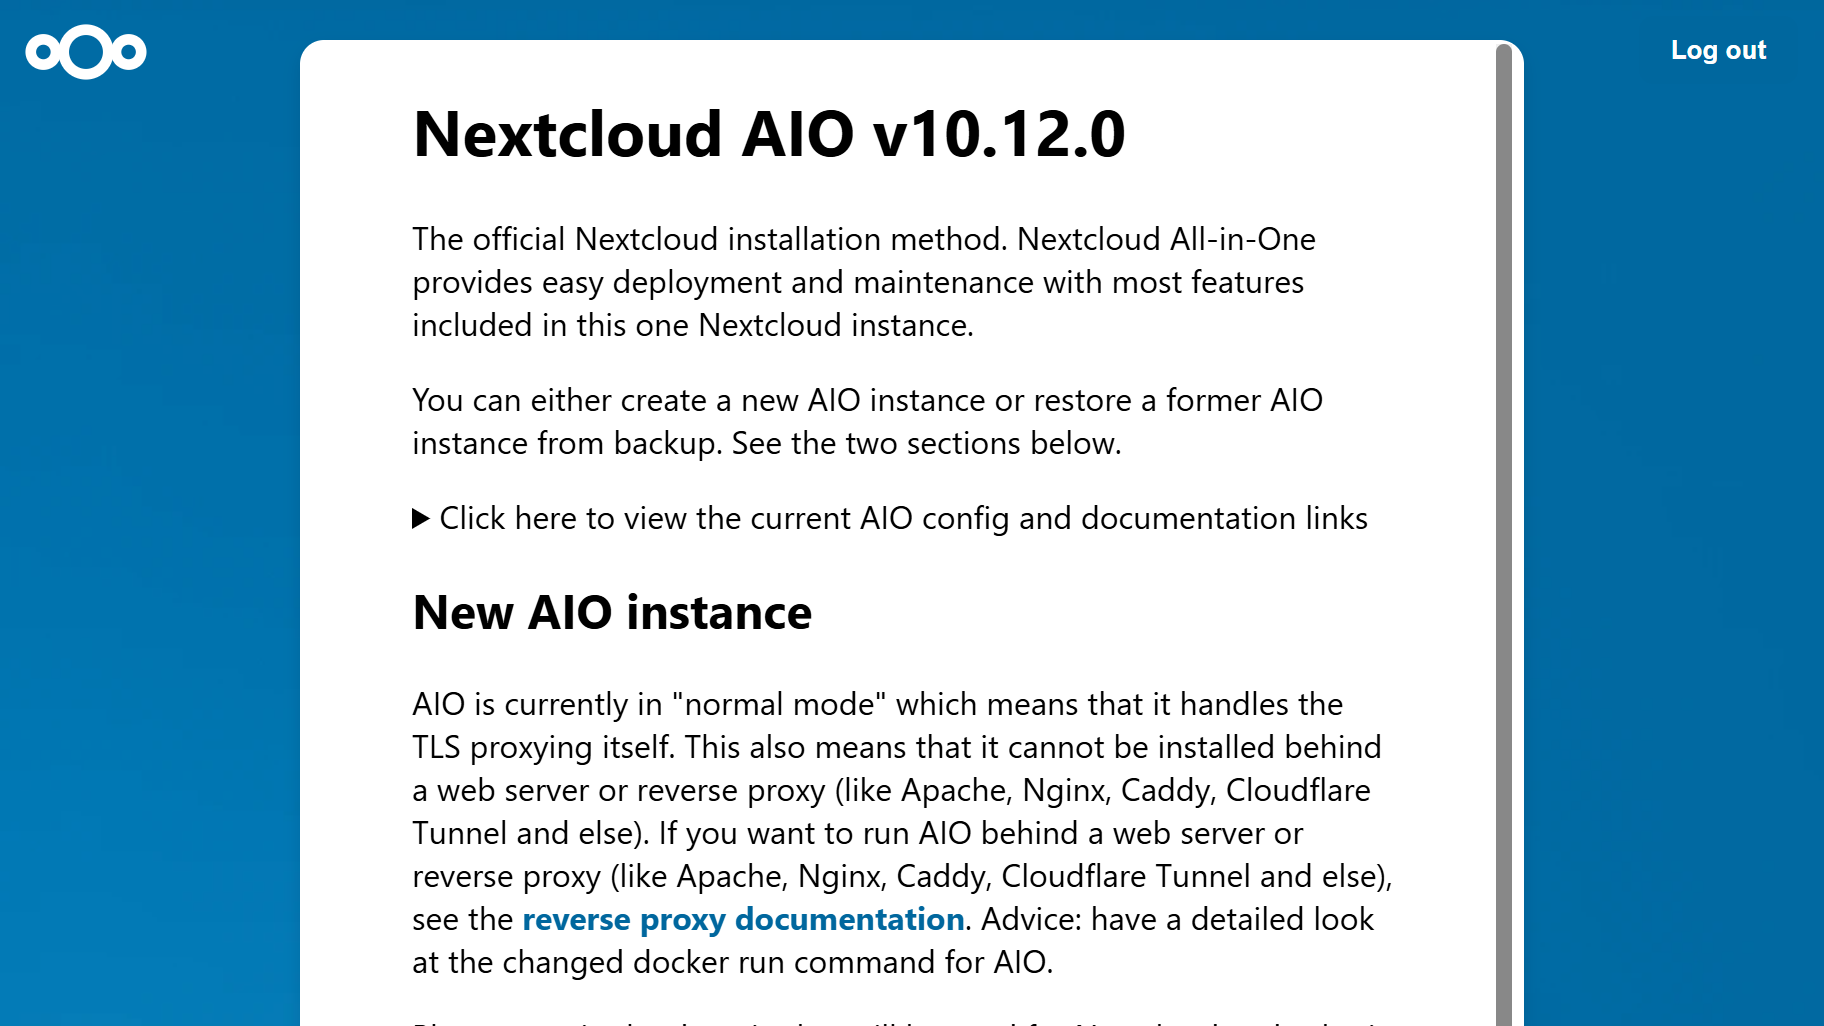
How to restore Nextcloud from a remote backup with a new AIO instance
If you spin up a new AIO instance and easily restore the state from a remote backup repository. Follow the steps below to learn how.
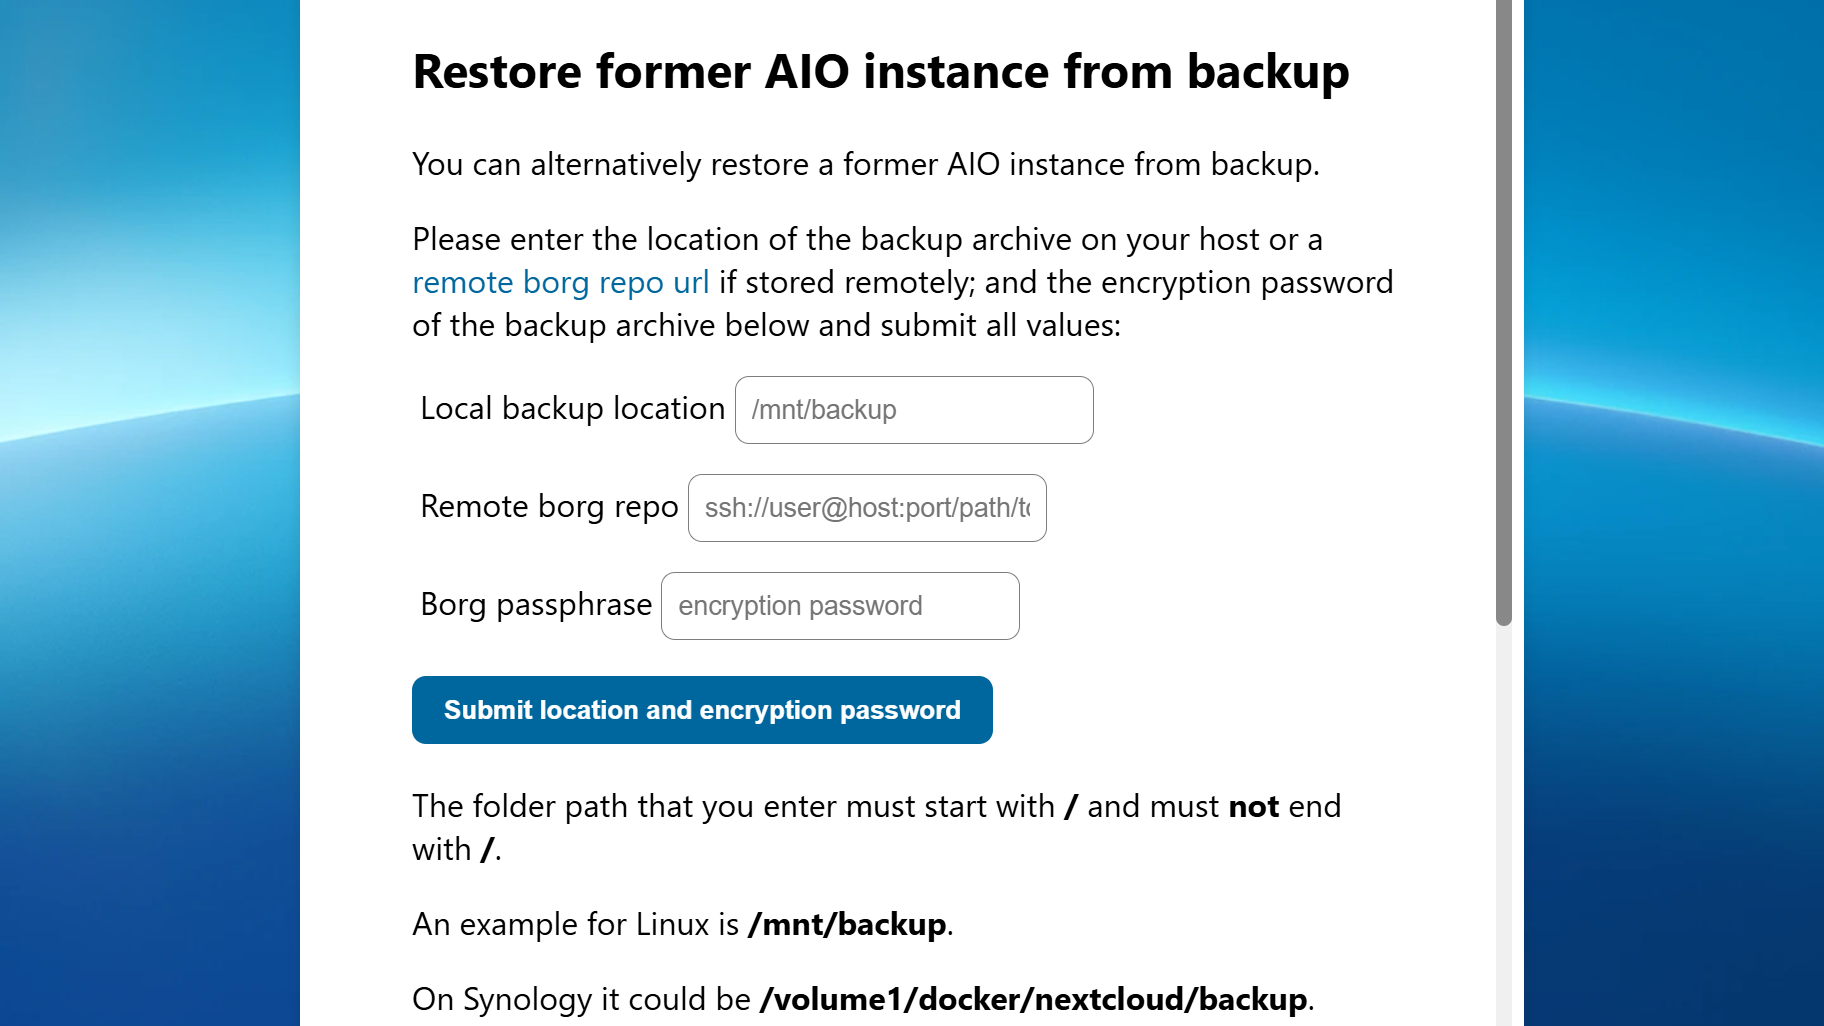
1. Submit the backup location and password
Scroll down toto the “Restore AIO instance from backup” section in the AIO interface. Enter the remote Borg location and the Borg encryption password, and click “Submit location and encryption password”.
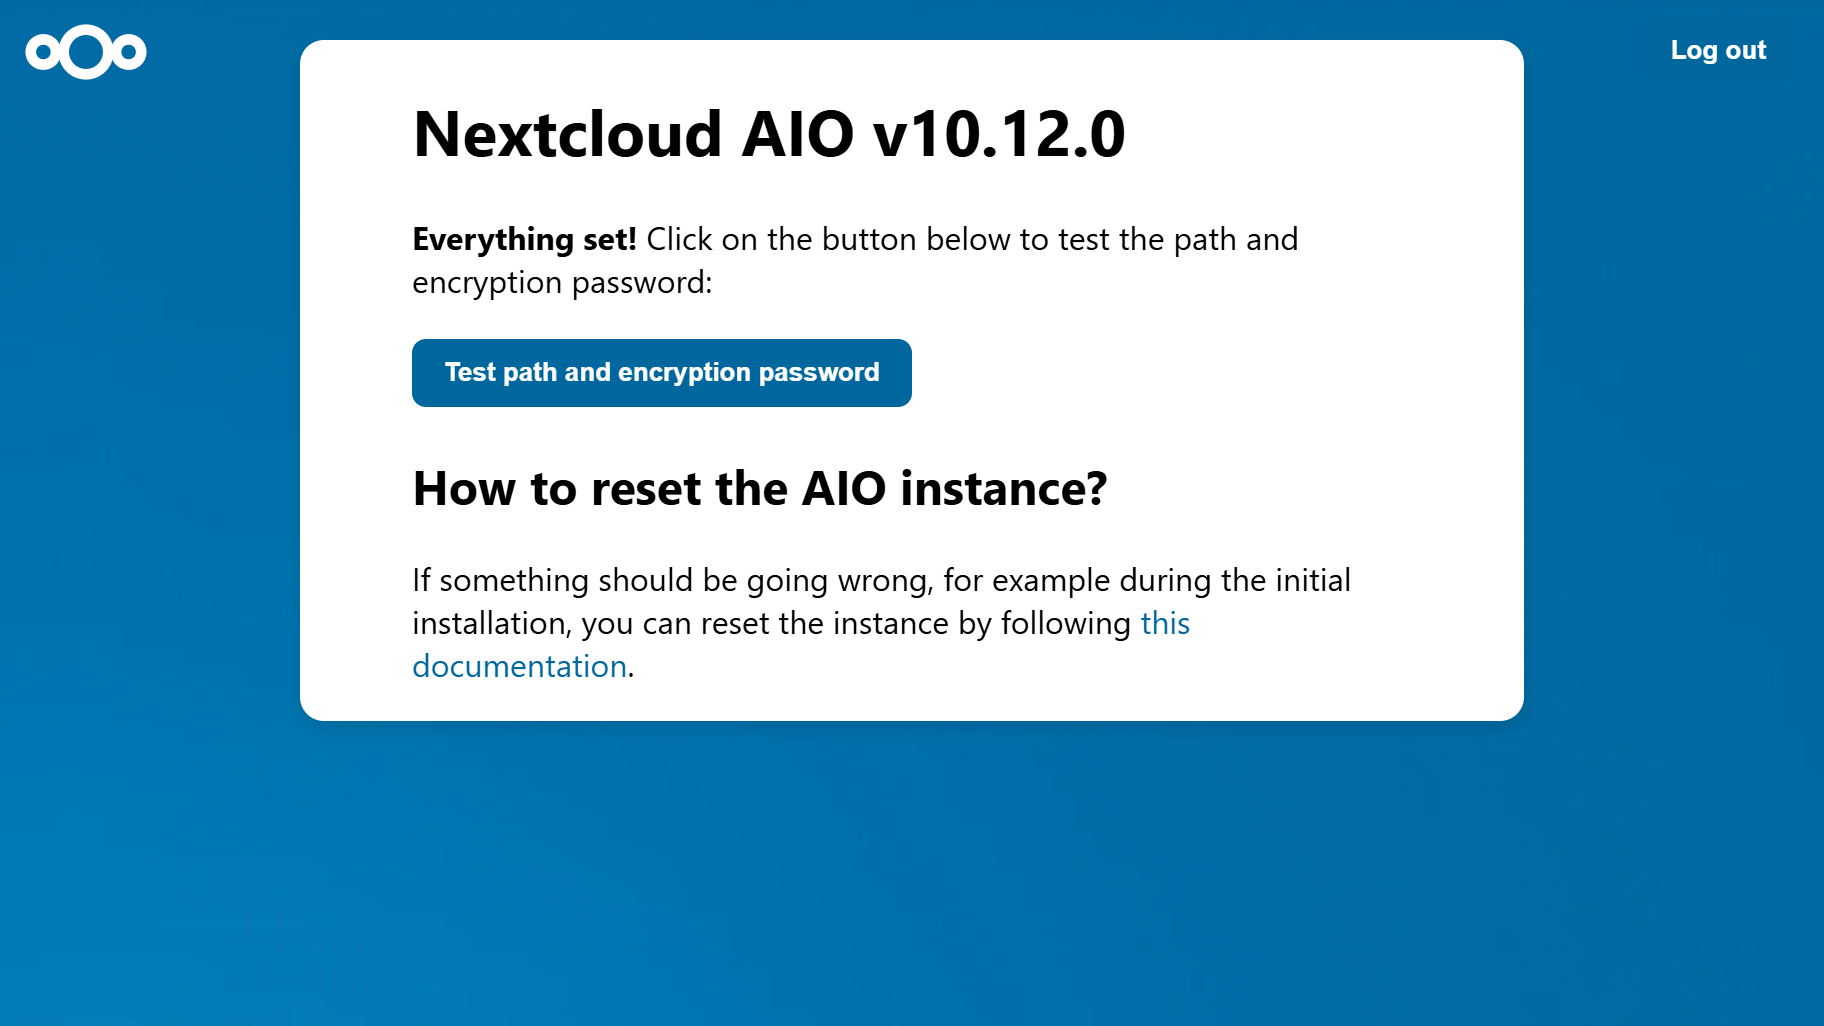
The next step is to test this path and encryption password.
2. Authorize the SSH key
The initial test will fail, but this is fixed easily — you just need to authorize a new SSH key. Obtain the key from the information on your screen and authorize it, then click on “Submit location and encryption password” again.
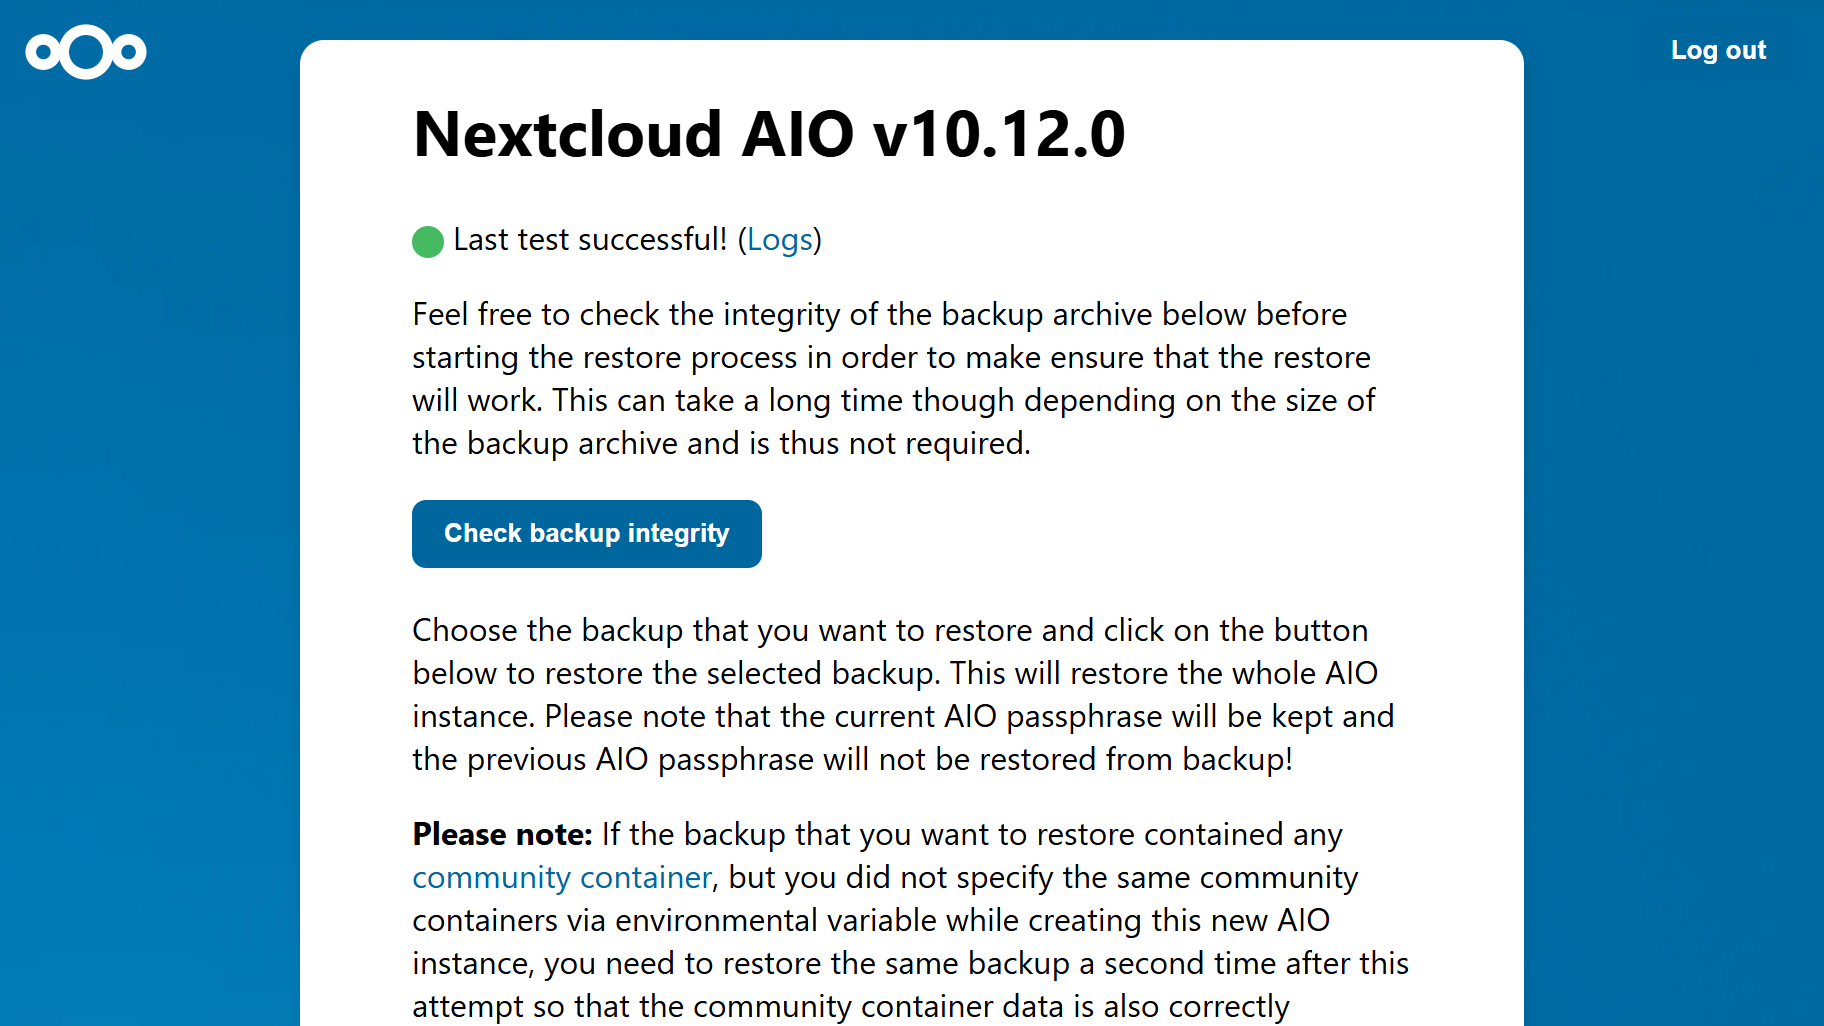
3. Repeat the test to backup and restore your Nextcloud AIO
Run the test again by clicking on the Test path and encryption password button. If your test has been successful, you will be notified and prompted to restore the backup from the chosen location. Click “Restore selected backup” to start the restore process.
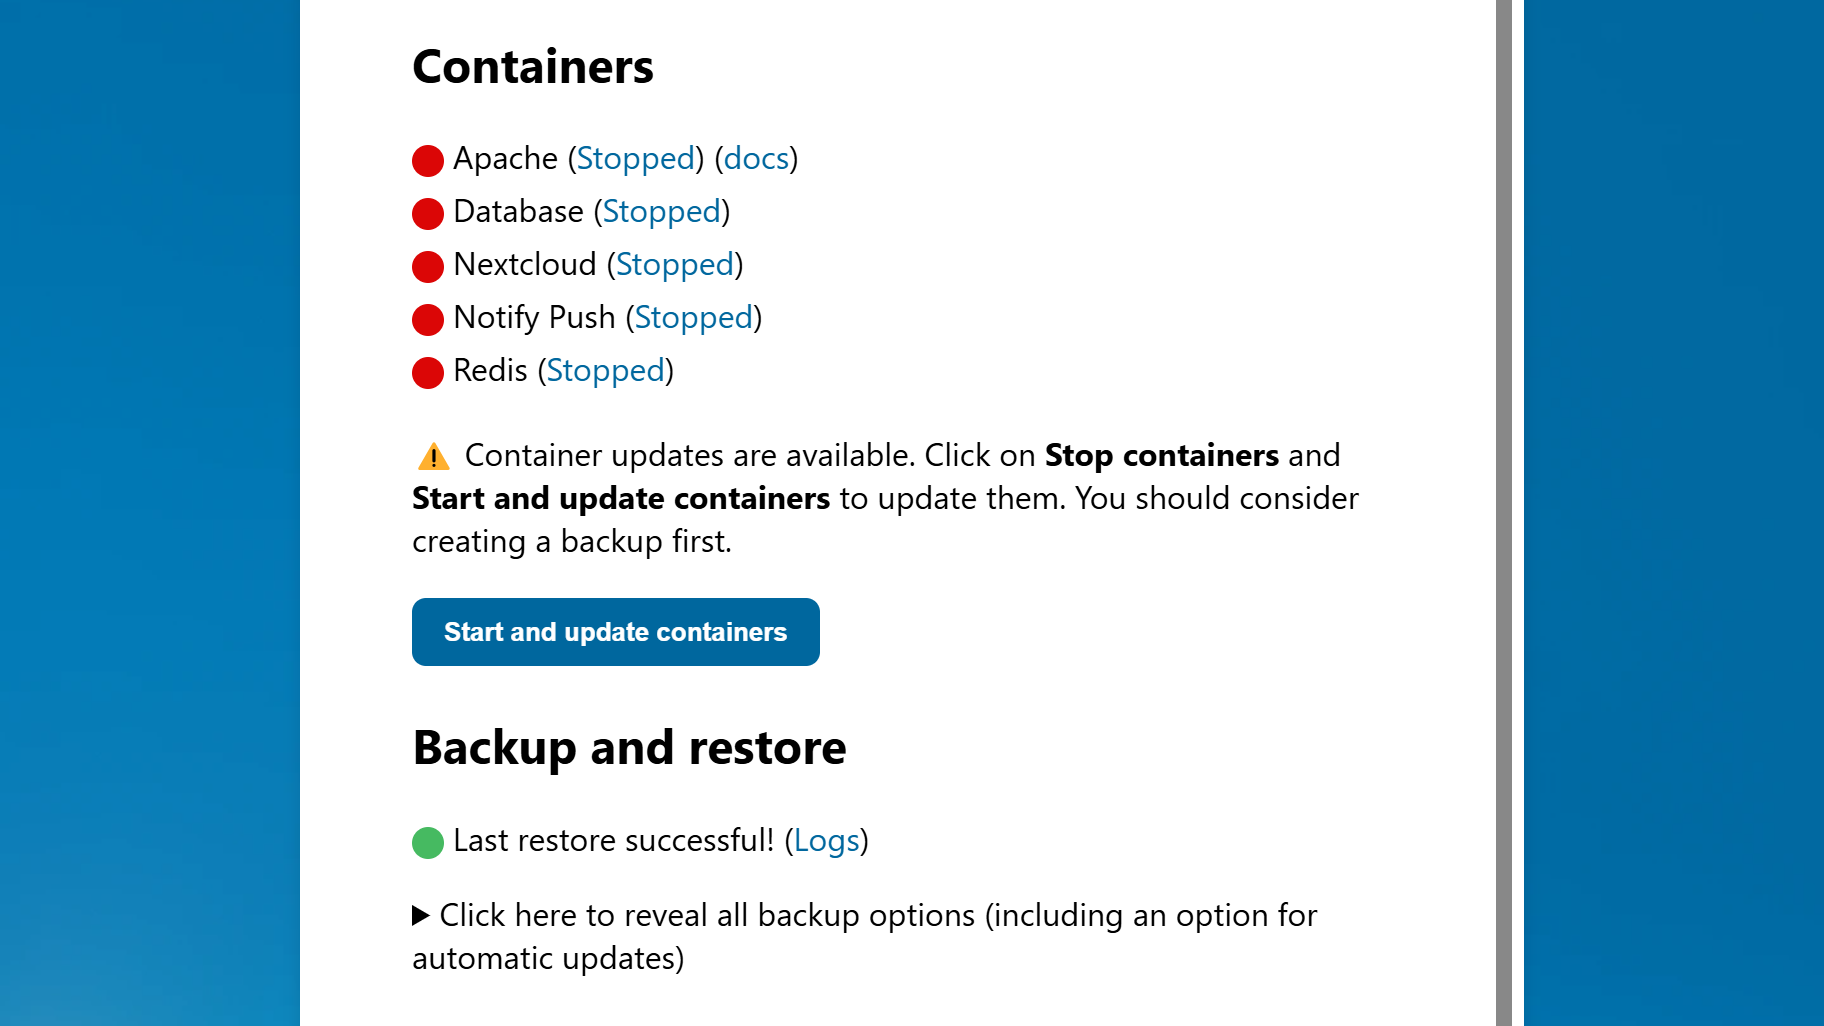
4. Finish the process and update your containers
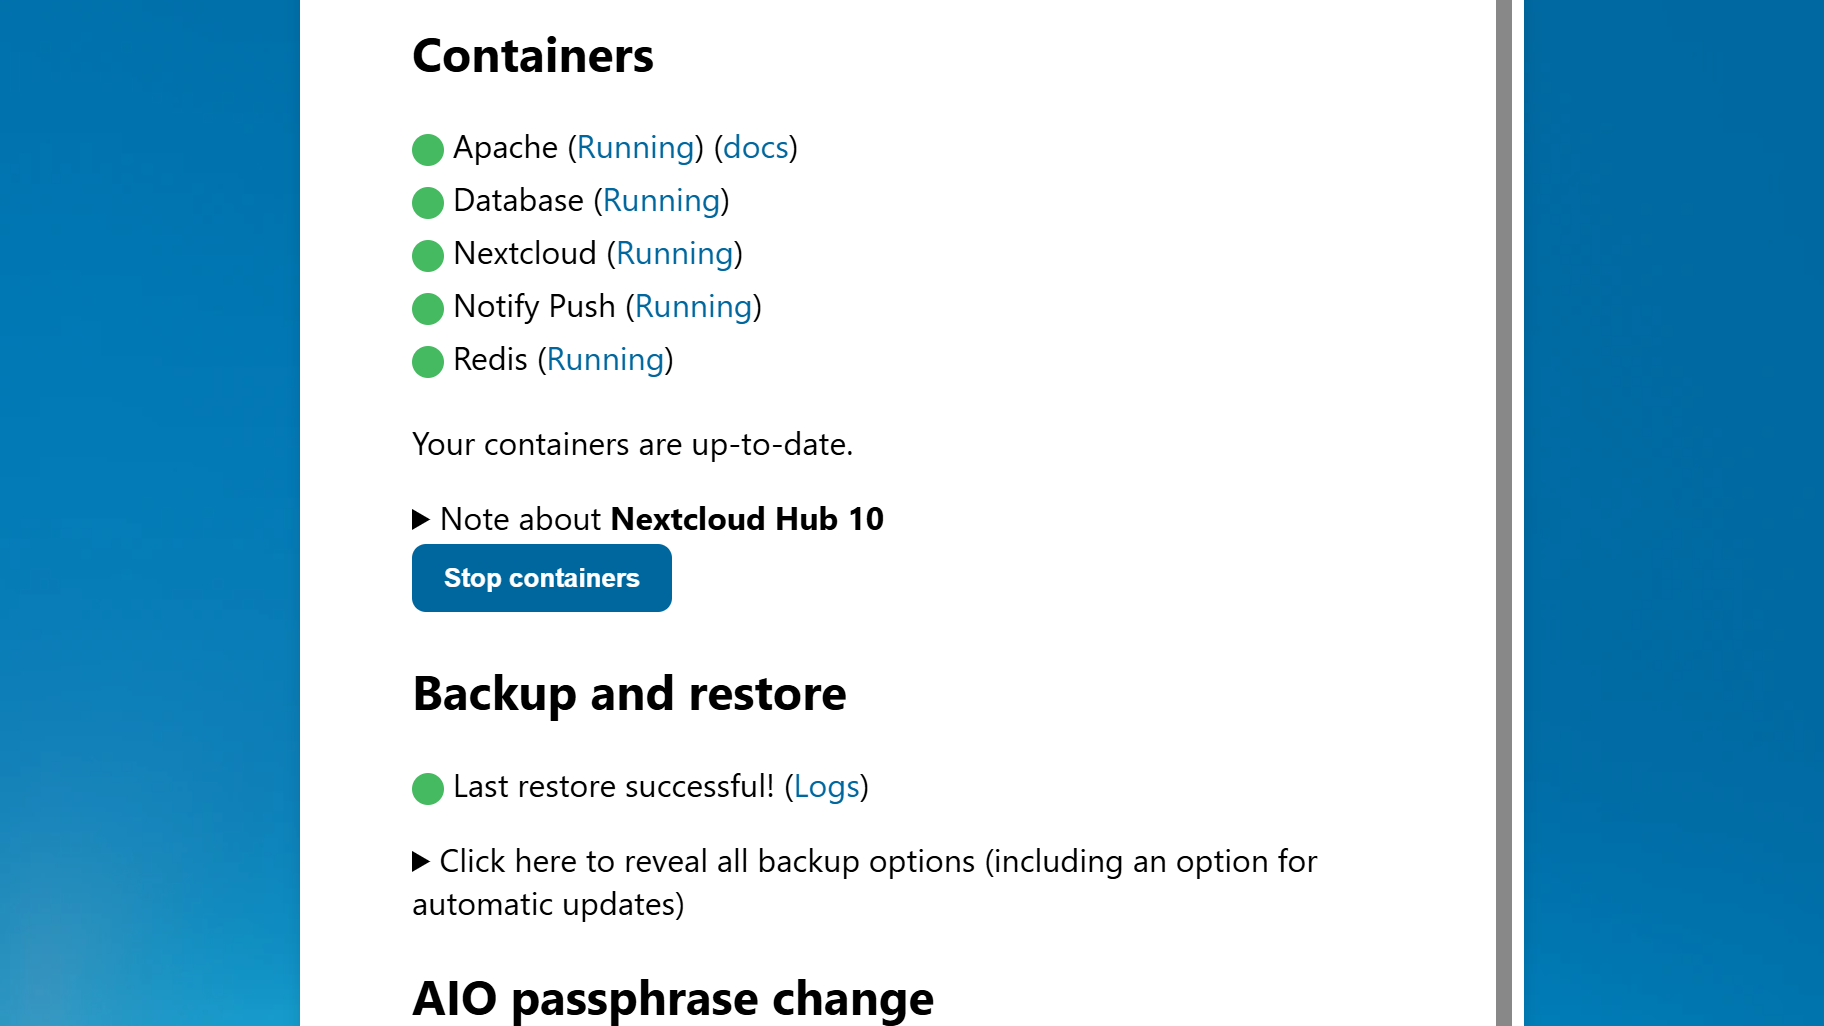
Once done, you will land in the panel with an overview of your containers. Now click “Start and update containers”. Done!
Explore the new features of Nextcloud Hub 10
Welcome Nextcloud Hub 10 – our most integrated, modular platform for secure collaboration. Our latest release comes with reinforced performance in every app, deeper integration across the platform, and dozens of new features that will make your day easier:
End-to-End encryption in calls and web
Performance improvements across all our products
Thousands of tweaks for improved UX and stability
Nextcloud Assistant 3.0 – your new personal assistant
File conversion directly in Nextcloud Files
Smarter team sharing with Team folders
Schedule meetings directly in Nextcloud Talk
Mail you love again: translations, summaries, and mentions
… and much more!
Get Nextcloud Hub 10 now!
Download the latest version of Nextcloud Hub here. Or if you are new – start your instant trial right away!
Nous vous présentons aujourd'hui Nextcloud Hub 26 Spring, notre version anniversaire. Cela vous offre encore plus de choix en matière d'outils, une interface utilisateur optimisée, une collaboration fluide, ainsi qu'une nouvelle stratégie de plateforme qui permet aux développeurs de tirer davantage parti de notre vaste écosystème. Conçus ensemble, pensés pour l'avenir.
Nextcloud Hub 25 Autumn facilite le démarrage d'une collaboration puissante tout en gardant le contrôle de vos données. Des mises à jour globales du design à l'amélioration de la convivialité et des performances, découvrez notre dernière version dans ce blog.
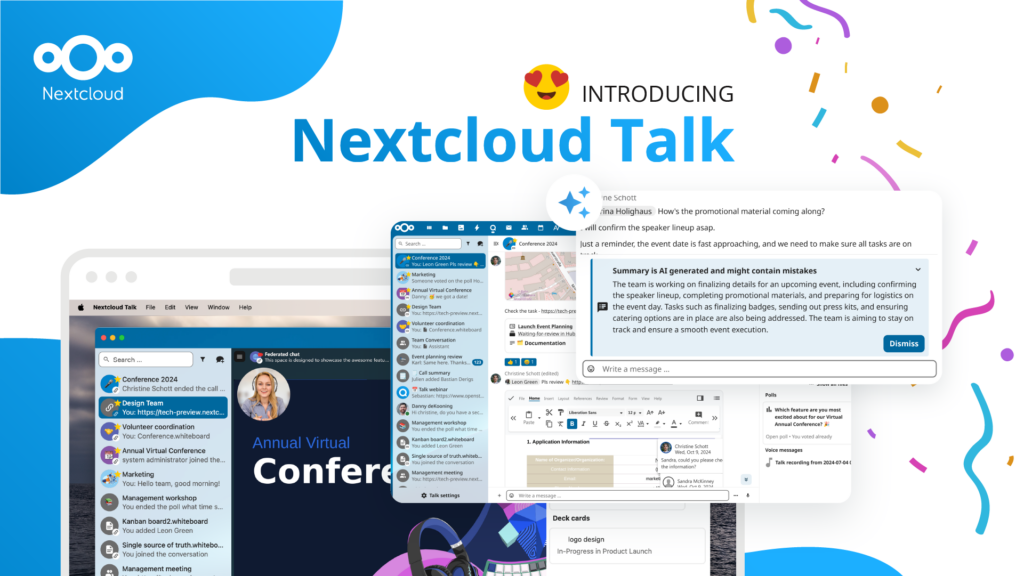
Les organisations, petites et grandes, ont besoin d'un moyen d'assurer la résilience et la souveraineté numérique de leurs opérations - une alternative à Teams, open-source et respectueuse de la vie privée. Aujourd'hui, nous vous présentons cette solution - Nextcloud Talk.
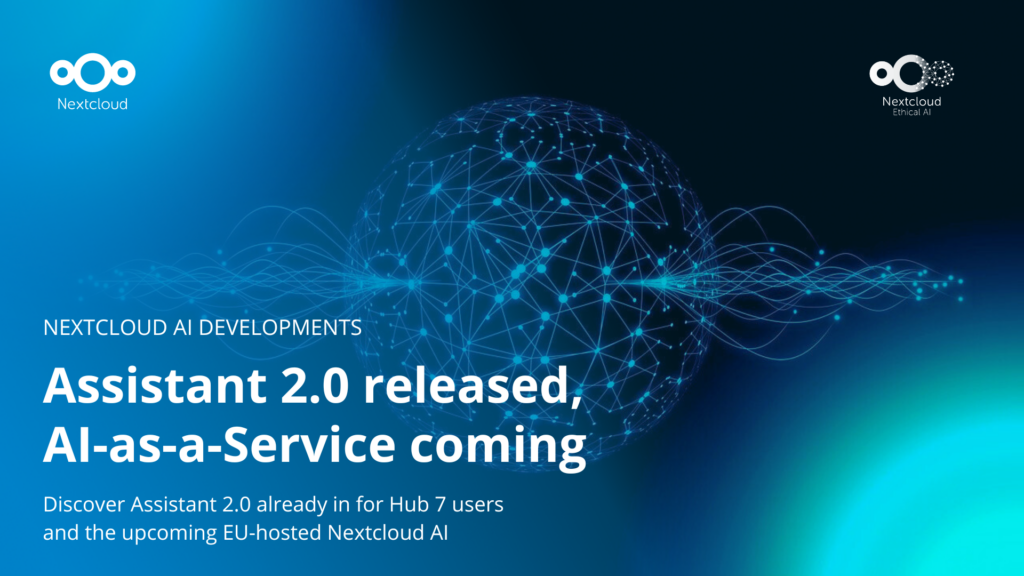
Nous vous présentons une mise à jour majeure de l'assistant Nextcloud IA, ainsi que de nouvelles informations sur notre collaboration avec plusieurs grands fournisseurs d'hébergement tels que IONOS et OVHcloud pour vous proposer des options d'IA en tant que service !
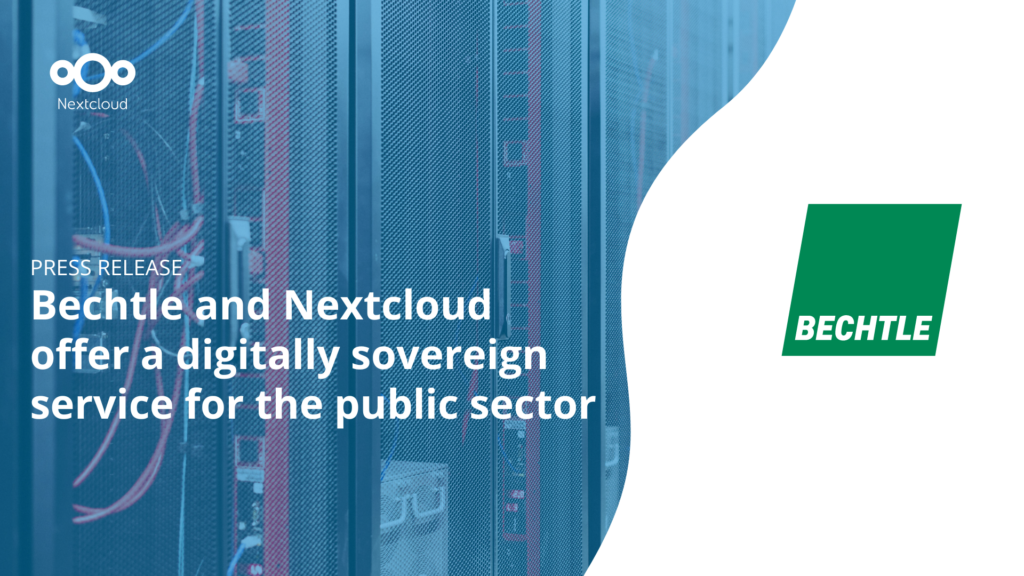
Bechtle et Nextcloud ont annoncé aujourd'hui une plateforme de collaboration entièrement administrée pour le secteur public, qui ne nécessite pas d'appel d'offres et peut être déployée immédiatement.
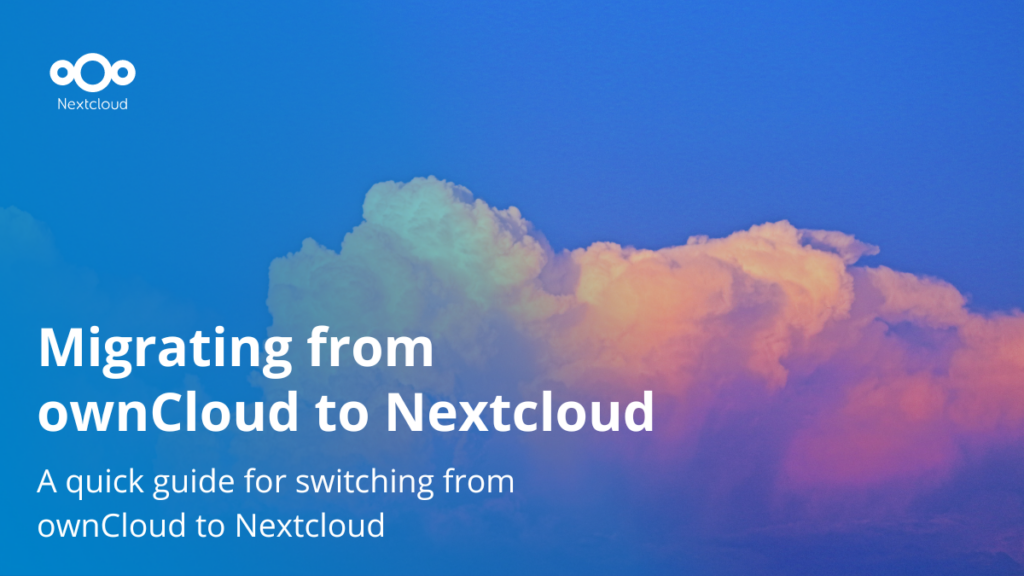
Découvrez comment passer de ownCloud à Nextcloud. Notre outil d'aide à la migration fournit des informations sur le processus de migration et vous aide à effectuer la transition en douceur.
Starting with Nextcloud AIO v13.3.1, you can register a free, automatically configured domain with DNS records via deSEC to streamline setting up your Nextcloud.
We are introducing the Nextcloud ISV Partner Program to support independent app developers through the Nextcloud app store. Read more in this article and get in touch with our team if you want to join the program.
Nous enregistrons certains cookies pour compter les visiteurs et faciliter l'utilisation du site. Ces données ne quittent pas notre serveur et ne sont pas destinées à vous suivre personnellement ! Consultez notre politique de confidentialité pour plus d'informations Personnaliser
Les cookies utilisés pour enregistrer les données saisies dans les formulaires, telles que le nom, l'adresse électronique, le numéro de téléphone et la langue préférée.
Nom du cookie :nc_form_fields
Description du cookie :Mémorise les données saisies dans les formulaires pour une prochaine visite (nom, adresse électronique, numéro de téléphone et langue préférée).
Expiration du cookie :30 jours
Consentement
Nom du cookie :nc_utm_parameters
Description du cookie :We use cookies to store UTM parameters from your visit so we can understand how you arrived at our website.
Les cookies statistiques collectent des informations de manière anonyme et nous aident à comprendre comment nos visiteurs utilisent notre site web. Nous utilisons la solution open source de mesure de statistiques web Matomo
Service:Matomo
Description du cookie :
_pk_ses*: Compte la première visite de l'utilisateur
_pk_id*: Aide à ne pas compter deux fois les visites.
mtm_cookie_consent: Se souvient que l'utilisateur a donné son accord pour le stockage et l'utilisation de cookies.
Expiration du cookie :_pk_ses*: 30 minutes
_pk_id*: 13 mois
mtm_cookie_consent: 30 jours