We’re excited to share that we have recently introduced remote Borg backups for Nextcloud All-in-One (AIO) instances. Before, only local backups on drives mounted directly on the server were possible. With the remote backup feature, you can specify a remote location as the target location for your backup, enhancing the reliability and security of your backups. During the system restore process, this target location can be specified to spin up a new Nextcloud AIO instance and restore the state on a new server in minutes.
Like many features in Nextcloud, the remote Borg backup feature is a community contribution. Big thanks to hannahdiels for making it possible!
In this step-by-step guide, we explore how to create a remote Nextcloud backup and restore your instance from one. Follow along to make sure your backup and restore go smoothly!
What are the benefits of a remote Nextcloud backup for your Nextcloud AIO?
Remote backup is a convenient way to protect yourself against local incidents like hardware failures, ransomware attacks, and natural disasters. Remote backups make sure your data survives even if your server doesn’t.
That is also a compliance measure when a regulation requires you to have offsite and long-term archiving. And finally, it is your key component to a sound disaster recovery plan, when you need to restore your Nextcloud quickly and effectively.
How to make a Nextcloud backup remotely using Borg
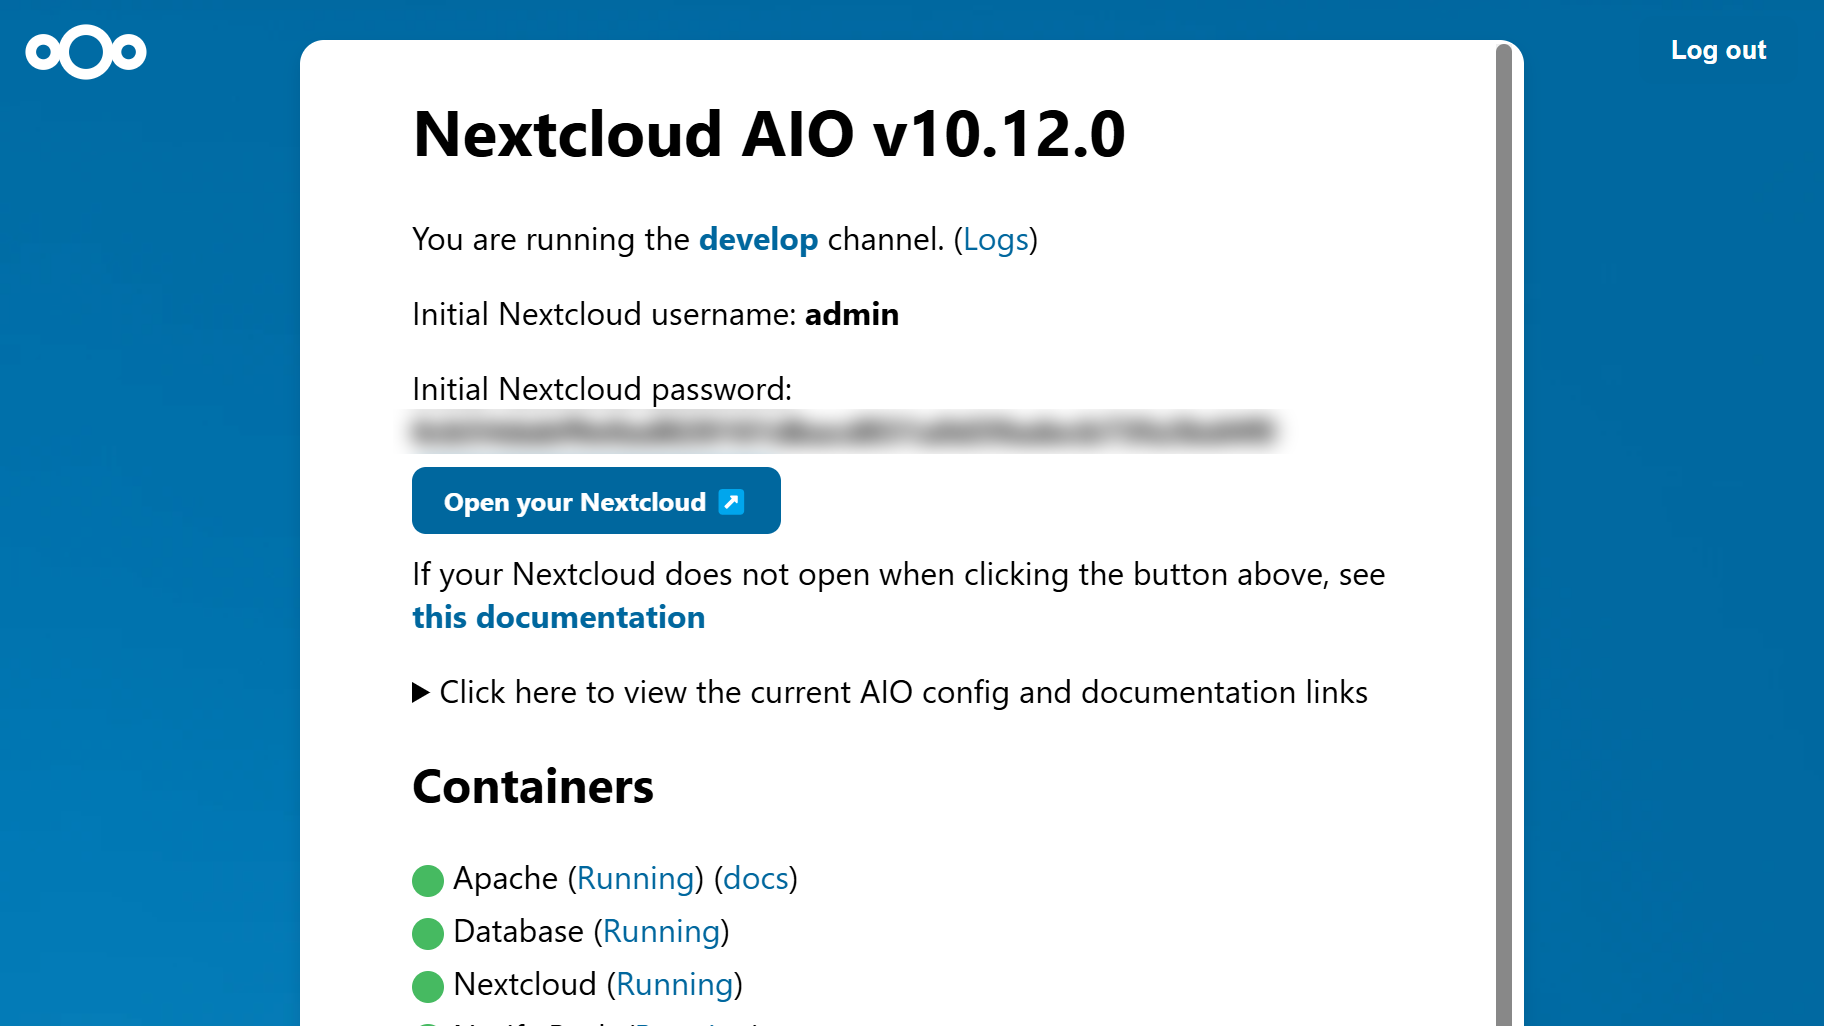
Once you have installed your All-in-One Nextcloud solution on a Windows or a Linux server, you will get access to the AIO interface. Scroll to the “Backup and restore” section to find your backup settings.
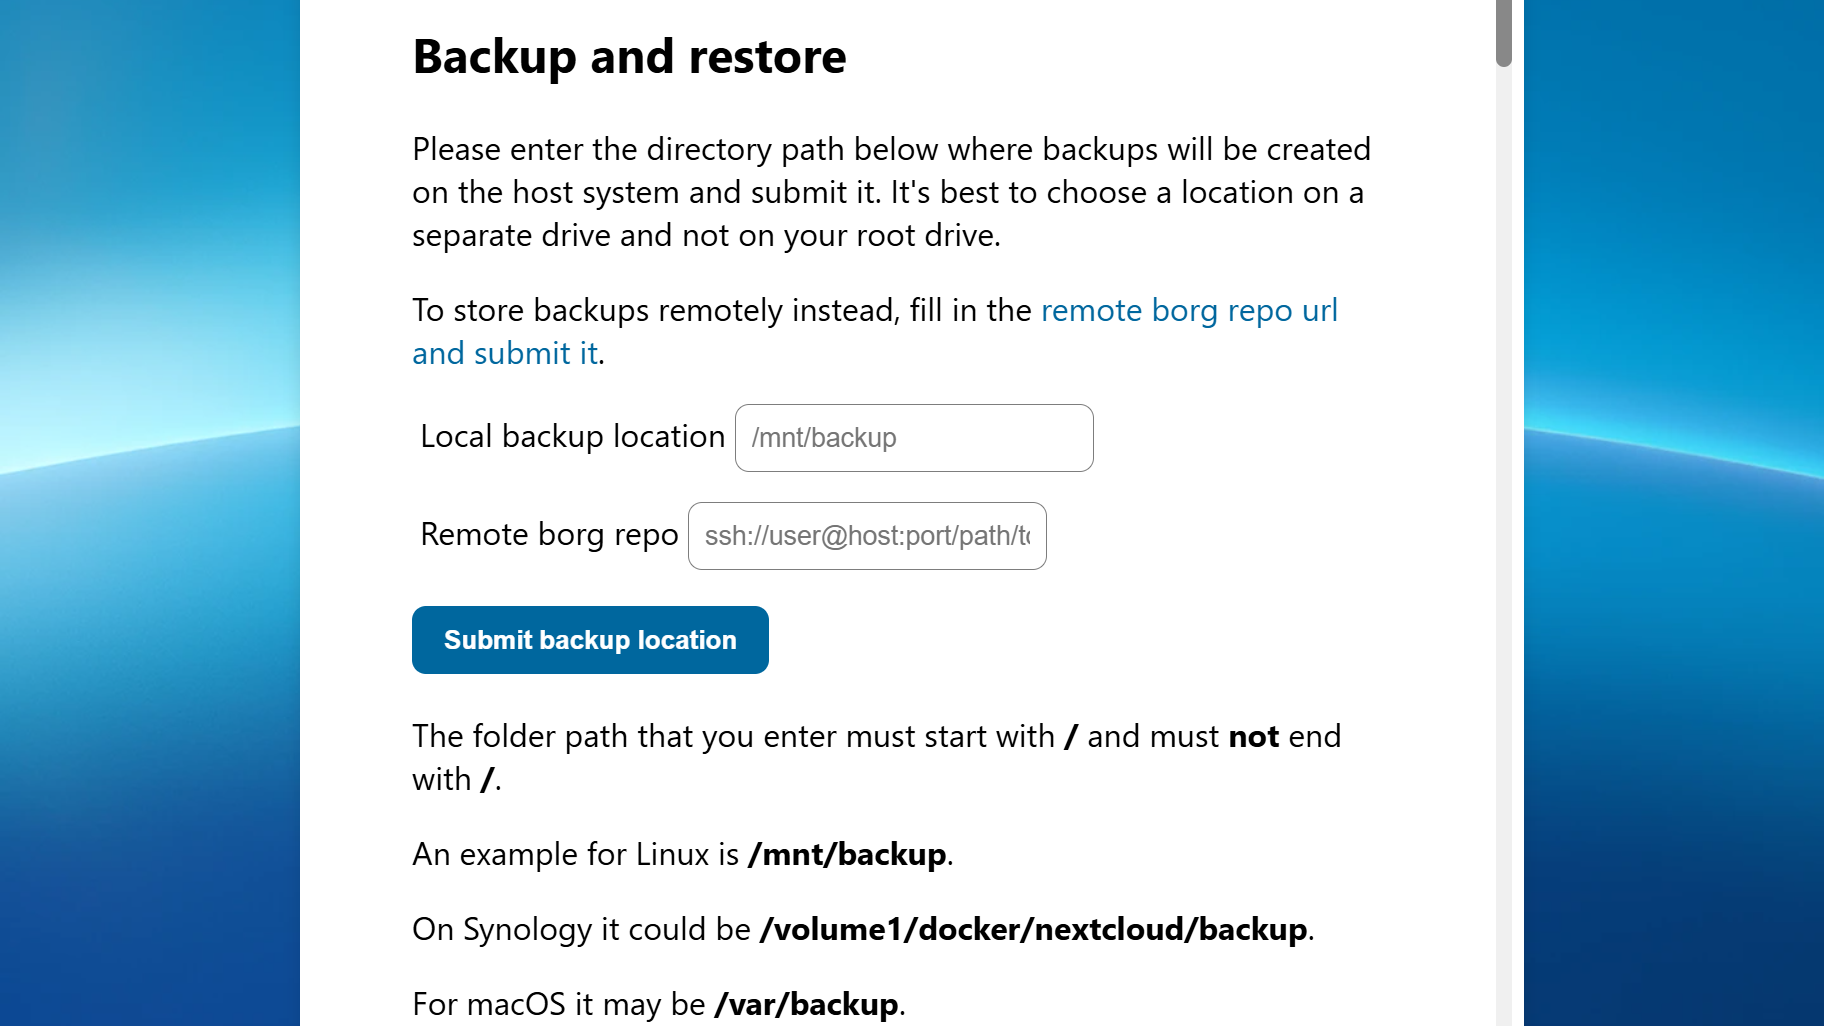
1. Submit the backup location
Enter the remote backup location into the Remote borg repo input field and click on «Submit backup location» to proceed. It should be in the form ssh://user@host:port/path/to/repo.
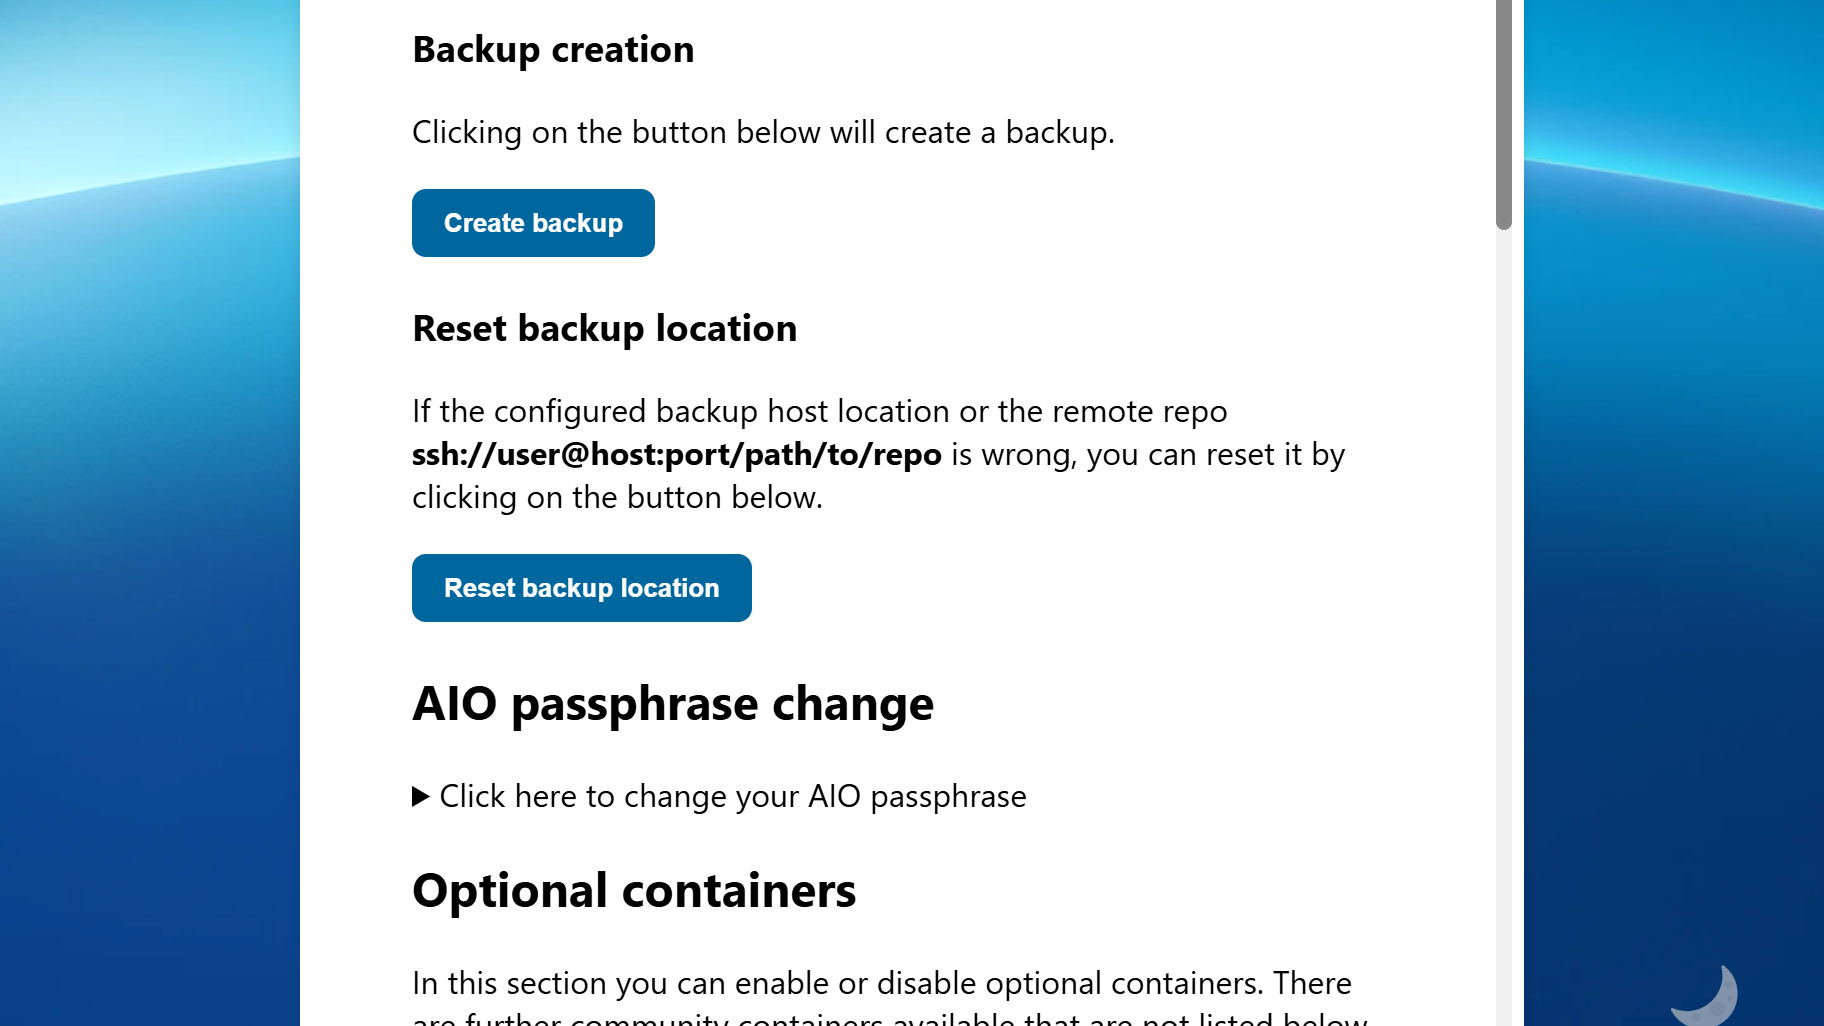
2. Start a new backup container
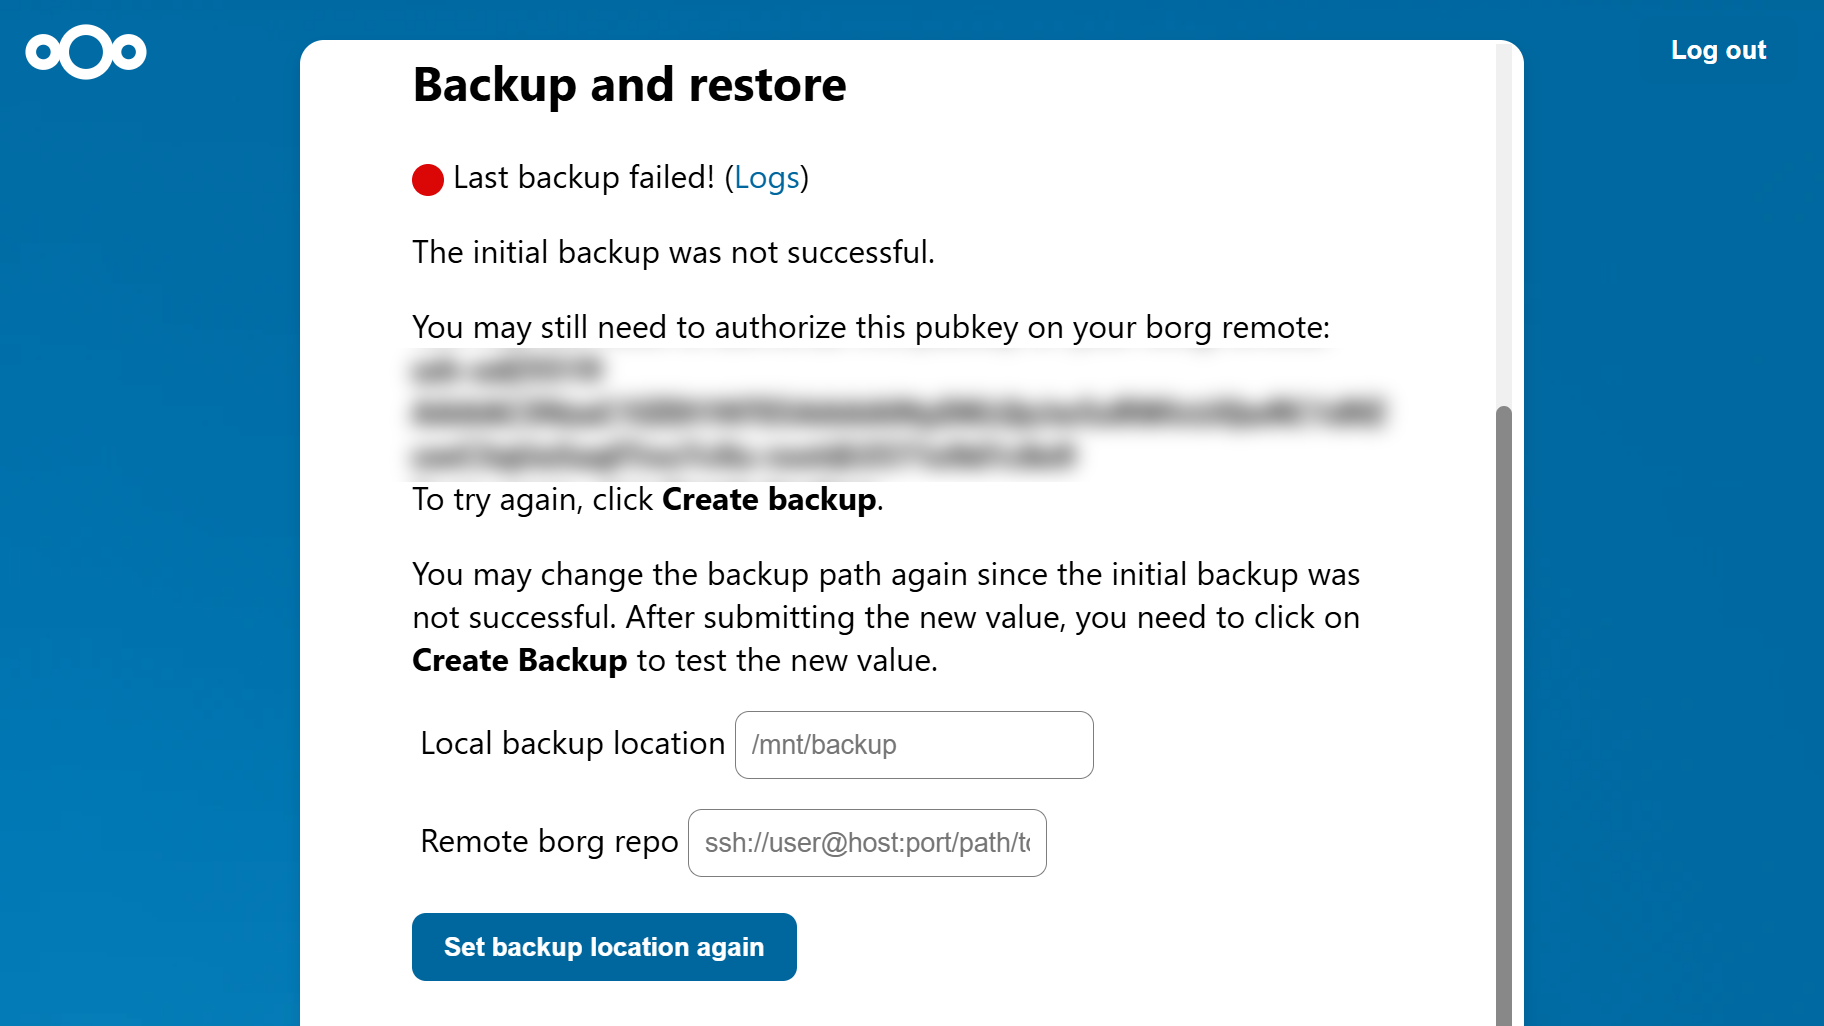
A new interface will open. Here, Click “Create backup” to start a new backup container.
3. Authorize the SSH key
Initially, you won’t be able to proceed without an SSH key. But don’t worry, you will get the key after your first attempt. Authorize the key on your Borg remote, then scroll down to «Backup creation» and click “Create backup” again.
4. Finish the backup process
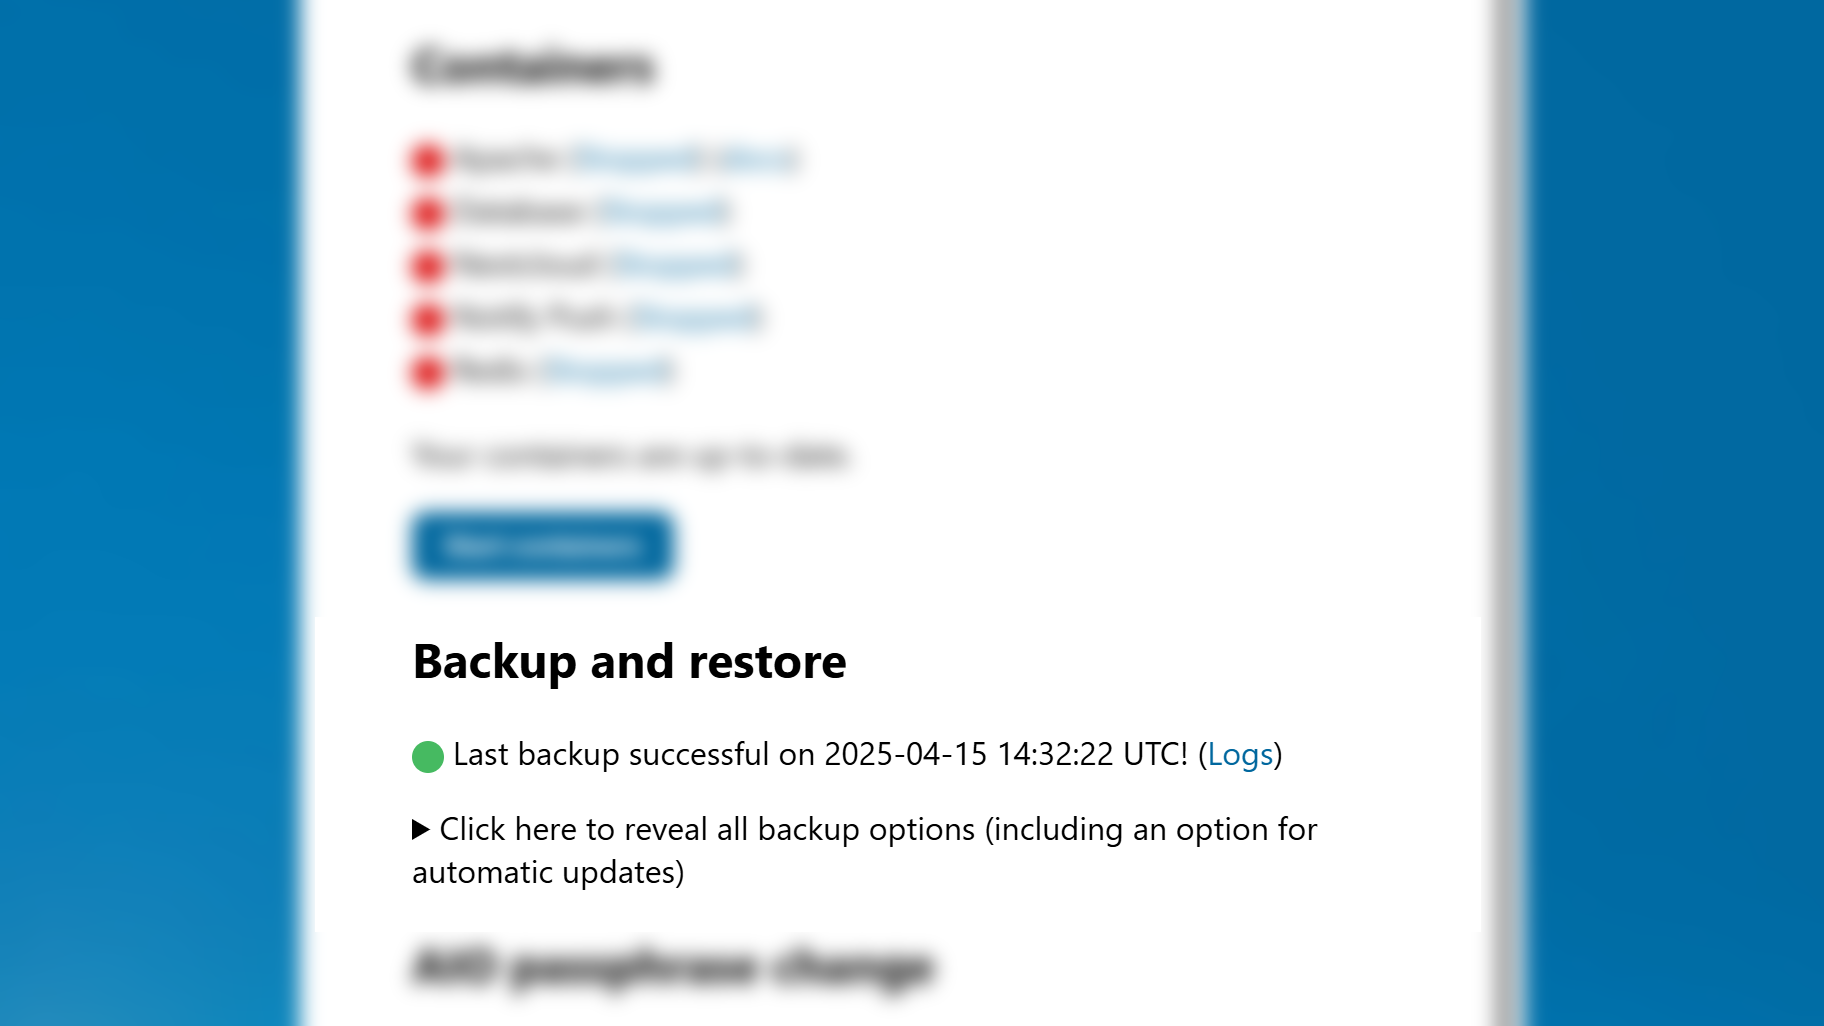
Once your back up has been created successfully, you should see a confirmation with the time and date.
5. How to to restore a backup
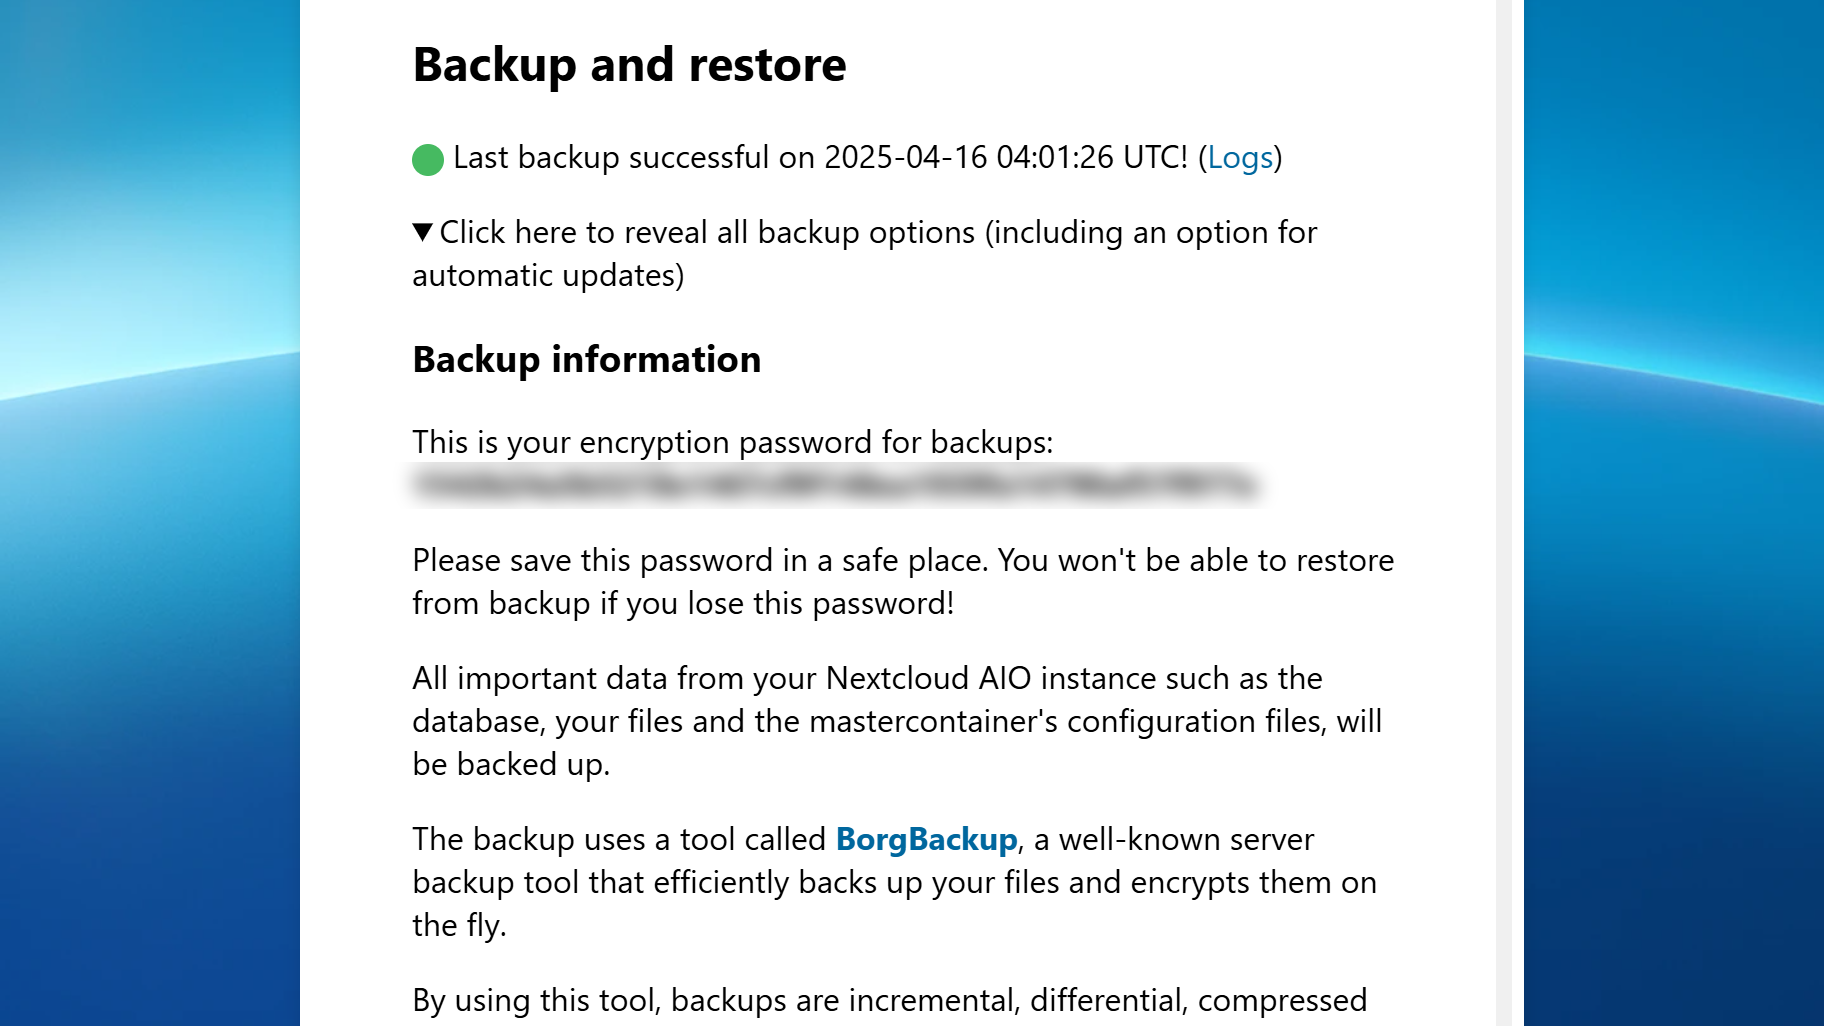
Scroll down to the «Backup and restore» section of the AIO interface and click «Click here to reveal all backup options». In the the «Backup restore» subsection here, select the version that you want to restore and click the «Restore selected backup» button.
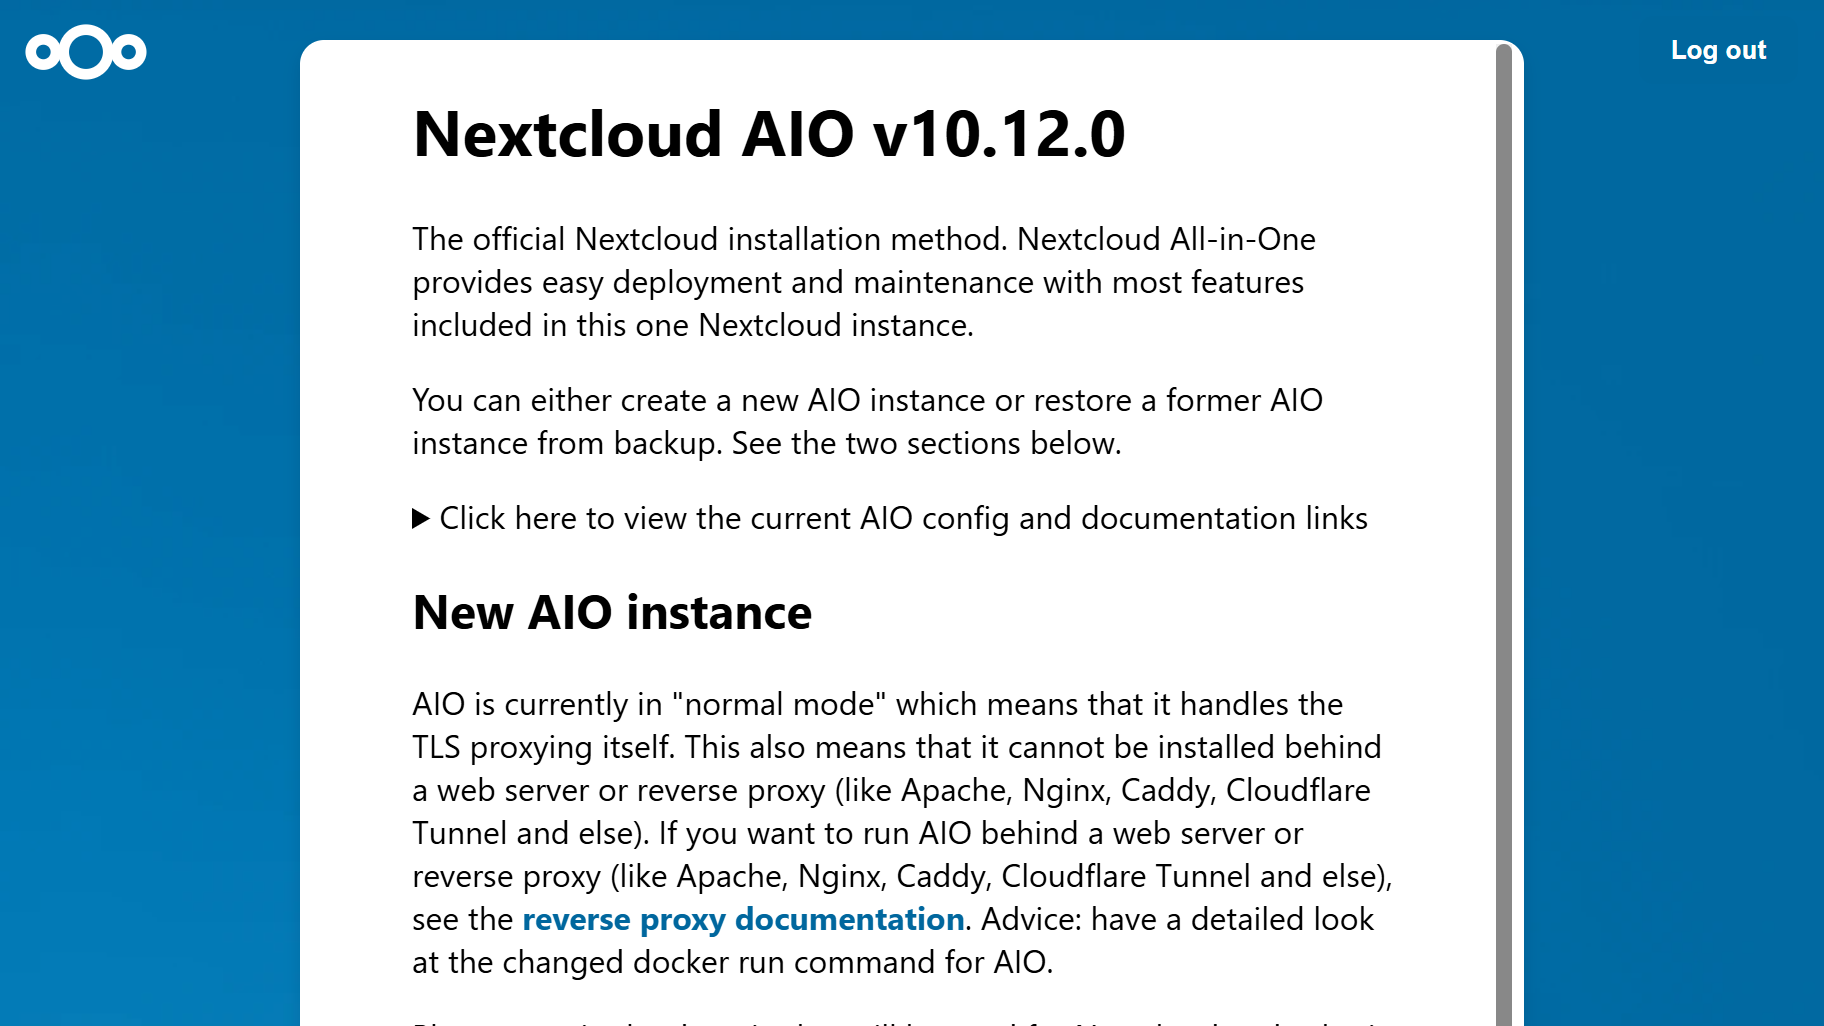
How to restore Nextcloud from a remote backup with a new AIO instance
If you spin up a new AIO instance and easily restore the state from a remote backup repository. Follow the steps below to learn how.
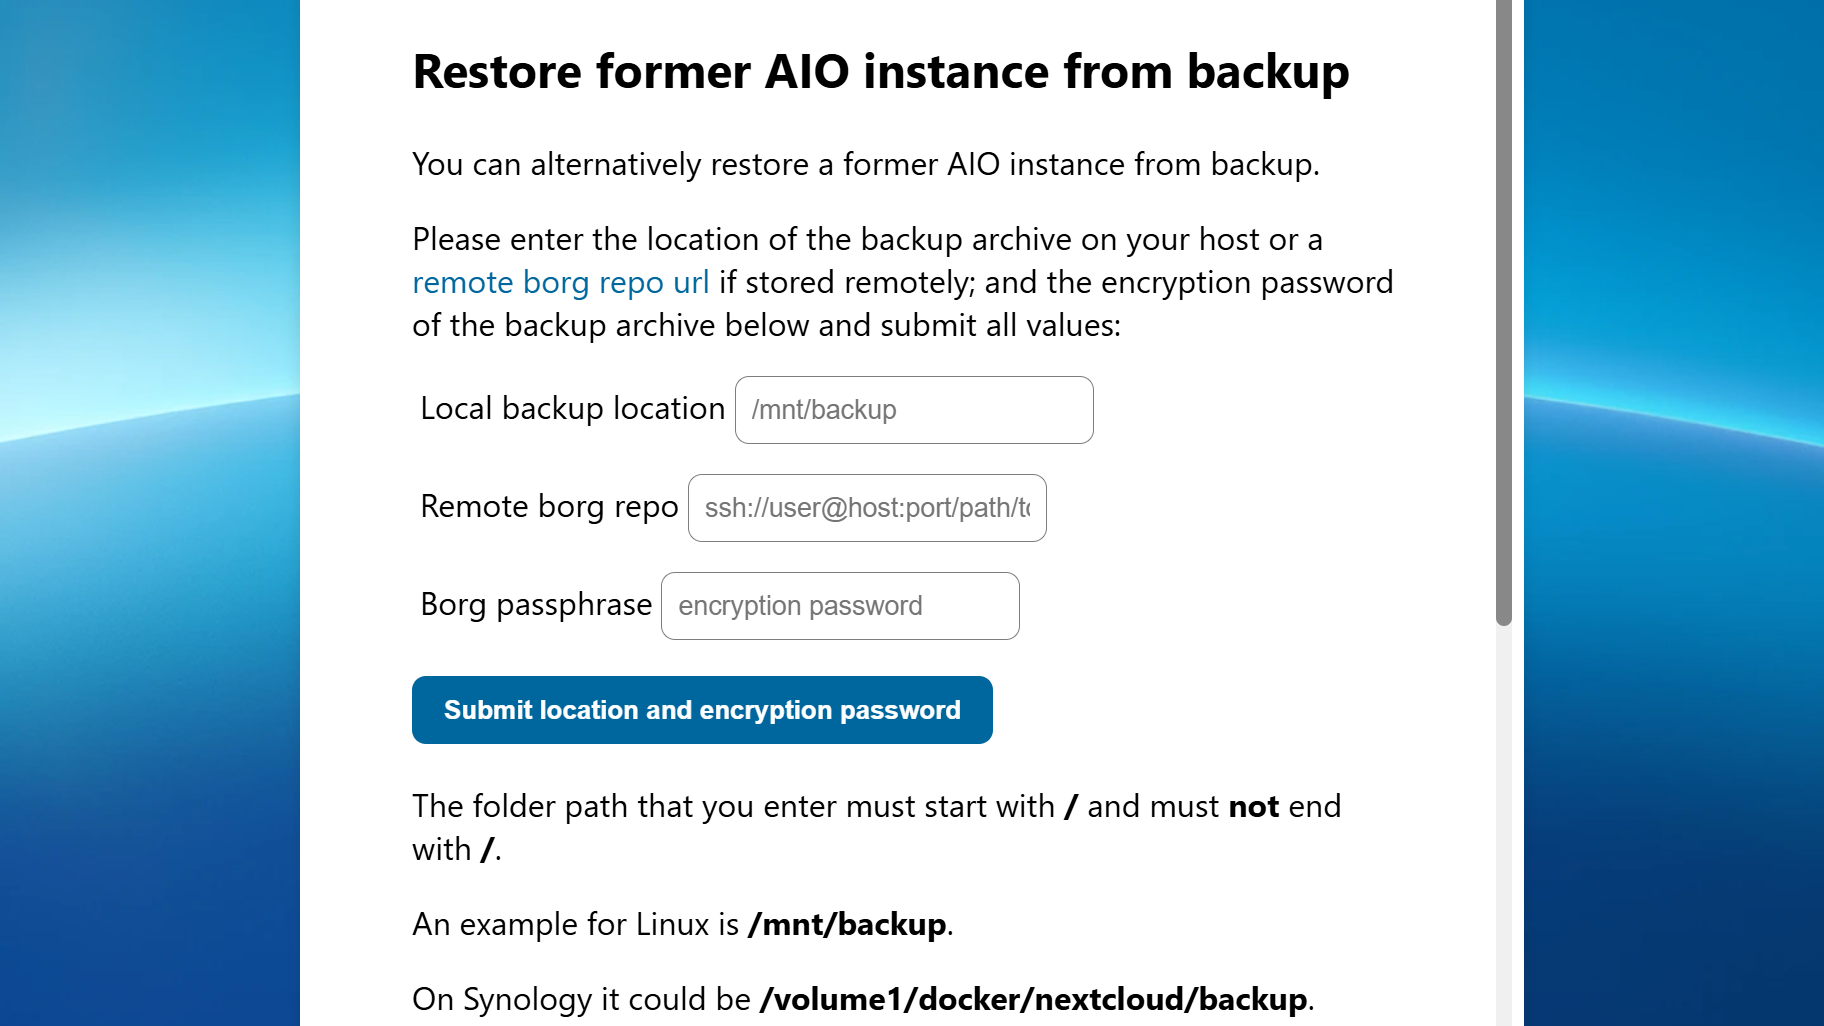
1. Submit the backup location and password
Scroll down toto the “Restore AIO instance from backup” section in the AIO interface. Enter the remote Borg location and the Borg encryption password, and click “Submit location and encryption password”.
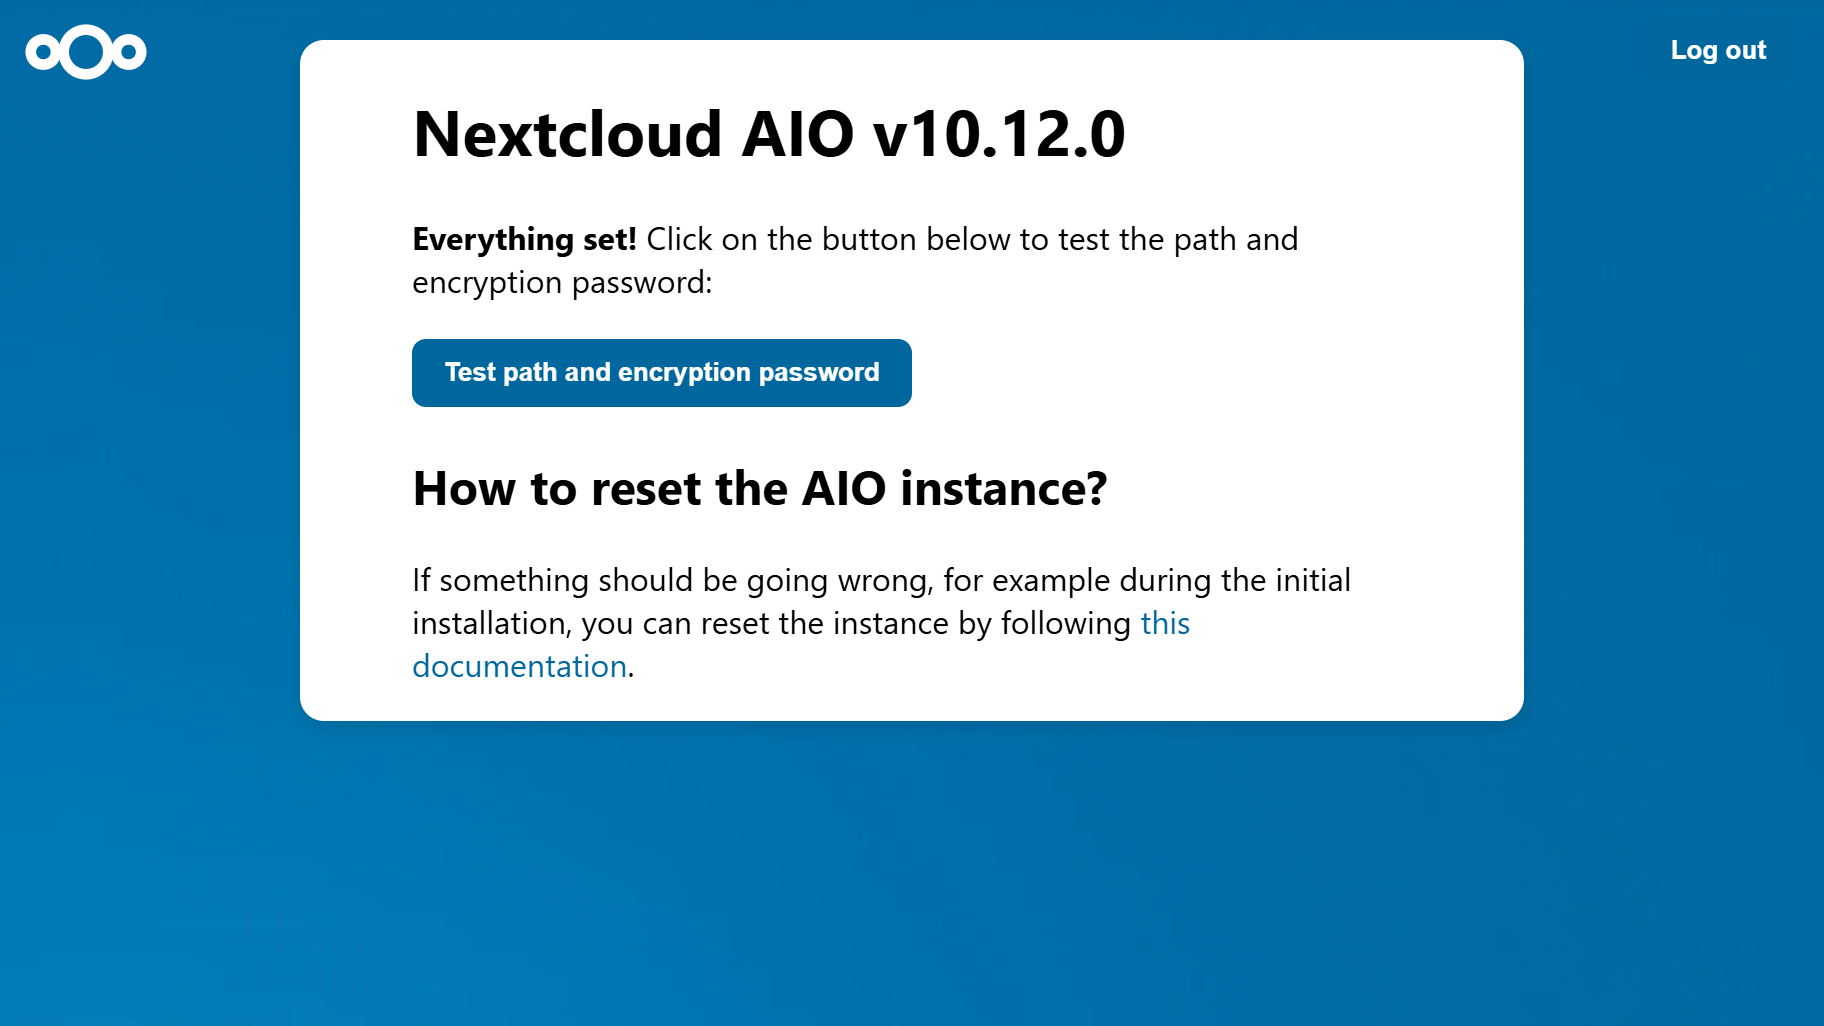
The next step is to test this path and encryption password.
2. Authorize the SSH key
The initial test will fail, but this is fixed easily — you just need to authorize a new SSH key. Obtain the key from the information on your screen and authorize it, then click on “Submit location and encryption password” again.
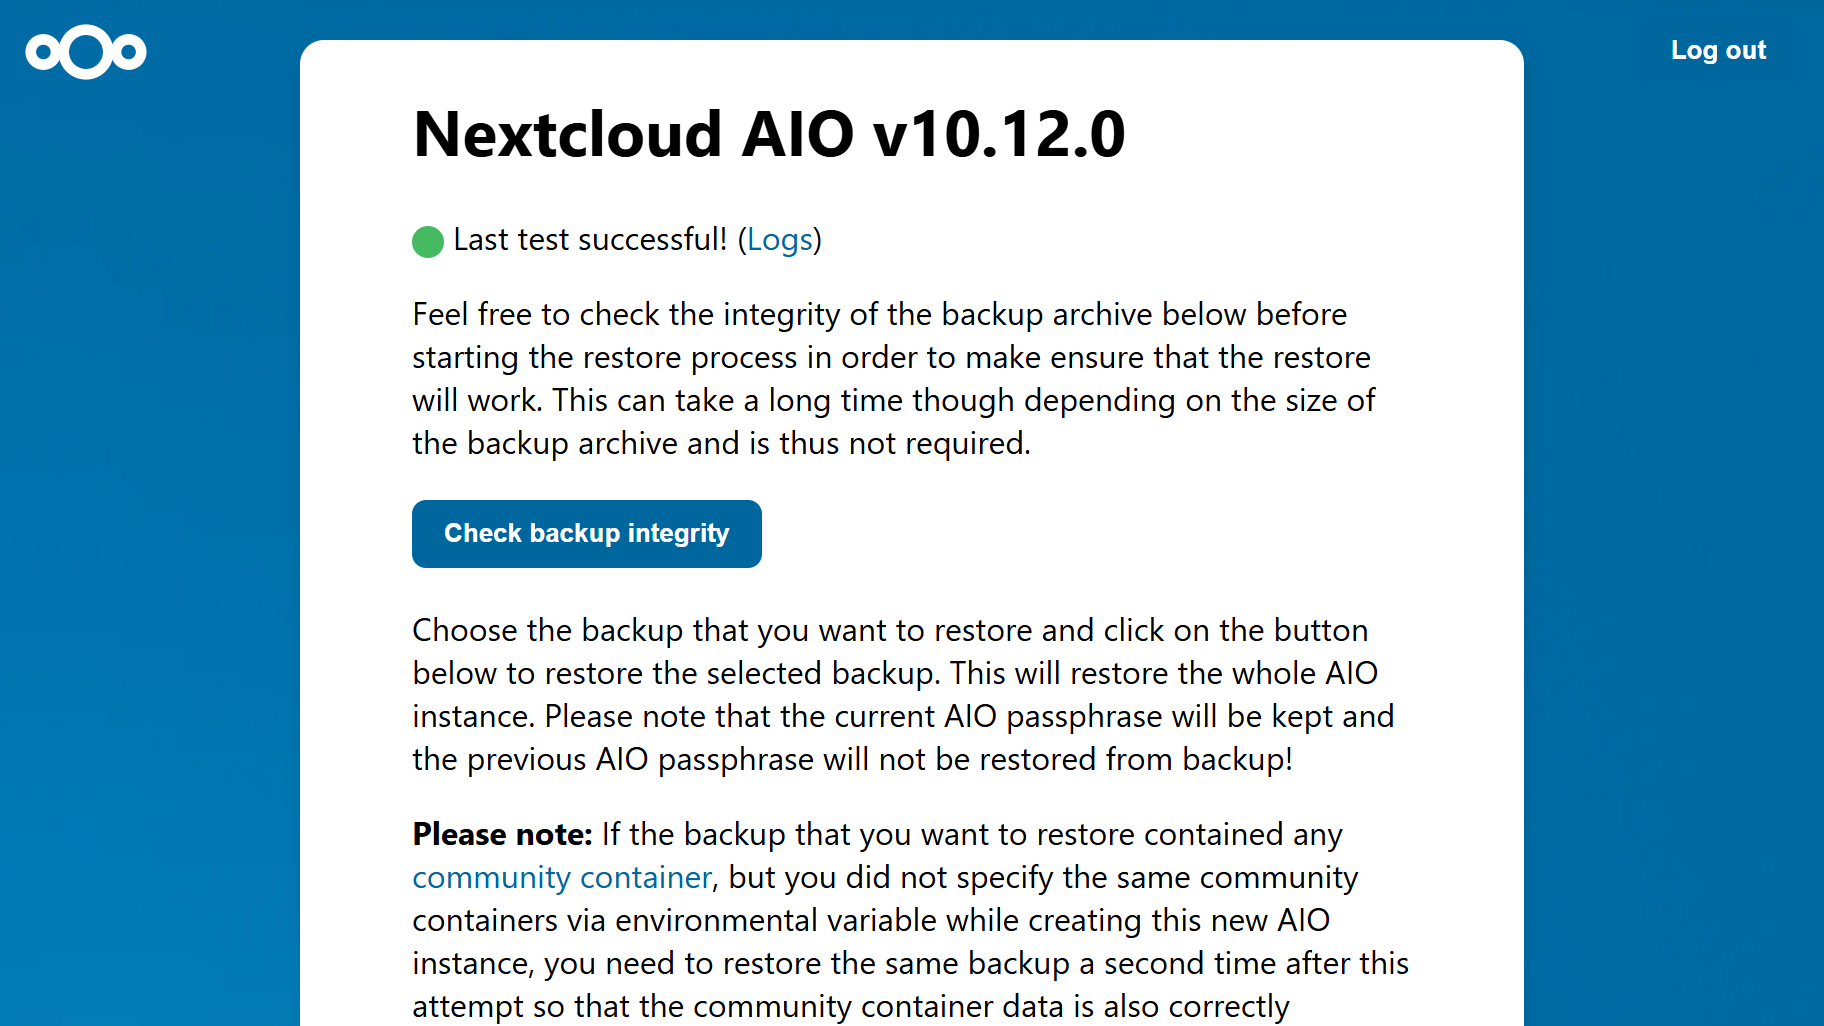
3. Repeat the test to backup and restore your Nextcloud AIO
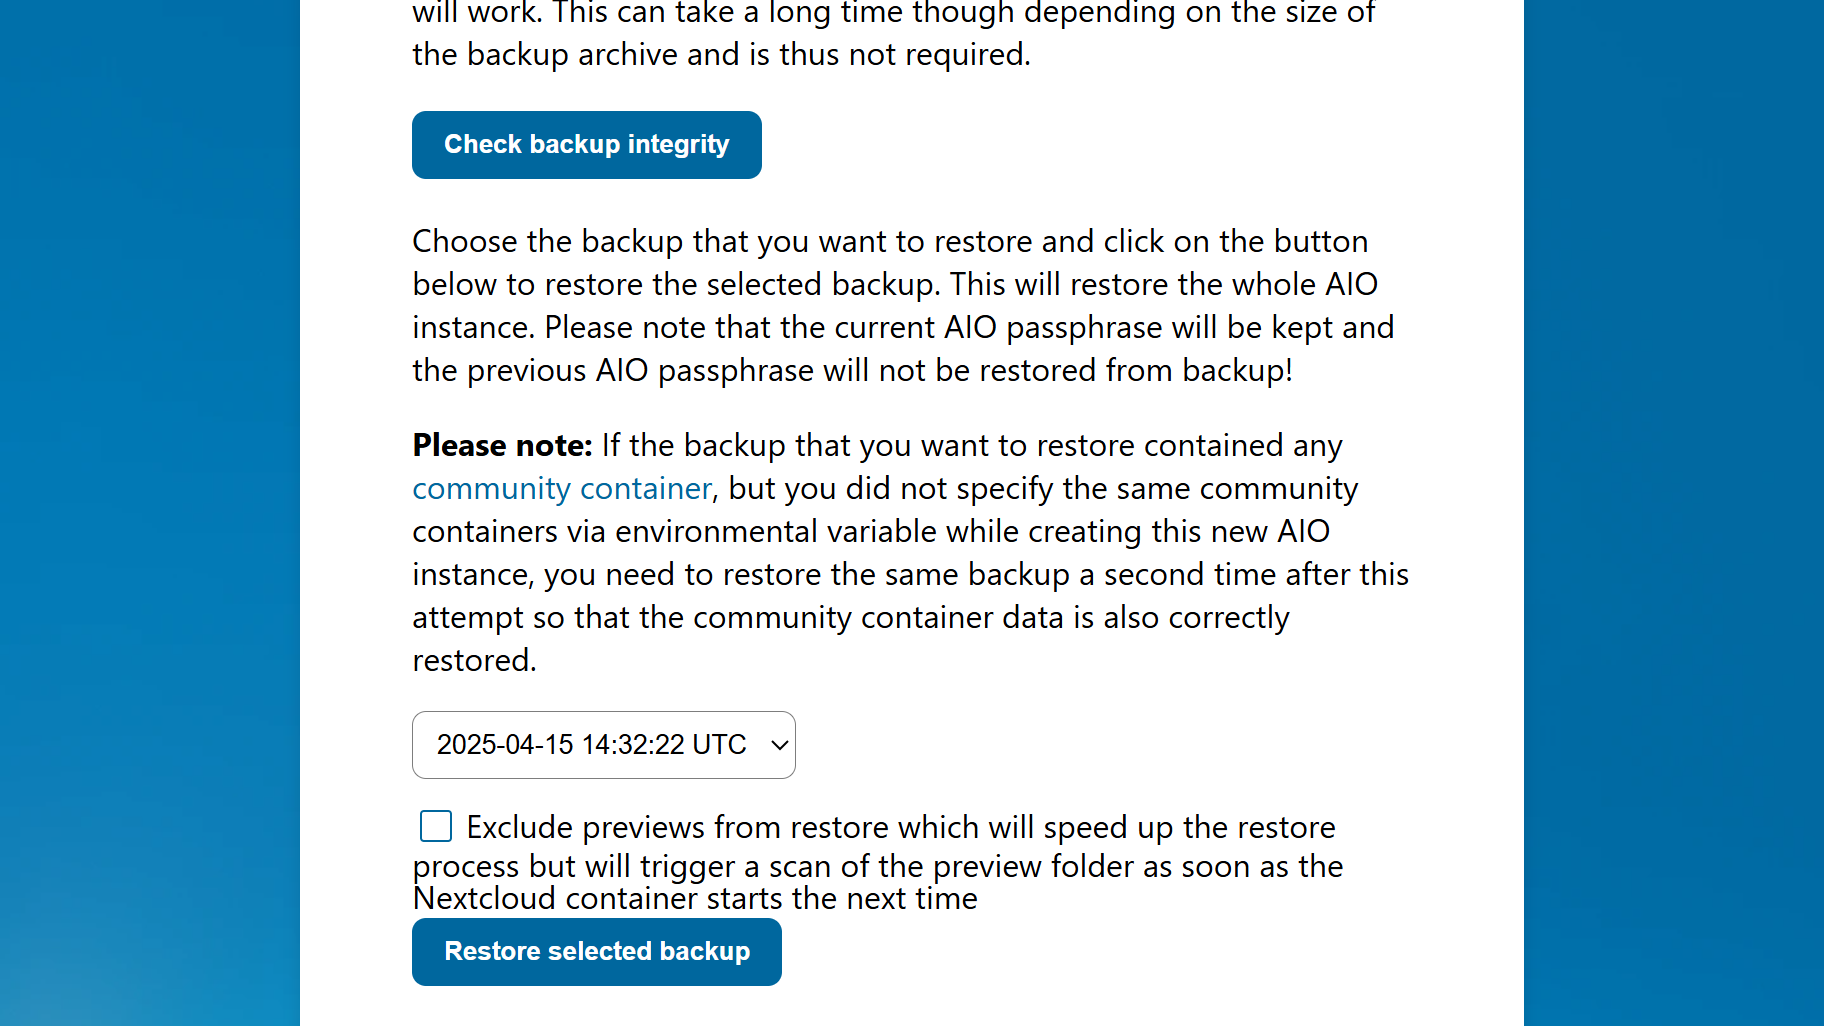
Run the test again by clicking on the Test path and encryption password button. If your test has been successful, you will be notified and prompted to restore the backup from the chosen location. Click “Restore selected backup” to start the restore process.
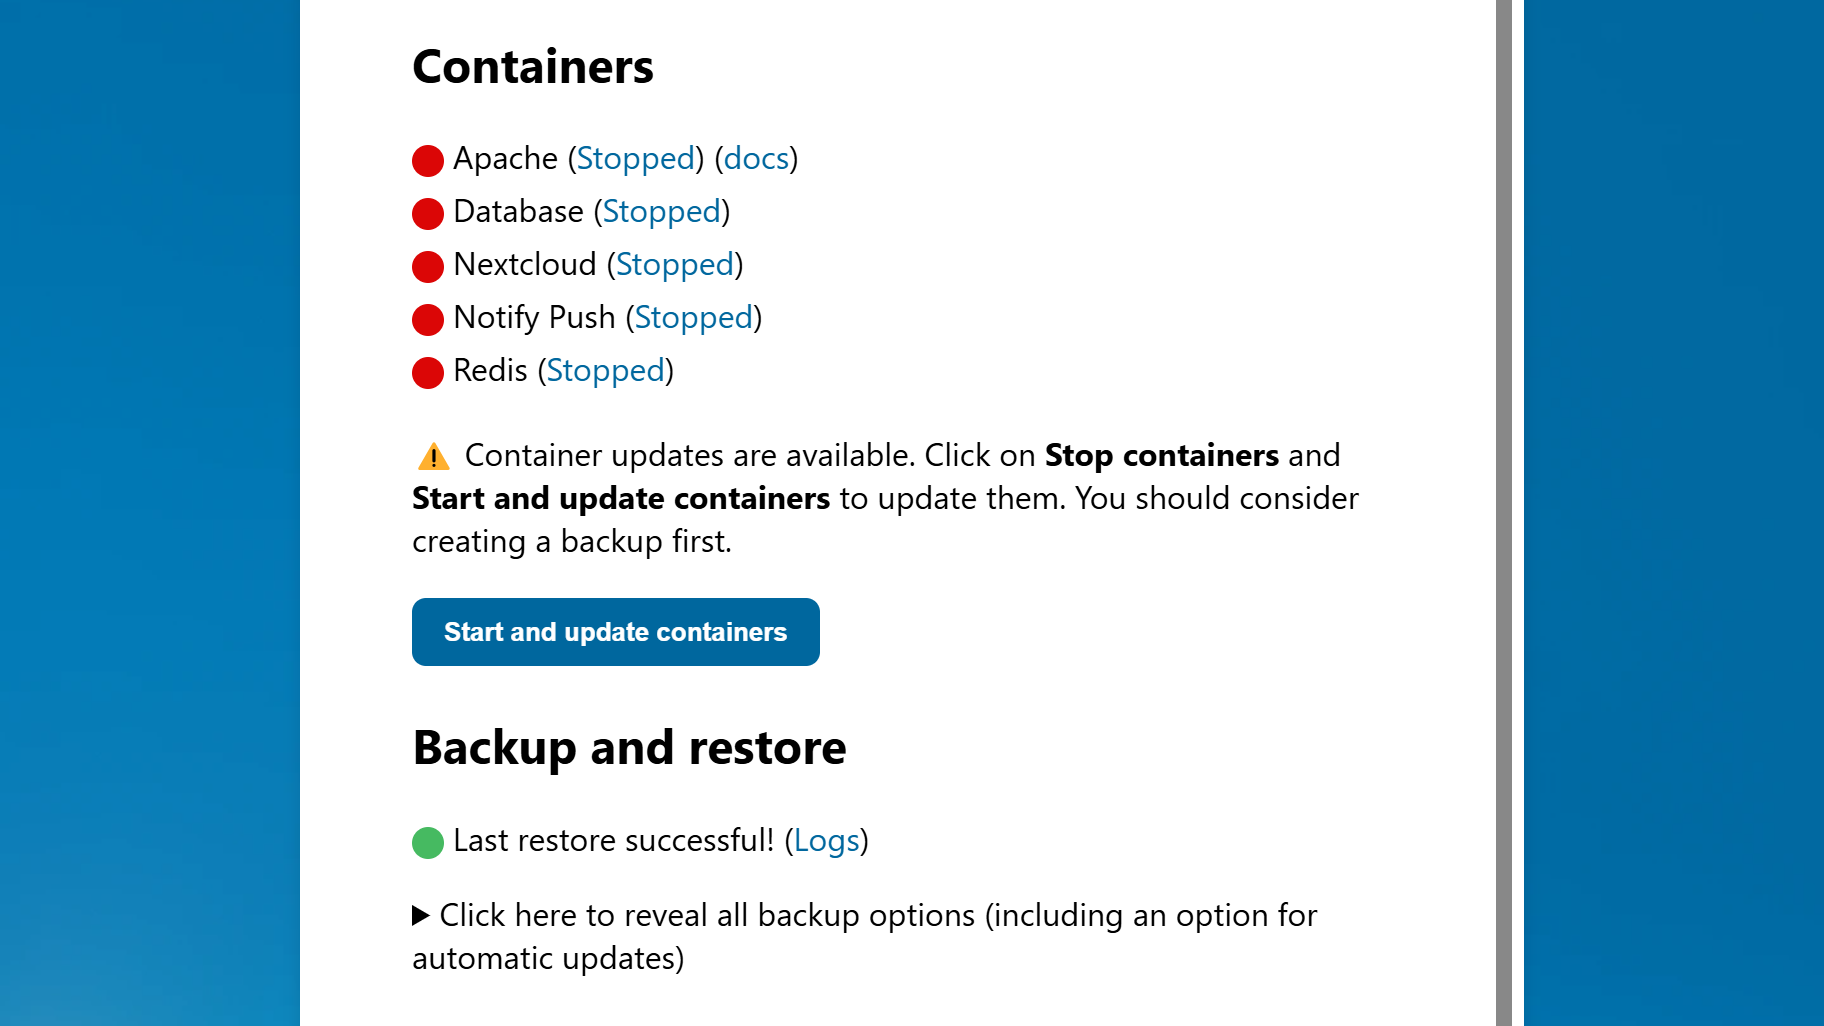
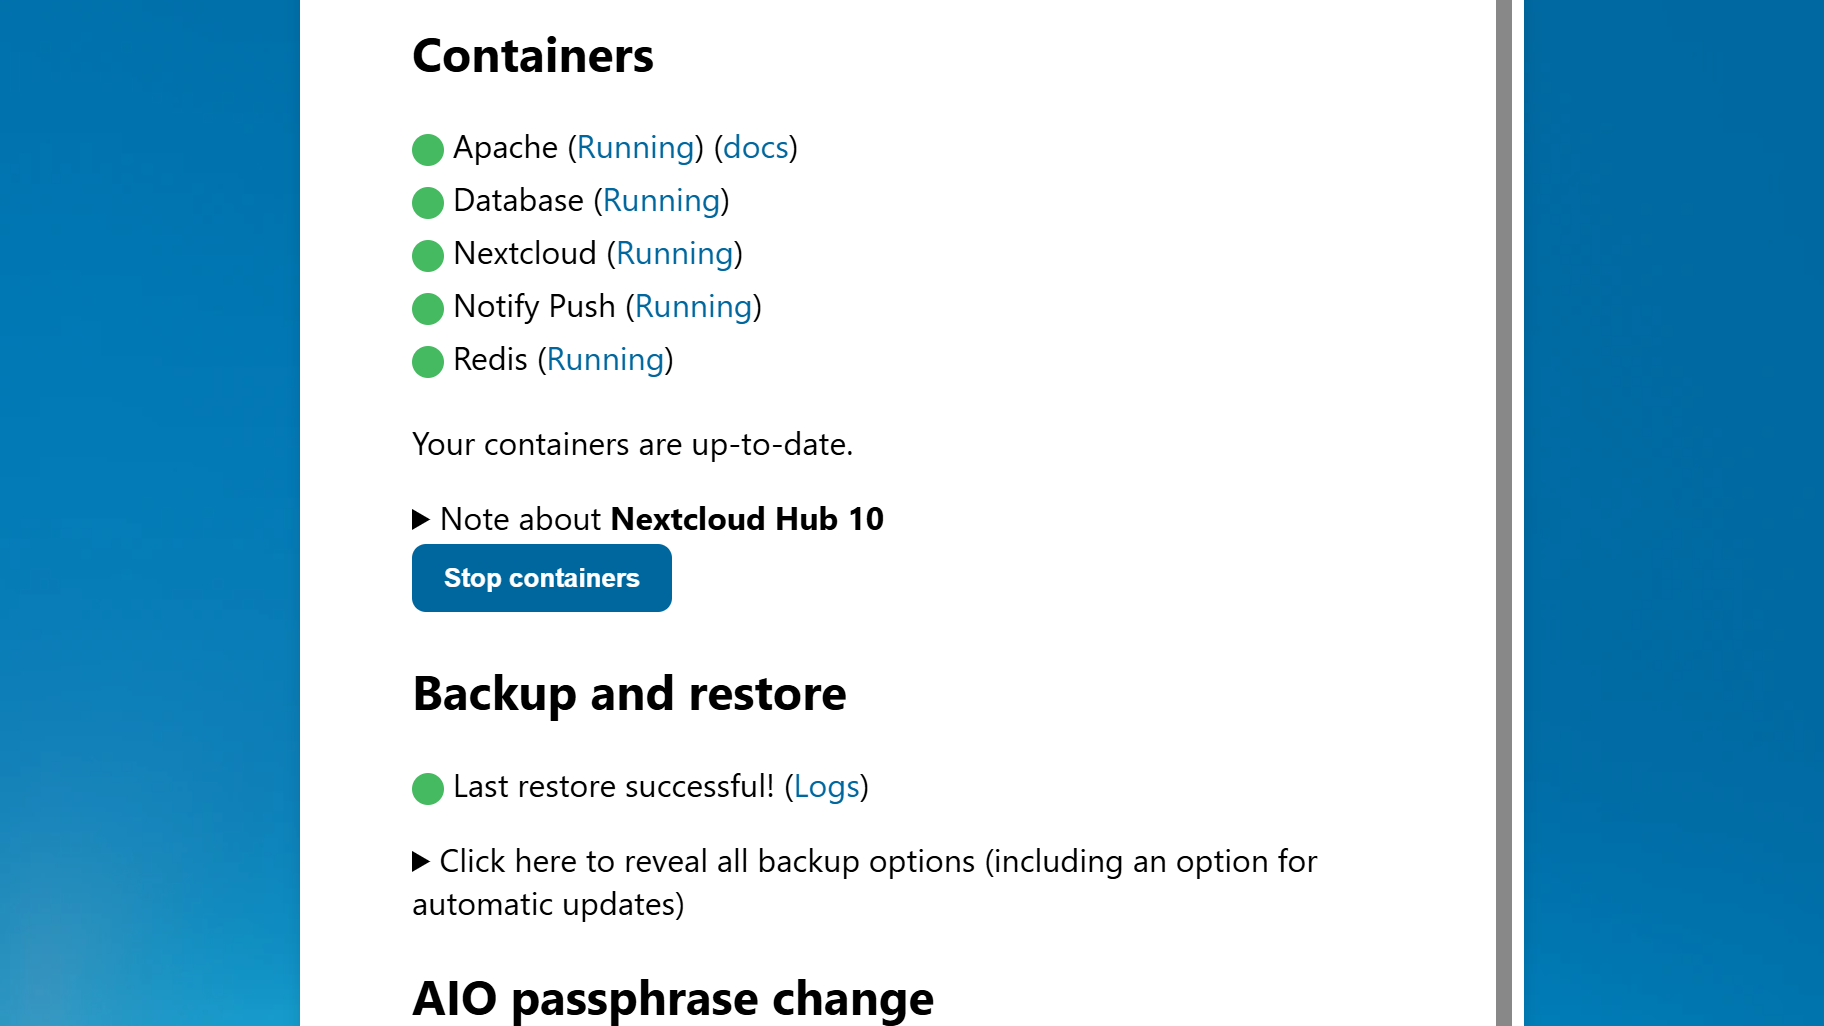
4. Finish the process and update your containers
Once done, you will land in the panel with an overview of your containers. Now click “Start and update containers”. Done!
Explore the new features of Nextcloud Hub 10
Welcome Nextcloud Hub 10 – our most integrated, modular platform for secure collaboration. Our latest release comes with reinforced performance in every app, deeper integration across the platform, and dozens of new features that will make your day easier:
End-to-End encryption in calls and web
Performance improvements across all our products
Thousands of tweaks for improved UX and stability
Nextcloud Assistant 3.0 – your new personal assistant
File conversion directly in Nextcloud Files
Smarter team sharing with Team folders
Schedule meetings directly in Nextcloud Talk
Mail you love again: translations, summaries, and mentions
… and much more!
Get Nextcloud Hub 10 now!
Download the latest version of Nextcloud Hub here. Or if you are new – start your instant trial right away!
Hoy presentamos Nextcloud Hub 26 Spring, nuestra versión de aniversario. Te ofrece aún más libertad para elegir tus herramientas, una interfaz de usuario más refinada, colaboración sin complicaciones y una nueva estrategia de plataforma que permite a los desarrolladores sacar más partido de nuestro amplio ecosistema. Construido en conjunto, diseñado para el futuro.
Nextcloud Hub offers several types of integrations for AI, from completely self-hosted options to integrations with external services like Open AI. Here's an overview of what you can use and where, and where it stands on our Ethical AI scale.
Nextcloud Hub 25 Otoño facilita la puesta en marcha de una potente colaboración mientras controlas totalmente tus datos. Desde actualizaciones globales de diseño hasta mejoras de usabilidad y rendimiento, descubre nuestra última versión en este blog.
Passionate about data privacy and Nextcloud? We invite you speak at the Nextcloud Community Conference to share your experience, knowledge and news with the community!
For the ninth time, Nextcloud has been nominated for the CloudComputing-Insider Readers’ Choice Award in the category of Cloud Content Management. We’d love to reach the top again! And we’re looking for the support of you and everyone else in our amazing community to get there. Nextcloud as the best Cloud Content Management tool? Only […]
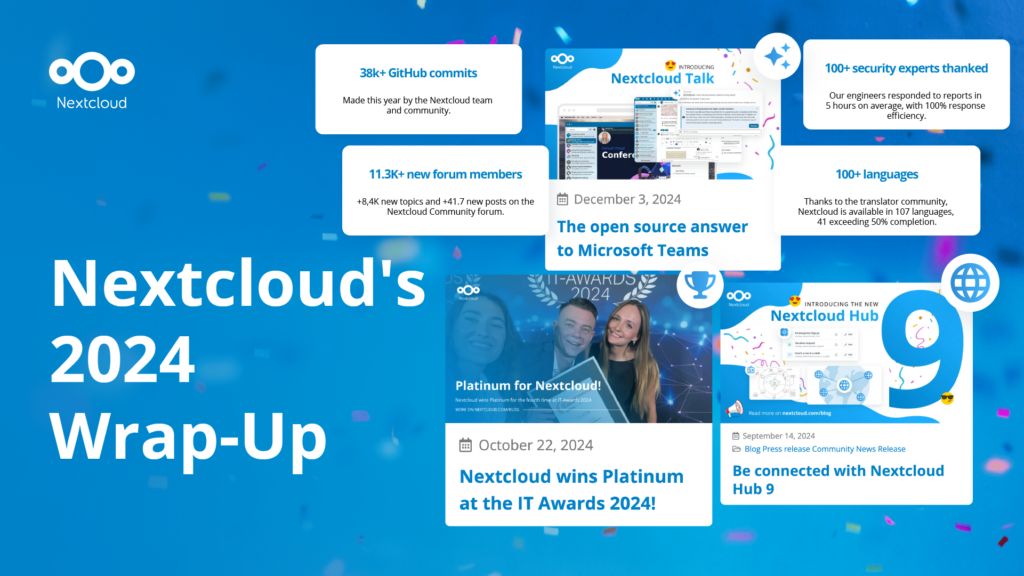
In the Nextcloud 2024 wrap-up, we want to take a moment to celebrate this year's achievements. Join us as we continue to reimagine what’s possible - shaping a world where open source, privacy and connection come together and drive progress for the greater good.
Organisations, small and large, need a way to ensure the resiliency and digital sovereignty of their operations – an open-source, privacy-respecting alternative to Teams. And today, we present that solution - Nextcloud Talk.
Nextcloud has been recognized with the World Summit Award Germany that selects and promotes local digital innovation improving society, aiming to contribute to the United Nations' agenda of sustainable development goals.
DIE ZEIT, a prominent German outlet, interviewed Nextcloud’s founder Frank Karlitschek for an article on Microsoft’s anti-competitive behaviour on the European office software market. Read for a recap of the article and the key takeaways.
MagentaCLOUD’s migration to Nextcloud in 2021 resulted in a fully equipped Online Storage with an integrated online office suite that further improves the user experience, flexibility and security for customers.
We bring you a major update to the Nextcloud AI Assistant, plus the news we work with several big hosting providers like IONOS and OVHcloud to bring AI-as-a-Service options to you!
Bechtle and Nextcloud announce today a complete managed collaboration platform for the public sector that requires no tender and can be deployed immediately.
Discover how to make the switch from ownCloud to Nextcloud. Our quick guide provides insights into the migration process, helping you make the transition smoothly.
Today, US-based file sync & share vendor Kiteworks announced their acquisition of ownCloud and Dracoon. Kiteworks points out that their customers now have access to their file-sharing application. It is to be expected they will not maintain 3 similar products, but customers will have to migrate to the US firms’ platform or look for another […]
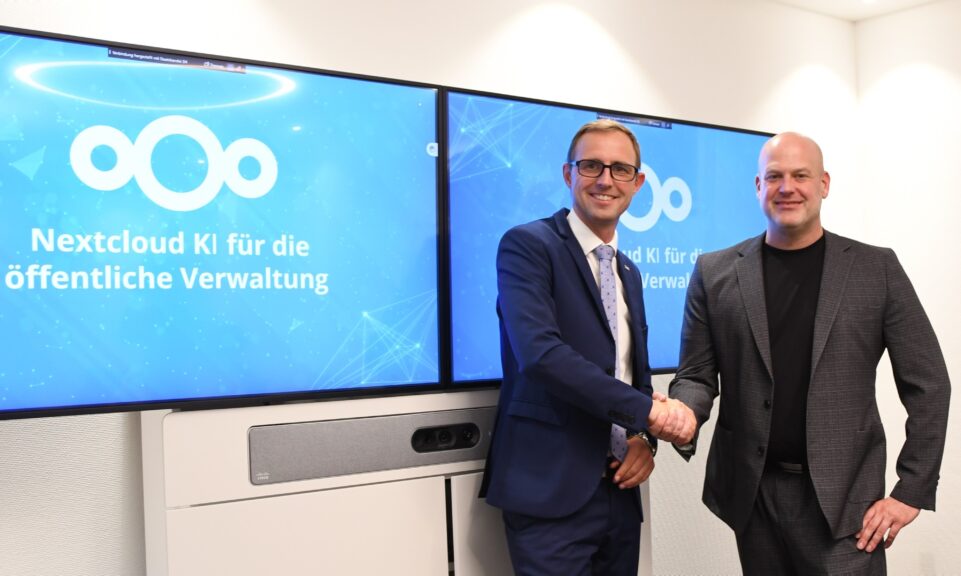
As part of Schleswig-Holstein's state digitization strategy, the state chancellery has announced they will work with Nextcloud to develop AI for working with government documents. This comes just after we announced the first private AI assistant last weekend with Hub 6. The German state already uses Nextcloud and their AI strategy aligns with our work on ethical, local AI technologies.
Nuestra misión es ayudar a particulares, empresas y organizaciones a alcanzar la soberanía digital y recuperar el control sobre sus datos. Nextcloud Hub 5 supone un enorme paso adelante en la consecución de esta misión, poniendo el poder de la IA en tus manos, de forma que mantengas el control. Nueva versión, nuevas posibilidades Hub […]
Over 600 decision-makers, IT leaders, and government representatives gathered in Munich for Nextcloud Summit 2026. The verdict: digital sovereignty is no longer a debate — it's being deployed.
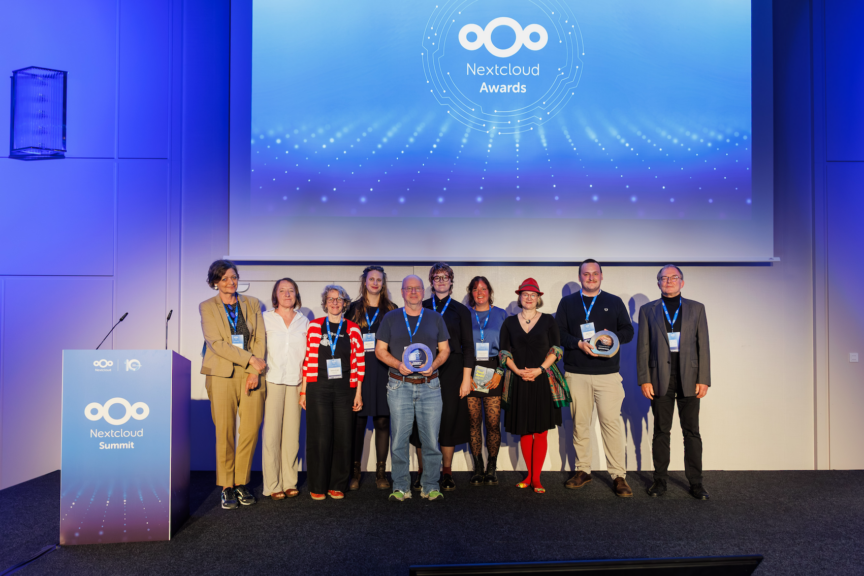
At the Nextcloud Summit 2026 in Munich, the Nextcloud Awards recognized two organizations that show what digital sovereignty looks like in practice: ISKA Nürnberg and Freies Radio Innsbruck (FREIRAD).
Guardamos algunas cookies para contar los visitantes y facilitar el uso del sitio. Esto no sale de nuestro servidor y no es para rastrearte personalmente. Consulta nuestra política de privacidad para obtener más información. Personalización
Cookies utilizadas para guardar los datos introducidos en los formularios, como nombre, correo electrónico, número de teléfono e idioma preferido.
Nombre de la cookie:nc_form_fields
Descripción de la cookie:Recuerda los datos introducidos en los formularios para la próxima vez (nombre, correo electrónico, teléfono e idioma preferido)
Caducidad de la cookie:30 días
Consentir
Nombre de la cookie:nc_utm_parameters
Descripción de la cookie:We use cookies to store UTM parameters from your visit so we can understand how you arrived at our website.
Las cookies estadísticas recopilan información de forma anónima y nos ayudan a comprender cómo utilizan nuestro sitio web nuestros visitantes. Utilizamos Matomo alojado en la nube.
Servicio:Matomo
Descripción de la cookie:
_pk_ses*: Cuenta la primera visita del usuario
_pk_id*: Ayuda a no contar dos veces las visitas.
mtm_cookie_consent: Recuerda que el usuario ha dado su consentimiento para almacenar y utilizar cookies.
Caducidad de la cookie:_pk_ses*: 30 minutos
_pk_id*: 13 meses
mtm_cookie_consent: 30 días